3 Pelvic Exercises for Constipation

Are you experiencing chronic constipation or feeling like you’re bearing down when going to the bathroom? Here are three pelvic exercises for constipation you should try!

Rather watch or listen?

The connection between the pelvic floor and bowels is crucial. As pelvic floor therapists, we frequently discuss this, especially if you’re experiencing bowel issues. The pelvic floor and the bowels must work in sync all the time. When constipated, many tend to bear down or push down into the pelvic floor to facilitate bowel movements. Let’s delve into some basic mechanics first before discussing strategies.

Understanding the mechanics

When we’re looking at the pelvis, we want to think about our natural breathing mechanics. So, when we’re breathing in, the diaphragm comes down, and we create this intra-abdominal pressure that fills to the base of the pelvic floor. This should be a 360° pressure, not a downward pressure into the pelvic floor. The pelvic floor is lengthening on your inhale and when we exhale, the pelvic floor is contracting. 

Anytime that we lose these natural mechanics or coordination of our respiratory diaphragm and our pelvic diaphragm, then we begin to have issues. So, for example, if you are doing heavy weight training, unless your are creating a proper valsalva, then you’re pushing down into the pelvic floor, which is what will contribute to leaking. It is extremely important that we have optimal mechanics for healthy bowel movements and life, of course! 

3 pelvic exercises for constipation

1. Utilize a Squatty Potty

The first recommendation that I’d like to give is to use a Squatty Potty. You can use blocks or another object to raise your feet, but this will allow for proper pelvic positioning. When you have your knees a little bit higher than your hips, then you can create an optimal pelvic position to open the pelvic outlet to allow for a healthier bowel movement. 

2. Practice Diaphragmatic Breathing

As soon as you are about to go to the bathroom, you can perform slow diaphragmatic breaths. Inhale through the nose, while having your tongue at the roof of the mouth, creating proper intraabdominal pressure, then relaxing as you exhale, while the pelvic floor gently contracts. You want to create a sense of relaxation. We have to be in a relaxed state to defecate, urinate, and have an orgasm. 

3. Try the “Belly Big, Belly Hard” Technique

When you feel like you are about to push, you want to take that pause and consider using the  “Belly Big, Belly Hard” technique. This is where we want to prevent the downward pressure on the pelvic floor, which creates faulty mechanics and significant pelvic floor dysfunction over time. 

Make a fist with your hand, just like you’re making a straw. Breathe in through the nose, blow into the “straw” for 3 seconds, and then pull away. 

That will create the appropriate amount of pressure to allow you to have a healthy bowel movement without pushing. You’re creating the optimal amount of 360-degree pressure, You’re going to let the cheeks puff up as you’re doing it and as you’re exhaling, it should feel like you’re able to have a relaxed bowel movement. 

It’s a great technique for when you feel like you’re about to push.  You may need to perform a few times. It is extremely effective. 

If this was helpful, please give it a like, share it, and subscribe to our YouTube channel, the Movement Paradigm, for weekly tips on mindset, nutrition, and movement. Our goal is to help you live your best life, heal, transform, and, more importantly, thrive.

You can always join us in our app, the Movement Paradigm. We have lots of challenges every other month—everything from movement to the nervous system, nutrition, and so on. And we have a great community of people. 

You can also reach out to us for an individual appointment as it relates to the physical pain that you might be having and any emotional issues that you’re dealing with, such as anxiety or depression. If you really want to get to the root cause, please reach out to us.

Other things that might interest you:

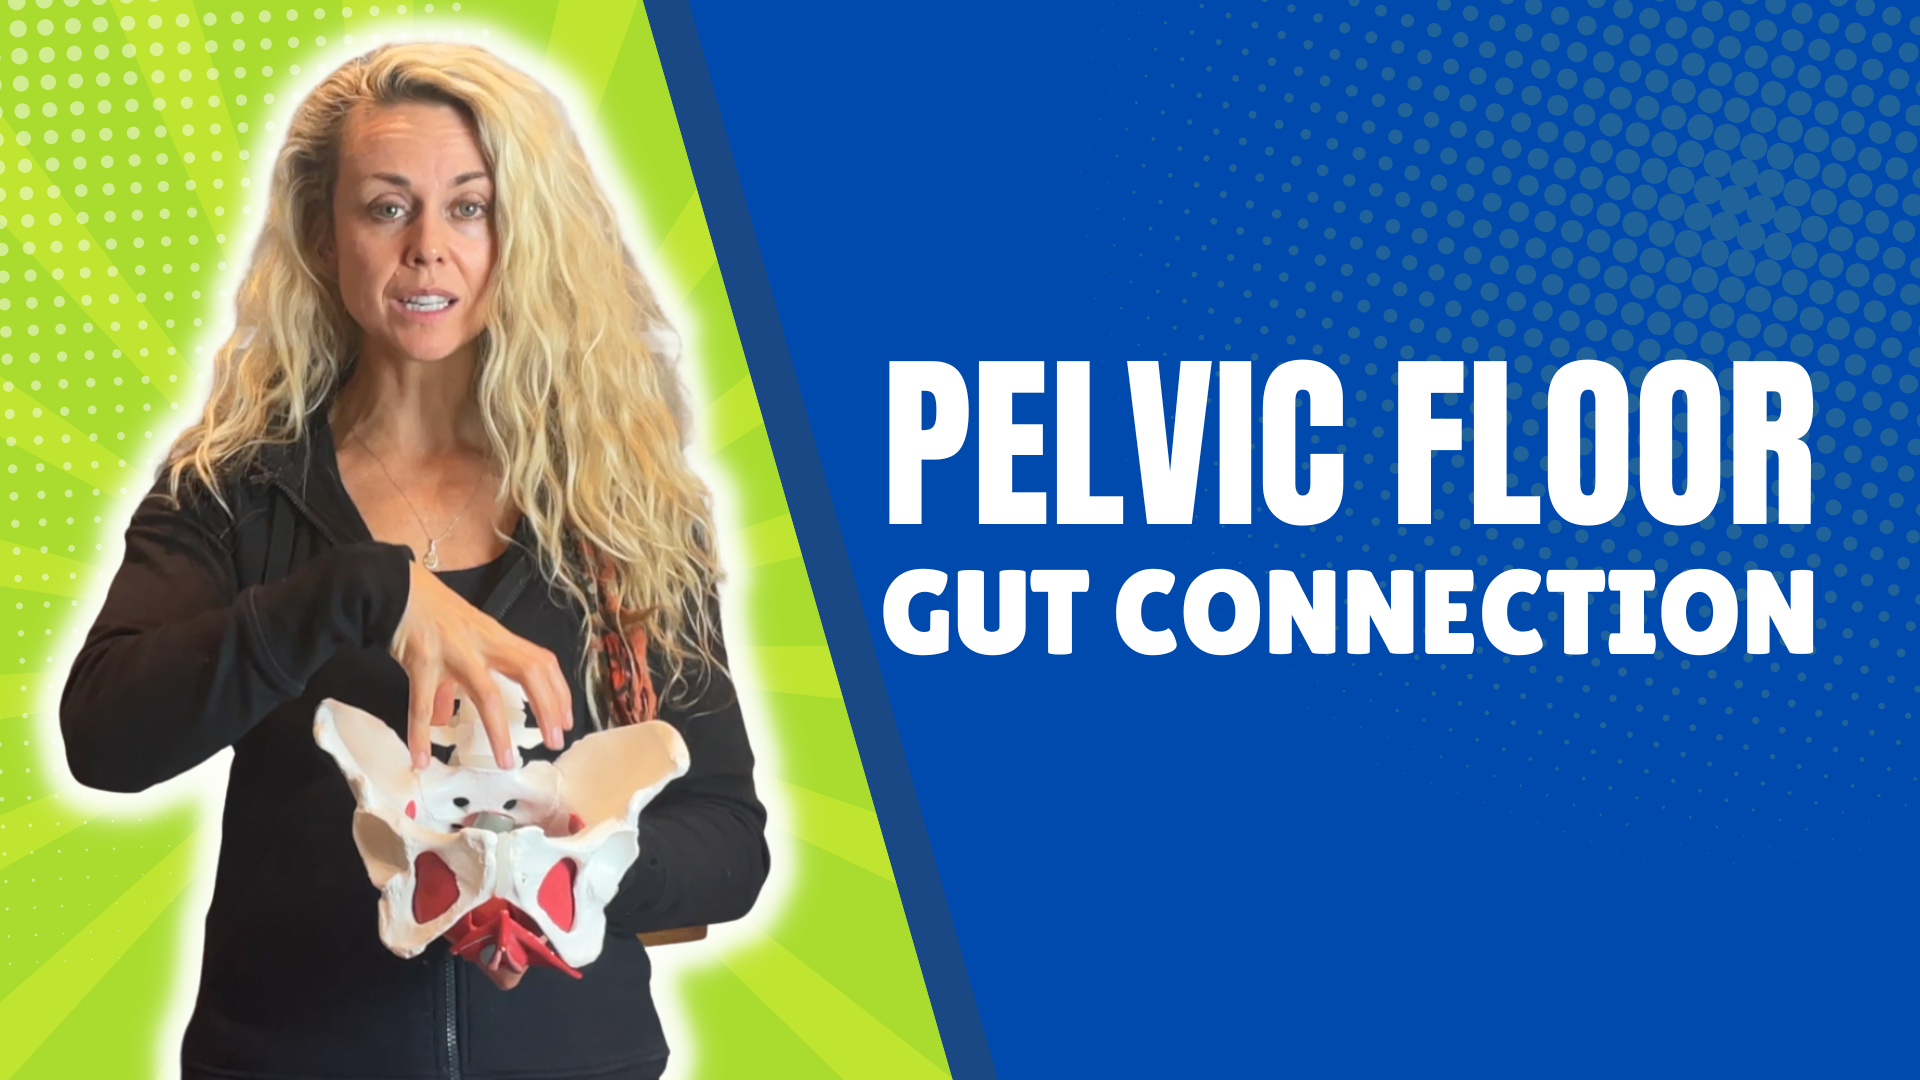
Pelvic floor–Gut Connection

Did you know that your pelvic floor is directly linked to your gut health? Let’s talk about that important connection today.

Rather watch or listen? 

The connection between the gut and pelvic floor

Our gut is the opening from the mouth to the anus. Whether you are experiencing chronic constipation, diarrhea, or even a specific condition, like SIBO (small intestinal bacterial overgrowth), leaky gut, SIFO (small intestinal fungal overgrowth), or large intestinal fungal overgrowth—all of these conditions are going to have a direct influence on your pelvic floor function. Conversely, any type of pelvic floor dysfunction will influence your gut health.

For example, if you have a tight pelvic floor, otherwise known as a hypertonic pelvic floor, it will likely contribute to chronic constipation. There are three key connections:

Ways the gut and pelvic floor are connected

1. Sphincters

The first connection includes the pelvic floor sphincters, an internal sphincter and external sphincter.

Think of the internal sphincter as our communication system, which signals to the brain that it is time to have a bowel movement. When we have chronic constipation, for instance, it affects the sphincter and thus disrupts this communication system. Therefore, we ultimately have to retrain our bowel habits to improve this communication.

We also have an external sphincter, which can be stimulated by mere wiping. If we are having excessive wiping when having a bowel movement, it will stimulate that sphincter to drop stool down through the rectum. The more that we do this, the more we are creating miscommunication and ultimately having to wipe more. This can commonly be associated with someone who has looser stools, potentially has dysbiosis or leaky gut, and is chronically wiping when they’re going to the bathroom to ensure they’re clean.

2. Pressure management

The next connection is essentially pushing, or we can also call this poor pressure management.

We want to think about pressure management for everything related to bowel movement and the pelvic floor. If you’ve ever gone to the bathroom, whether it was looser stools or firmer stools, and you are pushing or bearing down to release, you know exactly what I am referring to.  Unfortunately, this involves poor pressure management in our core and definitely within our pelvic floor. This can cause pelvic floor dysfunction.

It is important to manage pressure properly, and the exercise you can do is called “Belly big, belly hard.” When you feel like you’re about to have a bowel movement and you have the desire to push, try making a closed fist, breath in, and then blow into your fist with your cheeks puffing out for three seconds. Now, pull your fist away and keep breathing. You should feel like you’re able to excrete in a very natural and relaxed manner. We need the pelvic floor to relax to have a bowel movement.

3. Bowel mechanics

Finally, the last pelvic floor-gut connection is your bowel mechanics. This will go hand in hand with pressure management, so the Squatty Potty, for example, is a great way to improve your squat mechanics. You can also just elevate your feet, which will allow the stool to move easily into the rectum to be ultimately evacuated.

It’s important to optimize squat mechanics and biomechanics, to optimize pressure management, and to think about the role of your sphincter’s communication with your brain to positively influence your bowel habits and pelvic floor function.

This is just scratching the surface of all of the different connections between these two, but hopefully, it gives you an appreciation that if you have any kind of bowel issue, you absolutely need to address your pelvic floor and vice versa.

They go hand in hand, so if you really want to take the time to work with a professional, please make sure you reach out to us. We’d be more than happy to help you in your journey virtually or in person and really begin to uncover what issues may be affecting you on either side of things.

So, if you found this helpful, give it a like, give it a share. If you’d like to reach out to us for an appointment, please do that as well. Schedule your appointment here: https://p.bttr.to/3Qu7wRd.

Make sure to subscribe to our YouTube channel, The Movement Paradigm, for weekly tips on

mindset, nutrition, and movement.

Other things that might interest you:

What your pelvic floor has to do with your tight hips

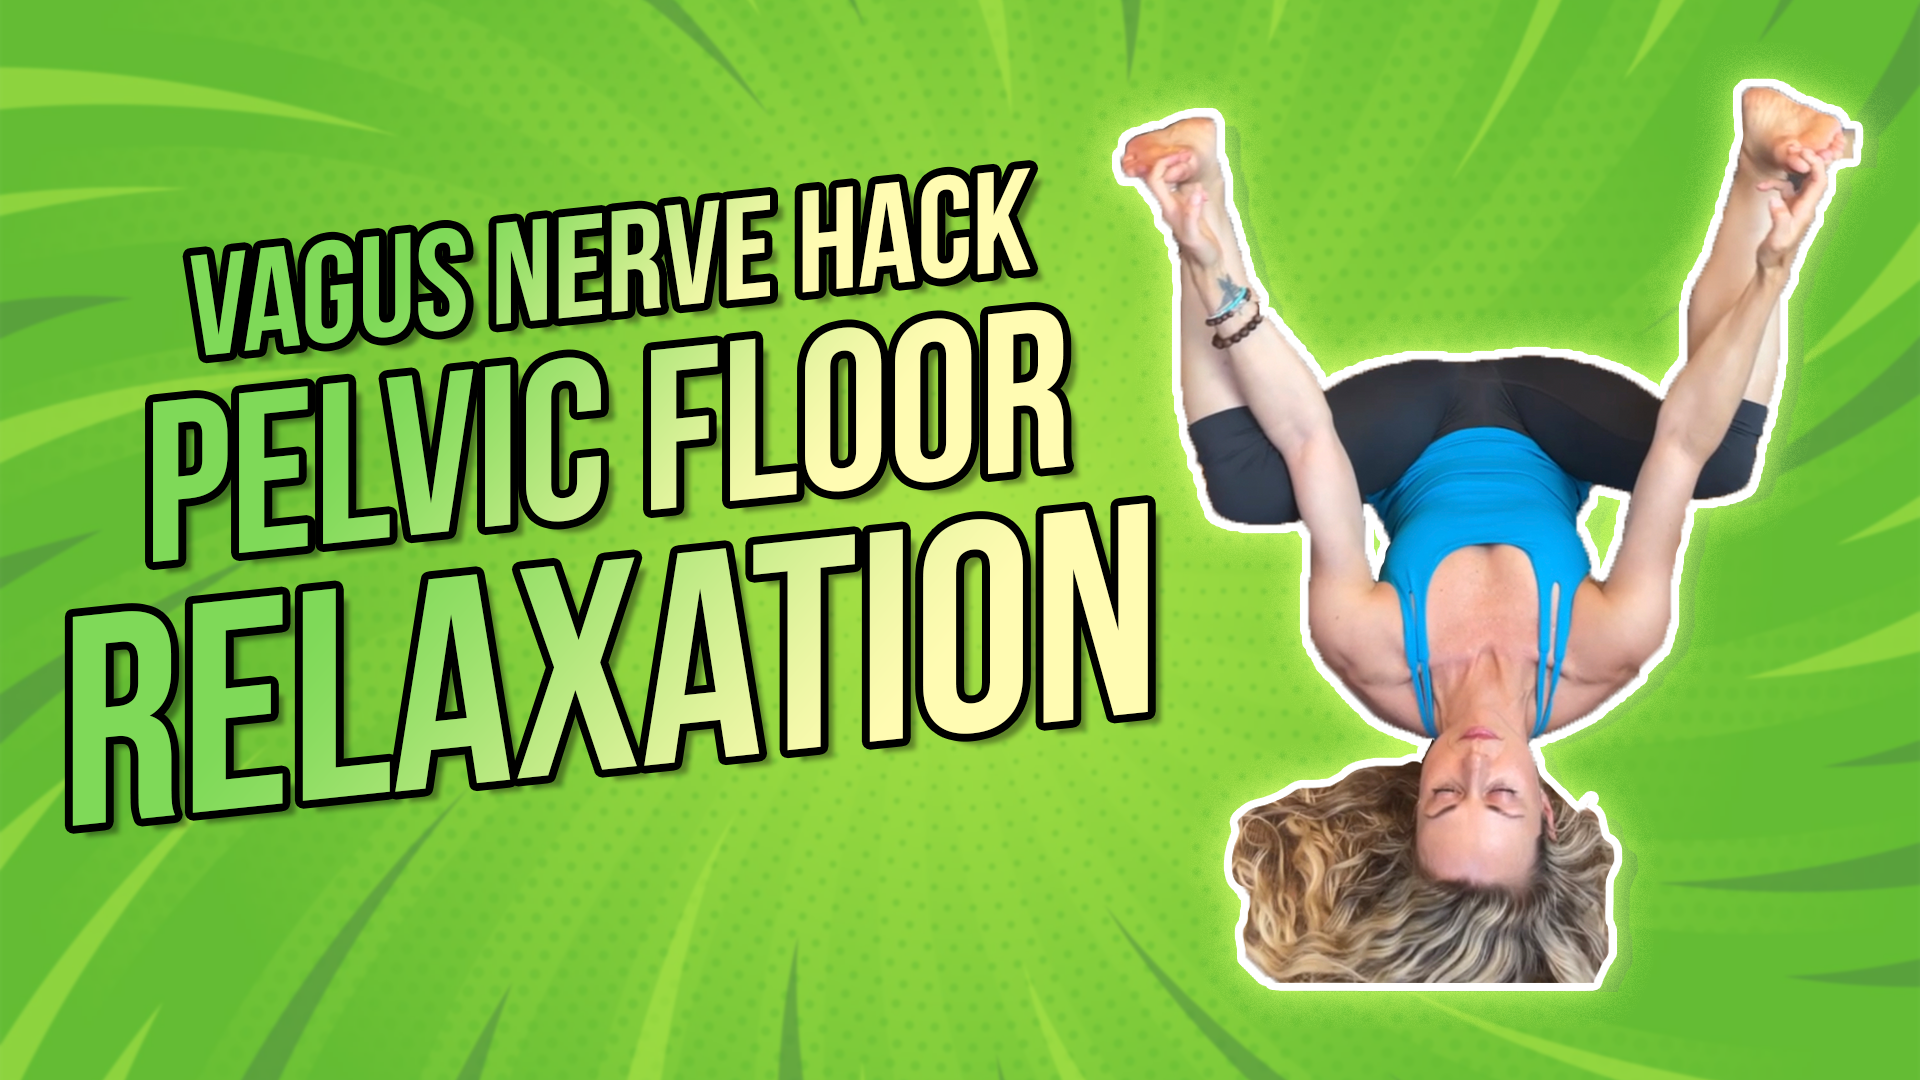
Vagus Nerve Hack | Pelvic Floor Relaxation

Peeing yourself during heavy lifting is not okay

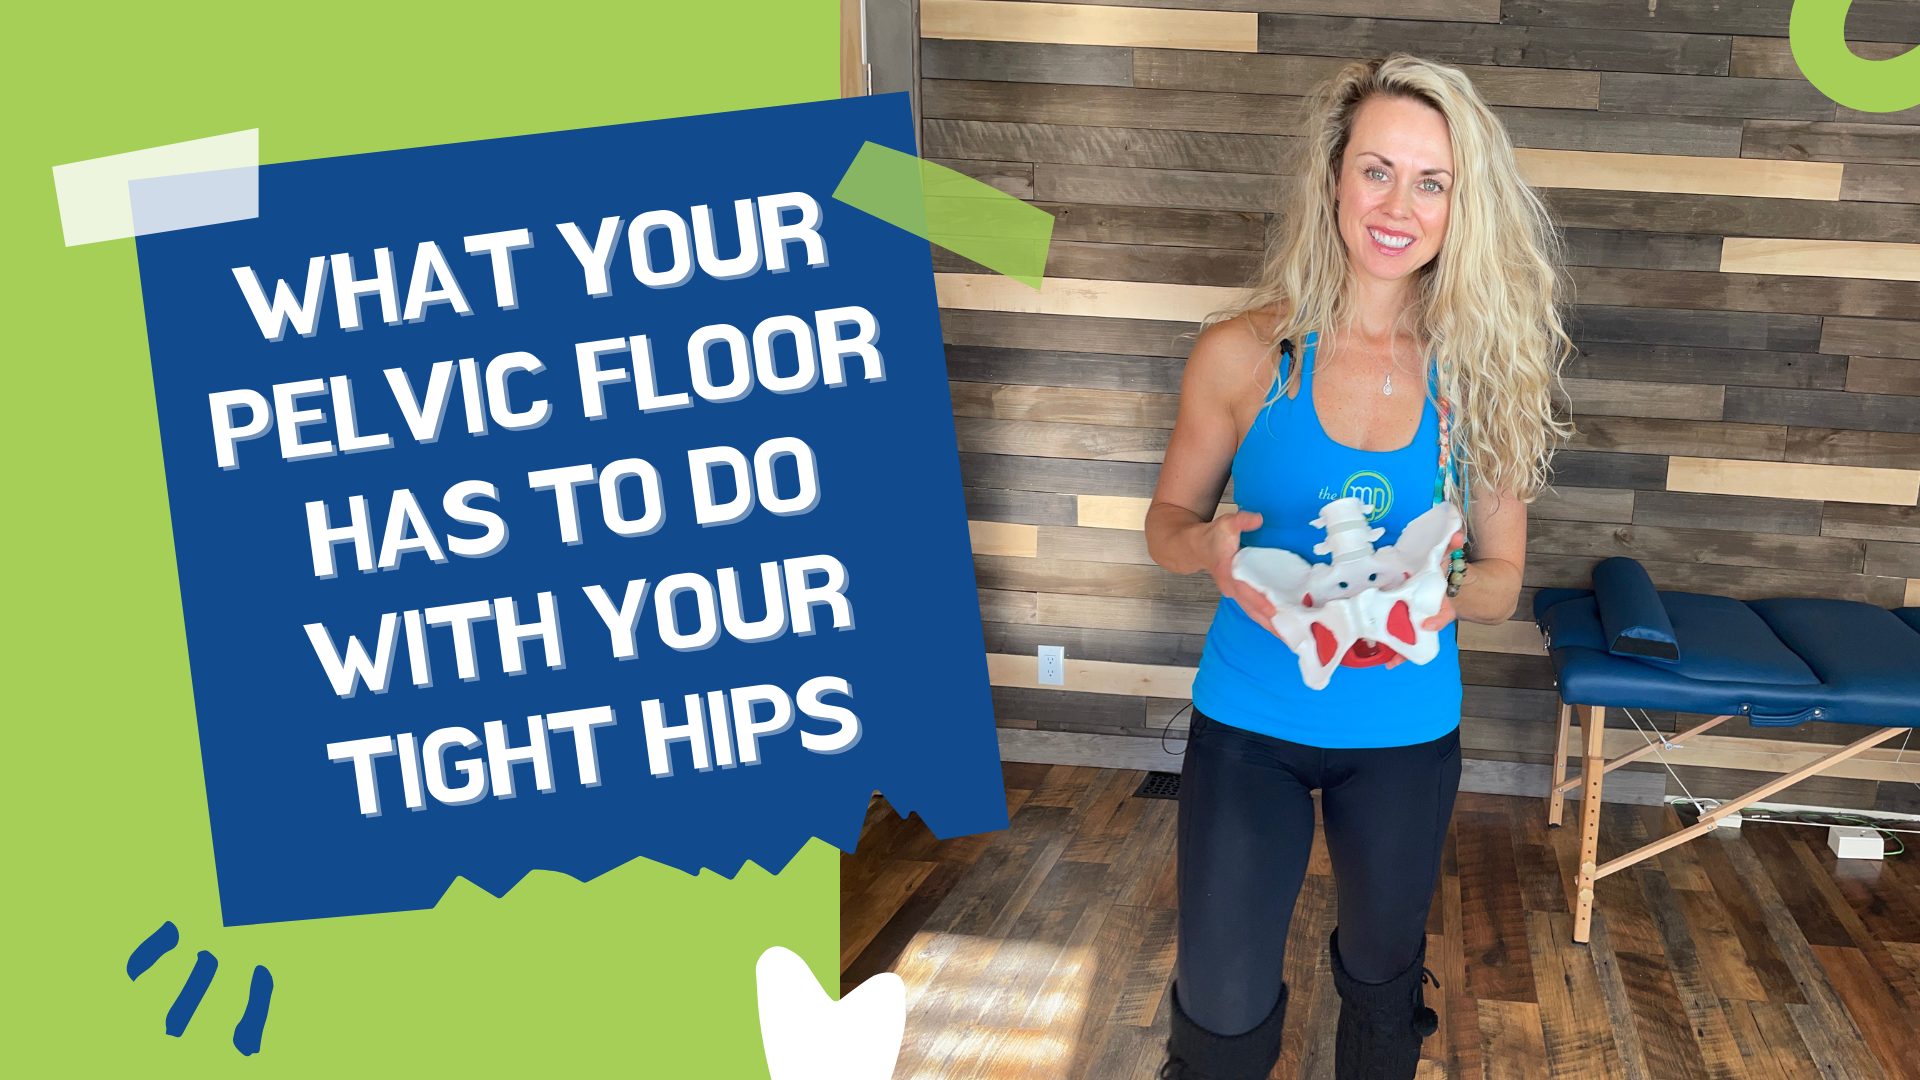
What your pelvic floor has to do with your tight hips

Let’s discuss the pelvic floor’s role in our hip mobility and function.

We’ll cover functional anatomy, root causes of poor hip mobility, and of course, how the pelvic floor can influence this.

Rather watch or listen than read?

The Pelvis

The intrinsic stabilizers of the core are foundational. When we’re looking at the pelvis, the top of the intrinsic unit of our core is the diaphragm, while the bottom is the pelvic floor. These two things have to work together in a very fluid, rhythmical fashion for everything to have the proper sequencing, timing, and coordination. This is essentially what we refer to as motor control.

Once again, at the bottom of the pelvis, we have the pelvic floor. The pelvic floor is actually feeding into the deep hip stabilizers via the fascial tissue. This is what keeps the hip in its socket—think of it as a suction cup similar to the rotator cuff. This integration also occurs with our hip flexors or deep psoas.

Our psoas is also a deep stabilizer that prevents the hip from shifting forward, so it’s very important. It’s also deeply connected with the pelvic floor which integrates with the transverse abdominis—think of that as our natural weight belt. Drawing the belly button in is a way to feel this muscle. However, functionally, this will contract on our exhalation.

This ultimately connects to our diaphragm. These deep stabilizers have to work reflexively. If they don’t, we begin to see pain, injury, and mobility issues. The body will start to find stiffness where it needs it; it will create stiffness if there is a lack of stability.

To take it one step further, what you can do is try this exercise.

Breathing Exercise (with pelvic floor integration)

As you take an inhale through the nose, the tongue resting at the roof of your mouth touching the back of your teeth, allowing the pressure in the abdomen to go all the way down to the base of the pelvis, our pelvic floor will be in a lengthened position. Then as we exhale, our diaphragm goes back up to its resting position. The pelvic floor is gently contracting and lifting, and then that pressure is decreasing, of course. As the diaphragm goes back up, our abdominals are contracting to create that corset, and thereby we have a full diaphragmatic breath. This diaphragmatic breathing is critical to having an optimal hip function.

So why might you have tight hips?

Some of the several reasons include:

1. Sitting

This is the most common reason as to why you might have tight hips. Increased sitting decreases joint mobility and decreases the elasticity in your muscle and your fascia, creating ongoing stiffness.

2. Poor Breathing

Another thing that you might not think about is breathing. If we are not diaphragmatic breathing, as I just mentioned with proper sequencing and coordination, that can cause tight hips.

3. Pelvic Floor Tightness

Squeezing or clenching the pelvic floor is common as this is where we tend to hold a lot of emotions.

4. Stress

Because we hold our emotions here, stress is a big driver of tight hips and pelvic mobility.

5. Poor Hip Stability

If you are not sequencing properly from that stabilization perspective, you can not create force through the glutes. This is necessary to move the hip to its full range. This can lead to tightness and compensation. Your body will always figure out the path of least resistance, so if you don’t have stability somewhere, it will find stability by tightening things up.

How to Address this Issue

One of the simplest ways to begin to address this is to begin to work on your breath.

You can do this lying down with your knees back. It’s a great starting point. Stacking your rib cage over your pelvis is really important. We want the ribcage stacked right over the top so the diaphragm so it can communicate effectively with the pelvic floor. Inhaling, breathing 360 degrees of pressure into the abdomen, exhaling, contracting the abdomen—think of it like a corset or weight belt.

Now, begin to integrate it into everything you do: your day-to-day activities, exercise, stress management, and so on. Adopt this breathing pattern as your normal healthy breathing pattern which is exactly what it is. We breathe 25 000 times a day, so this is really how you want to think about breathing all right.

This can help you improve your hip function, hip mobility, and core function and give you a new perspective on why you might have tight hips.

Reach out for a 15-minute FREE discovery session to see how we can help you on your journey.

For more content, make sure to subscribe to our YouTube channel here.

Other things that may interest you:

Vagus Nerve Hack | Pelvic Floor Relaxation

Stop Stretching Your Hamstrings

Why You Shouldn’t R.I.C.E.

Vagus Nerve Hack | Pelvic Floor Relaxation

Another great vagus nerve hack that you can do is pelvic floor release and relaxation.

The vagus nerve is integrated with a sympathetic nervous system (fight/flight) almost everywhere in the body, but especially the gut and the pelvis. What’s interesting about the pelvic floor is that we tend to hold so much tension here. This is where we tend to hold our emotions, too.

Rather watch or listen than read?

Let’s dive into the anatomy. The posterior vagus nerve actually integrates with a network of sympathetic plexus with a network of nerves:

  1. celiac plexus
  2. superior and inferior mesenteric plexi
  3. superior and inferior hypogastric plexi

This plexi actually forms an integrated circuit that moves blood flow in and out of the pelvis, and this is exactly what the autonomic nervous system is all about—moving blood. This network of nerves is where the vagus nerve brings blood to the heart and brain. Lastly, urination, defecation, sexual orgasm all require this complex integration of all of these nerves and blood flow from the pelvis to the rest of the body. In order to do all of those things, we have to feel safe in the bedroom as well as in the bathroom. Safety is the cornerstone of our state of social engagement of the ventral vagal nerve. Check out the video HERE to see how to perform:

1.   Pelvic Floor Release

Sitting on a ball and addressing the pelvic floor musculature is a great way to create this efficient relaxation response. The placement of the ball is behind the pubic bone to address the front of the pelvic floor and then right inside of the buttocks to address the back of the pelvic floor. Sit on the ball and breathe diaphragmatically until you feel a release or relaxation response.

2.   Happy Baby

This is a great relaxation exercise where there are lots of variations. However, you just need to get to a position where you feel very comfortable, and you’re able to inhale into the pelvic floor. When you are inhaling, that’s when the pelvic floor is relaxing and you are opening the pelvic outlet.

3.   Rock on Forearms

Resting on the forearms and knees wide, inhale as you rock back and exhale as you rock slightly forward. Once again, you’re opening up the pelvic outlet, inhaling into the base of the pelvic floor to create that relaxation response.

The pelvic floor is one of the most fascinating connections with the vagus nerve, so it’s a really great way to address this from a chakra standpoint. It tends to be an area for clenching and guarding, and especially for holding emotions.

You can see this intimate relationship with your nervous system and how it could affect you.

Reach out for a 15-minute FREE discovery session to see how we can help you on your journey.

For more content, make sure to subscribe to our YouTube channel here.

Other things that may interest you:

Vagus Nerve Hack | Valsava Maneuver

Vagus Nerve Hack | Auricular Release

Vagus Nerve Hack | Neck Release

Why you should stop “stretching” your hip | HIP PAIN

Do you have hip pain that you are continually trying to stretch, roll, or smash, and nothing seems to get better?  Before we get into the role of the psoas, one of your key hip flexors, let’s speak about the local stabilizers and global stabilizers of the body. This is important to understand how you are going to treat your hip flexors and hip pain.

Think of the local stabilizers as being muscles that are close to the joint. They create more of an isometric contraction versus concentric (shortening) or eccentric (lengthening) contraction. They control the joint centration which means keeping the joint centered in its axis. It’s also independent of the activity of motion so if you raise your arm overhead, the deep stabilizers in my spine are going to activate before your arm goes overhead. Essentially these local stabilizers are imperative for stabilization in the body so that we can have proper movement.

Our global stabilizers are equally as important. However, they have a different role, so they have more of an eccentric contraction. They decelerate the range of motion, are continuous with motion, and are farther away from the joint.

Now getting back to the psoas, which is what everyone wants to stretch when they have hip pain.  The posterior or the back of the psoas is a local stabilizer. Think of it as one of our deep core muscles that is helping to stabilize the spine and also prevent the femur, our leg bone, from shifting forward in the hip joint. The anterior or front of the psoas serves as a global stabilizer. So, it is necessary to think of the psoas muscle as a stabilizer. Not only is it a stabilizer but it works in an integrated unit with all of the other muscles, including the pelvic floor, diaphragm, multifidus, the deep five rotators in the hip, and the transverse abdominus. All of these have to work together, and once again in this integrated fashion to be able to stabilize the low back and the pelvis during any kind of movement.

For example, if you performed a chest press with 30 pound in each hand on a bench and then transitioned into doing that on a stability ball, your weight would naturally go down. Why? Because you now have an unstable platform to work from and therefore can not generate as much force.

There are a lot of different hip pathologies that we won’t get into today, but when you have hip pain it typically happens from losing the deep stability of the hip. There are two common muscle imbalances that will exist. One is the TFL(tensor fascia latae) muscle, which is right in the front lateral side of the hip, can get tight, especially with increased sitting. Based on this attachment, it will pull the hip forward, and that will therefore inhibit or shut down the psoas. The other common muscle imbalance is the hamstring muscles, which can get tight for various reasons, inhibiting the glute muscles. The hamstrings can push the femur forward and that also leads us to lose that optimal position on the hip joint. Overtime if we have these muscle imbalances, instead of the hip being centered in the axis, it will start to shift forward and up. This will cause all types of pain issues and pathologies. Whether that’s a labral tear, hip impingement, tendinopathy, bursitis, and so on. So, it is important to get the hip stabilized and centered in the joint in order to decrease pain and ultimately improve function.

You can begin to do this through a four-step process. This is a great way to begin to address your pain, as well as any kind of movement compensation, and most importantly, integrate your foot with your core, in a very integrated manner. First is inhibiting the tissue, in this case we inhibited the TFL muscle that typically pulls the hip joint forward and creates that inhibition of the psoas as a deep stabilizer. Then, mobilize the hip joint to center the hip joint. Remember that when it is not in that center position it’s shifting forward enough so we’re shifting it back to the center position. Next, stabilize it by activating the deep stabilizers, such as our diaphragm, pelvic floor, etc. Then we’re integrating it with the ground. This is super important because the foot is part of the core and they work as an integrated unit. To get those deep stabilizers of the hip firing, short foot, i.e. foot to core sequencing, allows us to do that in a very integrated fashion.

4 Steps

1. Inhibition

For the TFL release, place the ball right on the outside of the hip. When you lie down, you’ll naturally rotate the hip in, which will expose the TFL muscle. With the other leg, anchor it up at a 90-degree angle and come down to your forearms. Holding that position your leg will be nice and long, naturally rotated in, and breathing throughout the exercise trying to relax into it.

2. Mobilization

For the hip mobilization with a band, you’ll place the band high up in the groin. You’ll have it back at a 45-degree angle away from you. You’ll start in a table position rocking forward 15 times, making sure your spine stays nice and long, and you’re breathing. Then rock away from the band, so to the opposite side, once again about 15 times, making sure you’re breathing throughout the exercise.

3. Activation

Now it’s time to activate the deep core, so you can do this by diaphragmatic breathing. Inhale, breathing into the abdomen and into the base of the pelvis allowing the abdomen to expand 360 degrees. Exhaling, letting the abdomen contract and the belly button in towards the spine. Once you feel like you have this established, then on your inhale allow the pelvic floor to relax, so you can exhale and gently lift the pelvic floor about 20% contraction to get a deeper integration. You want to think of this as a rhythmical balance, so nice and fluid. Inhaling to the base of the pelvis and exhaling gently lifting the pelvic floor.

4. Integration

Lastly, it’s time for integration. This is to be done with short foot. Standing on one leg, sitting the hips back, knees slightly bent, taking a breath in, while your foot relaxes then exhale and gently root the tips of the toes into the ground. That will naturally lift the arch and lift the metatarsal heads or ball of the foot.

So whether you have hip pain or hip tightness and are constantly stretching your hips, hopefully, this video will give you a little bit of insight to allow you to think about your hip differently and recognize that it is part of an integrated unit. It is really important to understand how that works as it relates to stabilization and movement

If you’d like to schedule a free 15 minute virtual discovery session, please email drarianne@staging.movementparadigm.flywheelsites.com or text 302-373-2394 to schdule. We’d love to help you get healthy again!

For more content, make sure to subscribe to our YouTube channel here.

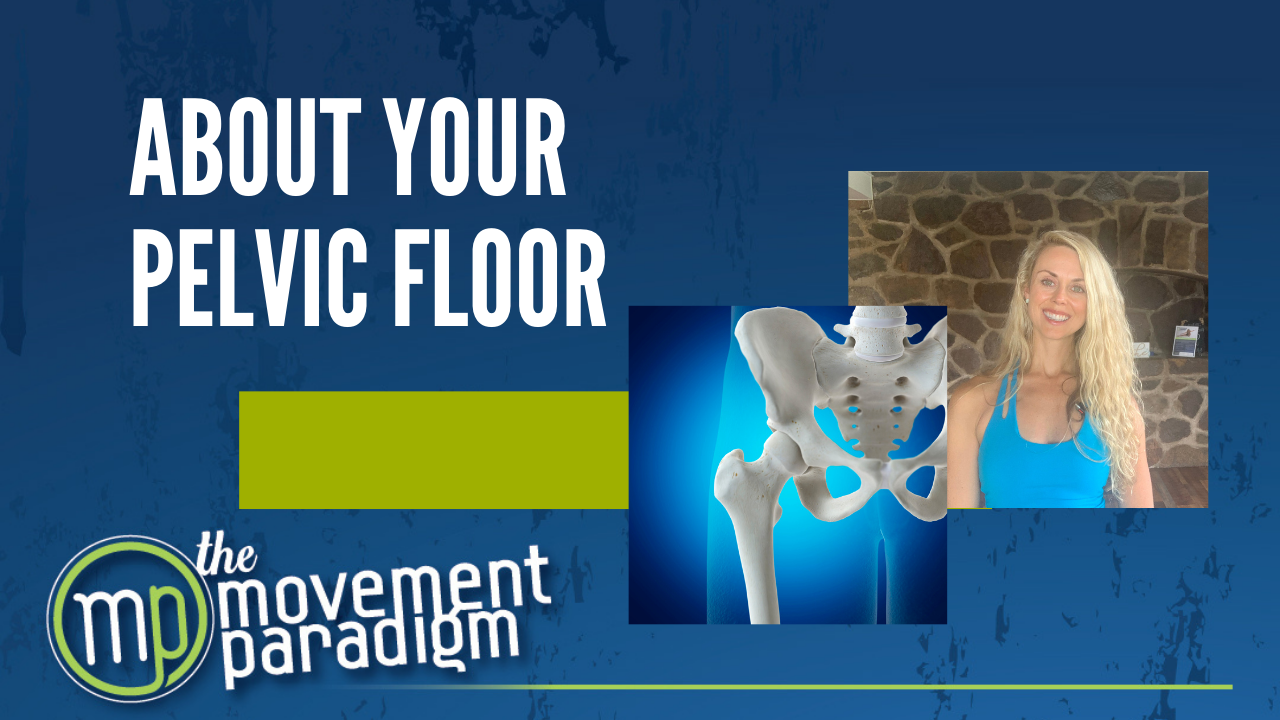
WHAT IS A HEALTHY PELVIC FLOOR?

Let’s discuss a much-overlooked topic in modern medicine, especially as it relates to rehabilitative medicine… the pelvic floor. Yes, both men and women have a pelvic floor, and both can be compromised and contribute to many different conditions including but not limited to incontinence issues, sexual issues, and chronic pain.

The pelvic floor is essentially the base of our core. It has to be integrated with the rest of the surrounding anatomy. That means the organs, the bowel and bladder, the connective tissue, and the ligamentous tissue all have to be deeply integrated and fine-tuned for everything to work in this rhythmical dance back and forth.

It also helps to support our daily functions, prevent urinary and fecal incontinence, improve sexual function, and many other functions that we’ll discuss.

So, what does a well-activated pelvic floor actually do?

1) We are constantly transmitting force through the body. So, a well-activated pelvic floor is going to attribute to the closing force to prevent any leakage of urine, fecal, or gas.

2) Research shows that between 60 to 80% of women with stress urinary incontinence can cure it or significantly improve it with pelvic floor retraining.

3) A well-activated pelvic floor is also going to allow the appropriate relaxation response of the pelvic floor muscles to allow for proper emptying of the bladder and to prevent any post dribble or leakage after you’ve finished urinating.

4) It should also be relaxed enough for proper evacuation of the bowel, but provide enough resistance for optimal defecation.

5) It supports internal organs such as the vagina, the bowel, and the bladder. Especially as it relates to women and pregnancy, the more intact the pelvic floor musculature is, the less likely there will be a prolapse.

6) It increases the tone which allows for greater sexual awareness. You need to have a pelvic floor that can relax completely so that you can have more pleasurable pain-free sex.

7) A well-activated pelvic floor will relax and significantly stretch during vaginal delivery.

8) A well-activated pelvic floor will work in coordination with your diaphragm and the rest of the abdominals. This is very important in looking at overall movement and movement efficiency.

Why is a well-activated pelvic floor important?

In summary, a well-activated pelvic floor is important for so many necessary functions. When it is not functioning well, it can contribute to a whole host of problems. One of which, that we see consistently in our office is pain.

Chronic pelvic pain, low back pain, hip pain, and even knee pain can all be driven by pelvic floor dysfunction. It’s way more common than you think!  It’s also an area where we tend to hold our emotions. So, I want to point out that as important as it is for the pelvic floor to contract, it is equally important for the pelvic floor to relax.

If it is always tight, then we are not able to fully contract and fully relax it. This can contribute to the same issues. That is why it is very important to get evaluated properly. If you are having any type of symptoms that might indicate you have a pelvic floor issue, please contact our office to schedule a pelvic floor examination.

Reach out for a 15-minute FREE discovery session to see how we can help you on your journey.

For more content, make sure to subscribe to our YouTube channel here.

Other things that may interest you:

Stop Stretching Your Hamstrings

3 AREAS IN YOUR BODY YOU HOLD YOUR STRESS

Why You Shouldn’t R.I.C.E.

3 AREAS IN YOUR BODY YOU HOLD YOUR STRESS

Did you know that there are three primary areas of the body that typically hold tension? All of us have preferred places in our bodies where our pain, worry, and fears are most readily expressed in muscular tension. The three key areas in the body that have the potential to be most affected by emotional forces are the pelvic floor, the diaphragm, and the jaw.

Many of you have experienced tension in your neck and jaw and tightness in your low back. This can be driven primarily by emotions. If we think of it this way, pleasurable experiences typically will cause us to relax, energize, and expand. Conversely, unpleasant experiences are going to typically cause us to contract, be tenser, and possibly even depressed. We must recognize that this stress or muscular tension that we are holding in these three primary areas is subconscious and that rather than just addressing the symptom, we have to focus on what is the root cause. Is there another way for you to express your emotion? Meditation, mindfulness, yoga, journaling, and talking to a friend or talking to a psychologist are all really powerful and often necessary. I’m going to discuss some quick bio hacks that can help with addressing these tensions and hopefully make you feel great.

Jaw

Many people tend to clench their jaw or grind their teeth, whether that’s during the day or at night. This is a subconscious behavior indicating that the nervous system is in survival mode. Here are two easy things that you can do while you’re brushing your teeth and then also during your workday that are very simple to relieve jaw tension and hopefully retrain and reprogram yourself to not clenching your jaw.

  • The first thing is to make sure that you have the optimal tongue position. Make sure that the tongue is resting on the roof of the mouth and the back of the front teeth. You’ll want to make sure that your teeth are slightly apart and your lips are gently closed. If you make a humming sound, your tongue will naturally be in the ideal position. Practice this multiple times a day to make sure you are tuning in. Also, when you are breathing diaphragmatically, your tongue would be in it’s resting position.
  • Another aspect of jaw tension is when your jaw is compensating for other things. For example, if there’s a lack of core stability and tension in the abdomen, you could be clenching your jaw to create stability. You do want to be properly evaluated but if you know that your jaw is tight you can do this release. Your masseter muscle is right on the outside of the jaw. Then you have your lateral pterygoid, which points up toward the ear and then the medial pterygoid, which goes down toward the bottom of the jaw, like scissors.  You can take your toothbrush in your mouth and move it up toward your ear to release the lateral pterygoid. You do this by holding your toothbrush in your mouth in that direction on the right side and then moving your jaw down, left, up, and then to the right. Then to release the medial pterygoid you would stick your toothbrush in your mouth again but this time toward the bottom of your jaw. Then, while holding the toothbrush on the right side you will move your jaw down, left, and then close. Now, to release the masseter, you will hold your fingers against the outside of your jaw on the left and then move your jaw down, right, and then close. You can do all of these on both sides. You can also use this as an assessment to see how tight your jaw is. 

Diaphragm

This tends to be an area where we can hold a lot of emotional tension and grief. We breathe 20 to 25,000 times a day so how you breathe matters. It’s not just about if you’re breathing to stay alive, it’s how you’re breathing. With practice and conscious regulation of this muscle, we can regulate our response and our emotions. However, during times of high stress, like right now in the world, the diaphragm can become very restricted which therefore can cause one of your most common complaints which is neck tension. Many will say “I hold my tension in my neck,” but that’s because they are breathing from the neck and shoulders, as opposed to the diaphragm.

You can check out my other video on how breathing is your superpower. But, for now, try to take three diaphragmatic breaths every hour. This means that you’re breathing in through the nose, ideally out through the nose, if possible, and you’re expanding your abdomen 360 degrees. That means that your chest will not rise up and down, but your abdomen will expand. The longer the exhalation, the more of a relaxation response you will have.

You want to start with a breath that feels comfortable for you. For example, three seconds in and three seconds out. As you feel more comfortable please try to extend your inhalation, exhalation, and even your pauses at the subtle shift before your exhalation, and then before your inhalation. This can be calming for the nervous system, but it also allows you this opportunity to tune in with what’s happening in your body, to be mindful, to understand what your emotions and thoughts are, and what your physical sensations are.

Pelvic Floor

This is often considered taboo, however, is one of the primary areas for men and women, where we unconsciously store emotions. This is also based on Eastern and Western medicine as it relates to the chakras, but also science.

The pelvic floor is critical for our emotional and energetic health. Think of dogs when they are expressing their emotions or they have done something wrong and their owner is upset; the dog will tuck their tail between their legs. That is the same concept of what happens where as humans, we create this tension in the pelvic region and we don’t even know it’s there. Pelvic floor issues are very commonly present as hip pain, low back pain, and sometimes even knee pain.  It can be something that is an underlying issue that is often overlooked but very common. Here are two exercises that you can do to relax your pelvic floor.

  1. Rock on your forearms: Place your elbows outside of your shoulder, knees outside of your hip, and keep your eyes gazing towards your fingertips. Inhale as you rock back, exhale as you rock forward. Make sure you keep your spine nice and straight. Your eyes gazing forward will allow that to happen. Inhale as you go back to relax the pelvic floor, exhale as you go forward belly button will go in towards your spine.
  2. Happy baby:  Lie on your back, grab your toes, outside of your shin, or inside of your shin. Inhale all the way down to the pelvic floor to relax it and you can rock gently back and forth.

In summary, start with the tongue on the roof of the mouth and resting on the back of the teeth. When you inhale, your pelvic floor is relaxing. The deeper your diaphragmatic breath, as that intra-abdominal pressure goes down, your pelvic floor is lengthening and relaxing. When you exhale, your abdomen tightens up like a corset. Just your breath alone with the proper positioning of your tongue can address all of these areas of emotion or muscular tension. Then, you can integrate that into your movement. When you are doing the happy baby or rocking on your forearms, make sure you integrate all those aspects together. Especially during this challenging time, make sure to be kind to yourself and the emotions you are feeling right now.

If you need help on your journey to better health, contact drarianne@staging.movementparadigm.flywheelsites.com to schedule.

For more content, make sure to subscribe to my YouTube channel here.

Other things that may interest you:

Vagus Nerve Hack | Auricular Ear Release

Top 5 Vagus Nerve Hacks to Help You Relax and Restore

Vagus Nerve Hack | Neck Release