Pelvic Floor Physical Therapy for Men: Regain Strength, Confidence, and Quality of Life

When discussing health and wellness, pelvic floor physical therapy is often seen as a women’s health issue. However, men can also experience significant benefits from addressing pelvic floor dysfunction. Whether you’re dealing with leaking (with or without activity), performance issues, pain in the lower back or hips, pre and post-prostate surgery complications, or bowel issues, understanding the importance of pelvic floor health can be a game-changer.

Why Pelvic Floor Health Matters

The pelvic floor is a group of muscles that support the bladder, bowel, and for men, the prostate. These muscles are crucial for urinary and fecal continence, sexual performance, and overall core stability. When the pelvic floor muscles are weak, too tight, or not functioning properly, a variety of symptoms can arise.

Common Symptoms in Men:

  • Leaking: Urinary incontinence can occur during physical activities or even when at rest, leading to discomfort and embarrassment.
  • Sexual Performance Issues: Erectile dysfunction or premature ejaculation can be linked to pelvic floor dysfunction.
  • Pre and Post-Prostate Surgery: Surgery can impact pelvic floor muscles, making rehabilitation essential for recovery and maintaining function.
  • Pain: Chronic pain in the lower back, hips, or pelvic region can often be traced back to pelvic floor issues.
  • Bowel Issues: Constipation or fecal incontinence can also be symptoms of pelvic floor dysfunction.

The Importance of Assessment and Treatment

A thorough assessment by a trained pelvic floor physical therapist can identify the specific issues affecting you. This process typically involves a detailed history and physical examination to pinpoint muscle imbalances, weakness, or tension. Once identified, a personalized treatment plan can be developed. Our approach starts with an assessment done externally and uses breathwork to help you connect to your pelvic floor. This connection allows for better integration of your pelvic floor into your daily habits. Being more aware of where you hold tension and where you compensate helps us make changes to work on strengthening the right muscles to help you towards your goals. In other settings, an internal assessment may be completed on your first visit. 

Treatment Approaches May Include:

  • Exercises: Once an assessment is completed, you will be provided tailored exercises based on your pelvic floor needs. This could begin with working on relaxing the muscles in order to progress into strengthening the muscles through their full range. Integrating exercises into your daily life allows for improvement of function and reducing symptoms.
  • Education: Understanding your condition and how to manage symptoms effectively. Creating a toolbox of exercises for your symptoms and goals is important to help you feel empowered with being able to make changes to help you feel your best. Most importantly learning the anatomy of the pelvic floor to best understand how to advocate for yourself. 

Empowering Men to Take Charge of Their Health

The goal of pelvic floor physical therapy is not just to alleviate symptoms but to empower men to regain strength, confidence, and control over their bodies. Addressing pelvic floor issues can significantly improve your quality of life, allowing you to engage in activities you enjoy without fear of embarrassment or pain.

Building Strength and Confidence

Through dedicated pelvic floor physical therapy, men can:

  • Regain Control: Effective management of incontinence and bowel issues.
  • Enhance Performance: Improved sexual health and function.
  • Reduce Pain: Alleviation of chronic pelvic, hip, and back pain.
  • Recover Holistically: Optimal recovery from prostate surgery.

By taking proactive steps toward assessing and treating pelvic floor dysfunction, men can look forward to a future where they feel strong, confident, and in control. Remember, seeking help is a sign of strength, and investing in your health now can lead to lasting benefits.

If you’re experiencing any of the symptoms mentioned, reach out to us for an appointment or a local pelvic floor physical therapist. It’s time to take charge of your health and rediscover your potential.

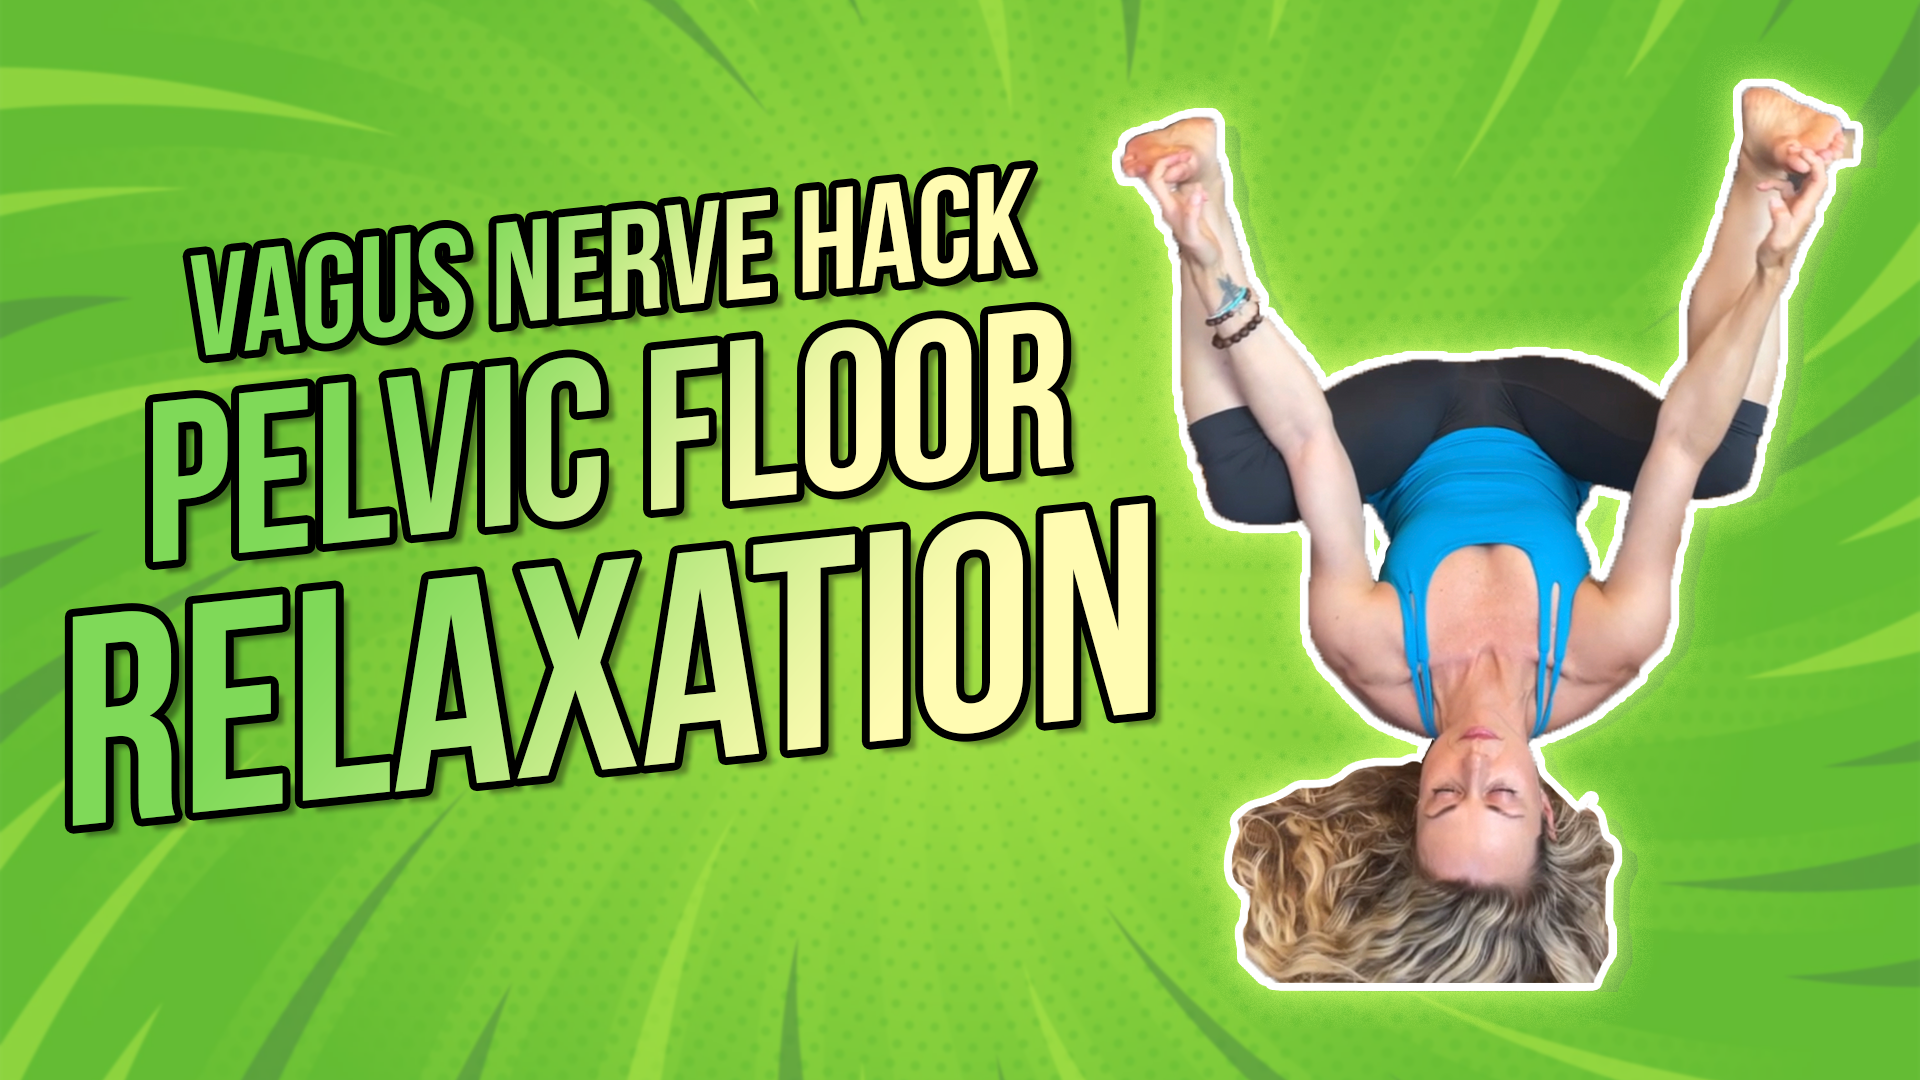
Vagus Nerve Hack | Pelvic Floor Relaxation

Another great vagus nerve hack that you can do is pelvic floor release and relaxation.

The vagus nerve is integrated with a sympathetic nervous system (fight/flight) almost everywhere in the body, but especially the gut and the pelvis. What’s interesting about the pelvic floor is that we tend to hold so much tension here. This is where we tend to hold our emotions, too.

Rather watch or listen than read?

Let’s dive into the anatomy. The posterior vagus nerve actually integrates with a network of sympathetic plexus with a network of nerves:

  1. celiac plexus
  2. superior and inferior mesenteric plexi
  3. superior and inferior hypogastric plexi

This plexi actually forms an integrated circuit that moves blood flow in and out of the pelvis, and this is exactly what the autonomic nervous system is all about—moving blood. This network of nerves is where the vagus nerve brings blood to the heart and brain. Lastly, urination, defecation, sexual orgasm all require this complex integration of all of these nerves and blood flow from the pelvis to the rest of the body. In order to do all of those things, we have to feel safe in the bedroom as well as in the bathroom. Safety is the cornerstone of our state of social engagement of the ventral vagal nerve. Check out the video HERE to see how to perform:

1.   Pelvic Floor Release

Sitting on a ball and addressing the pelvic floor musculature is a great way to create this efficient relaxation response. The placement of the ball is behind the pubic bone to address the front of the pelvic floor and then right inside of the buttocks to address the back of the pelvic floor. Sit on the ball and breathe diaphragmatically until you feel a release or relaxation response.

2.   Happy Baby

This is a great relaxation exercise where there are lots of variations. However, you just need to get to a position where you feel very comfortable, and you’re able to inhale into the pelvic floor. When you are inhaling, that’s when the pelvic floor is relaxing and you are opening the pelvic outlet.

3.   Rock on Forearms

Resting on the forearms and knees wide, inhale as you rock back and exhale as you rock slightly forward. Once again, you’re opening up the pelvic outlet, inhaling into the base of the pelvic floor to create that relaxation response.

The pelvic floor is one of the most fascinating connections with the vagus nerve, so it’s a really great way to address this from a chakra standpoint. It tends to be an area for clenching and guarding, and especially for holding emotions.

You can see this intimate relationship with your nervous system and how it could affect you.

Reach out for a 15-minute FREE discovery session to see how we can help you on your journey.

For more content, make sure to subscribe to our YouTube channel here.

Other things that may interest you:

Vagus Nerve Hack | Valsava Maneuver

Vagus Nerve Hack | Auricular Release

Vagus Nerve Hack | Neck Release

Why you should stop “stretching” your hip | HIP PAIN

Do you have hip pain that you are continually trying to stretch, roll, or smash, and nothing seems to get better?  Before we get into the role of the psoas, one of your key hip flexors, let’s speak about the local stabilizers and global stabilizers of the body. This is important to understand how you are going to treat your hip flexors and hip pain.

Think of the local stabilizers as being muscles that are close to the joint. They create more of an isometric contraction versus concentric (shortening) or eccentric (lengthening) contraction. They control the joint centration which means keeping the joint centered in its axis. It’s also independent of the activity of motion so if you raise your arm overhead, the deep stabilizers in my spine are going to activate before your arm goes overhead. Essentially these local stabilizers are imperative for stabilization in the body so that we can have proper movement.

Our global stabilizers are equally as important. However, they have a different role, so they have more of an eccentric contraction. They decelerate the range of motion, are continuous with motion, and are farther away from the joint.

Now getting back to the psoas, which is what everyone wants to stretch when they have hip pain.  The posterior or the back of the psoas is a local stabilizer. Think of it as one of our deep core muscles that is helping to stabilize the spine and also prevent the femur, our leg bone, from shifting forward in the hip joint. The anterior or front of the psoas serves as a global stabilizer. So, it is necessary to think of the psoas muscle as a stabilizer. Not only is it a stabilizer but it works in an integrated unit with all of the other muscles, including the pelvic floor, diaphragm, multifidus, the deep five rotators in the hip, and the transverse abdominus. All of these have to work together, and once again in this integrated fashion to be able to stabilize the low back and the pelvis during any kind of movement.

For example, if you performed a chest press with 30 pound in each hand on a bench and then transitioned into doing that on a stability ball, your weight would naturally go down. Why? Because you now have an unstable platform to work from and therefore can not generate as much force.

There are a lot of different hip pathologies that we won’t get into today, but when you have hip pain it typically happens from losing the deep stability of the hip. There are two common muscle imbalances that will exist. One is the TFL(tensor fascia latae) muscle, which is right in the front lateral side of the hip, can get tight, especially with increased sitting. Based on this attachment, it will pull the hip forward, and that will therefore inhibit or shut down the psoas. The other common muscle imbalance is the hamstring muscles, which can get tight for various reasons, inhibiting the glute muscles. The hamstrings can push the femur forward and that also leads us to lose that optimal position on the hip joint. Overtime if we have these muscle imbalances, instead of the hip being centered in the axis, it will start to shift forward and up. This will cause all types of pain issues and pathologies. Whether that’s a labral tear, hip impingement, tendinopathy, bursitis, and so on. So, it is important to get the hip stabilized and centered in the joint in order to decrease pain and ultimately improve function.

You can begin to do this through a four-step process. This is a great way to begin to address your pain, as well as any kind of movement compensation, and most importantly, integrate your foot with your core, in a very integrated manner. First is inhibiting the tissue, in this case we inhibited the TFL muscle that typically pulls the hip joint forward and creates that inhibition of the psoas as a deep stabilizer. Then, mobilize the hip joint to center the hip joint. Remember that when it is not in that center position it’s shifting forward enough so we’re shifting it back to the center position. Next, stabilize it by activating the deep stabilizers, such as our diaphragm, pelvic floor, etc. Then we’re integrating it with the ground. This is super important because the foot is part of the core and they work as an integrated unit. To get those deep stabilizers of the hip firing, short foot, i.e. foot to core sequencing, allows us to do that in a very integrated fashion.

4 Steps

1. Inhibition

For the TFL release, place the ball right on the outside of the hip. When you lie down, you’ll naturally rotate the hip in, which will expose the TFL muscle. With the other leg, anchor it up at a 90-degree angle and come down to your forearms. Holding that position your leg will be nice and long, naturally rotated in, and breathing throughout the exercise trying to relax into it.

2. Mobilization

For the hip mobilization with a band, you’ll place the band high up in the groin. You’ll have it back at a 45-degree angle away from you. You’ll start in a table position rocking forward 15 times, making sure your spine stays nice and long, and you’re breathing. Then rock away from the band, so to the opposite side, once again about 15 times, making sure you’re breathing throughout the exercise.

3. Activation

Now it’s time to activate the deep core, so you can do this by diaphragmatic breathing. Inhale, breathing into the abdomen and into the base of the pelvis allowing the abdomen to expand 360 degrees. Exhaling, letting the abdomen contract and the belly button in towards the spine. Once you feel like you have this established, then on your inhale allow the pelvic floor to relax, so you can exhale and gently lift the pelvic floor about 20% contraction to get a deeper integration. You want to think of this as a rhythmical balance, so nice and fluid. Inhaling to the base of the pelvis and exhaling gently lifting the pelvic floor.

4. Integration

Lastly, it’s time for integration. This is to be done with short foot. Standing on one leg, sitting the hips back, knees slightly bent, taking a breath in, while your foot relaxes then exhale and gently root the tips of the toes into the ground. That will naturally lift the arch and lift the metatarsal heads or ball of the foot.

So whether you have hip pain or hip tightness and are constantly stretching your hips, hopefully, this video will give you a little bit of insight to allow you to think about your hip differently and recognize that it is part of an integrated unit. It is really important to understand how that works as it relates to stabilization and movement

If you’d like to schedule a free 15 minute virtual discovery session, please email [email protected] or text 302-373-2394 to schdule. We’d love to help you get healthy again!

For more content, make sure to subscribe to our YouTube channel here.