Are you experiencing chronic left side neck pain? Perhaps you also feel discomfort around the sternoclavicular joint, thoracic spine, or even your SI joint. You’ve probably visited various practitioners and tried different therapies, yet the pain persists. Have you considered that your stomach might be the root cause?
Often, we chase the pain without addressing its true source. This situation is a perfect example. If you’ve repeatedly treated the SI joint or neck without success, it’s time to consider other root causes—such as your stomach.
Rather watch than listen?
Initial Assessment
Start with a simple assessment to see if your stomach might be contributing to your pain:
Left Rotation: Turn your head to the left. Is there any pain or restriction? Compare this to turning your head to the right.
Side Bend: Bend your head to the left and note any discomfort.
Upper Back Rotation: Rotate your upper back to the left and then to the right, checking for stiffness or pain.
These assessments help determine if your spine’s movement is affected by your stomach.
Anatomical Orientation: Sternum to Gastroesophageal Junction
To understand the connection, visualize the anatomy: Start at the bottom of the sternum at the xiphoid process. Move your hand along the rib cage on the left side, down to about L1 and L2 lumbar vertebrae.
Hands-on Stomach Assessment and Retesting Movements
Place your hand below the rib cage and perform the following retests: Check if the pain or restriction improves when turning your head to the left or right. Rotate your upper back to the left and right again, noting any changes in discomfort. Perform repetitive motions like forward and backward bending to see if symptoms are provoked, then reassess with your hand on your stomach. If you notice improvements, there may be a visceral component related to your stomach.
Treatment and Stabilization
Assuming that your stomach is part of your neck, thoracic, or SI joint pain, you can start working on movement and breathing to improve it. Breath is the foundation of this treatment.
Cross your hands over your chest, bend slightly backward towards your right shoulder, and take a deep breath in. Hold, then exhale while bringing the ribs down. This creates pressure and a fascial stretch, helping to regulate and improve the stomach’s mobility. Perform this breath and movement exercise three to five times, then retest your left cervical movement to see if it feels freer.
To stabilize, there are many exercises you could do, but at a minimum, I suggest focusing on stabilizing your upper body. For instance, try maintaining a table position on all fours while using your breath. This engages your shoulders, core, and breath to create proper stability and sequencing. If you’re targeting the SI joint, consider doing a standing exercise. Ultimately, the goal is to reprogram your body.
If this was helpful, please give it a like, share it, and subscribe to our YouTube channel, the Movement Paradigm, for weekly tips on mindset, nutrition, and movement. Our goal is to help you live your best life, heal, transform, and, more importantly, thrive.
You can always join us in our app, the Movement Paradigm. We have lots of challenges every other month—everything from movement to the nervous system, nutrition, and so on. And we have a great community of people.
You can also reach out to us for an individual appointment for functional medicine or holistic physical therapy. If you really want to get to the root cause, please reach out to us.
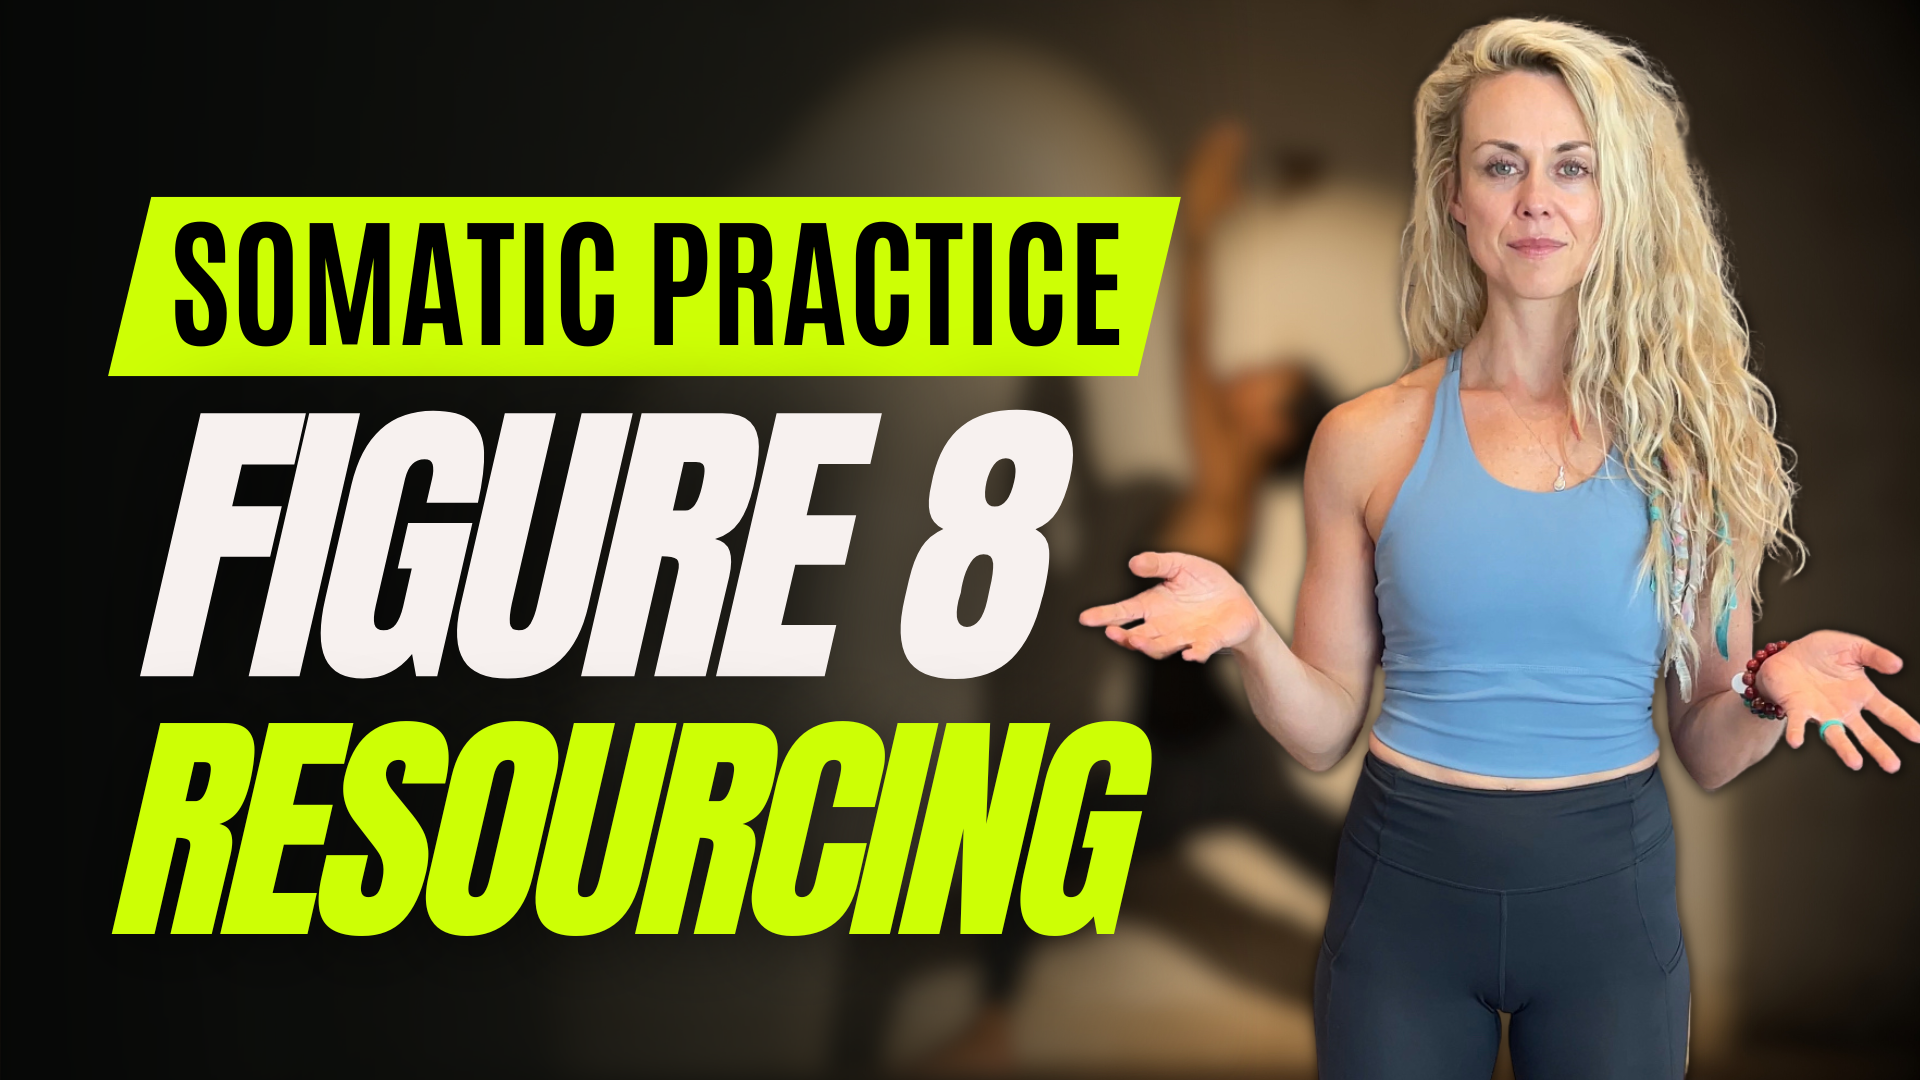
Our bodies are dynamic reflections of our past experiences, thoughts, and emotions. We often hold these in our physical form through our posture and movement patterns, sometimes unconsciously. In this blog, we’ll share a beautiful somatic practice with you called Figure-8 Resourcing.
Rather watch or listen?
Understanding Figure-8 Resourcing
In this practice, we will use gravity as feedback to enhance our proprioceptive awareness (our sense of body position) and interoceptive awareness (our internal sense of self).
How to Perform This Exercise
1. Prepare Your Stance
Begin by standing with your feet hip-width apart or in whatever stance feels comfortable for you. Settle into your body by focusing on your breath. You can close your eyes or keep a soft gaze directed gently towards the floor. Take a moment to notice any immediate emotions, thoughts, or tension.
2. Tune into Your Breath
Bring your awareness to your breath, observing without changing its natural pattern. Notice if you’re breathing shallowly or deeply.
3. Start Swaying
When you’re ready, gently sway side to side, feeling your weight shift and your body move against gravity. Feel the increased weight on one side, then the other.
4. Visualize the Figure-8 Motion
Imagine you have two paintbrushes attached to your sit bones, the bones you sit on. Envision yourself drawing a figure-eight motion with these paintbrushes. Shift side to side in a gentle figure-eight motion. Feel your whole body shift and move, and notice any sensations that arise.
5. Expand Your Awareness
Expand your awareness to your whole body: your head, neck, shoulders, and the subtle movement in your spine, especially as you move down to your pelvis. Notice how each figure-eight creates different sensations in your body. You might feel tension on one side and relaxation on the other, or perhaps discomfort on one side.
6. Reflect and Adjust
As you become more aware of these sensations, see if anything begins to shift from when you started. Notice the rhythmic nature of your movements, and bring your awareness back to your breath and body.
7. Ground Yourself
Return to the stance you started with, feeling your feet grounded. Feel the soles of your feet anchored to the floor, the weight of your body against gravity, the center of your core around your belly button, and the position of your head over your spine.
8. Reflect on Your Experience
When you’re ready, bring your awareness back to the room. Take a moment to reflect. Part of our somatic practice involves noticing what’s happening. You may want to journal your experience—whether it was positive or negative, what emotions or thoughts came up, and what physical sensations you noticed.
Use this practice anytime you want to tune in and connect to your beautiful body.
If this was helpful, please give it a like, share it, and subscribe to our YouTube channel, the Movement Paradigm, for weekly tips on mindset, nutrition, and movement. Our goal is to help you live your best life, heal, transform, and, more importantly, thrive.
You can always join us in our app, the Movement Paradigm. We have lots of challenges every other month—everything from movement to the nervous system, nutrition, and so on. And we have a great community of people.
You can also reach out to us for an individual appointment for functional medicine or holistic physical therapy. If you really want to get to the root cause, please reach out to us.
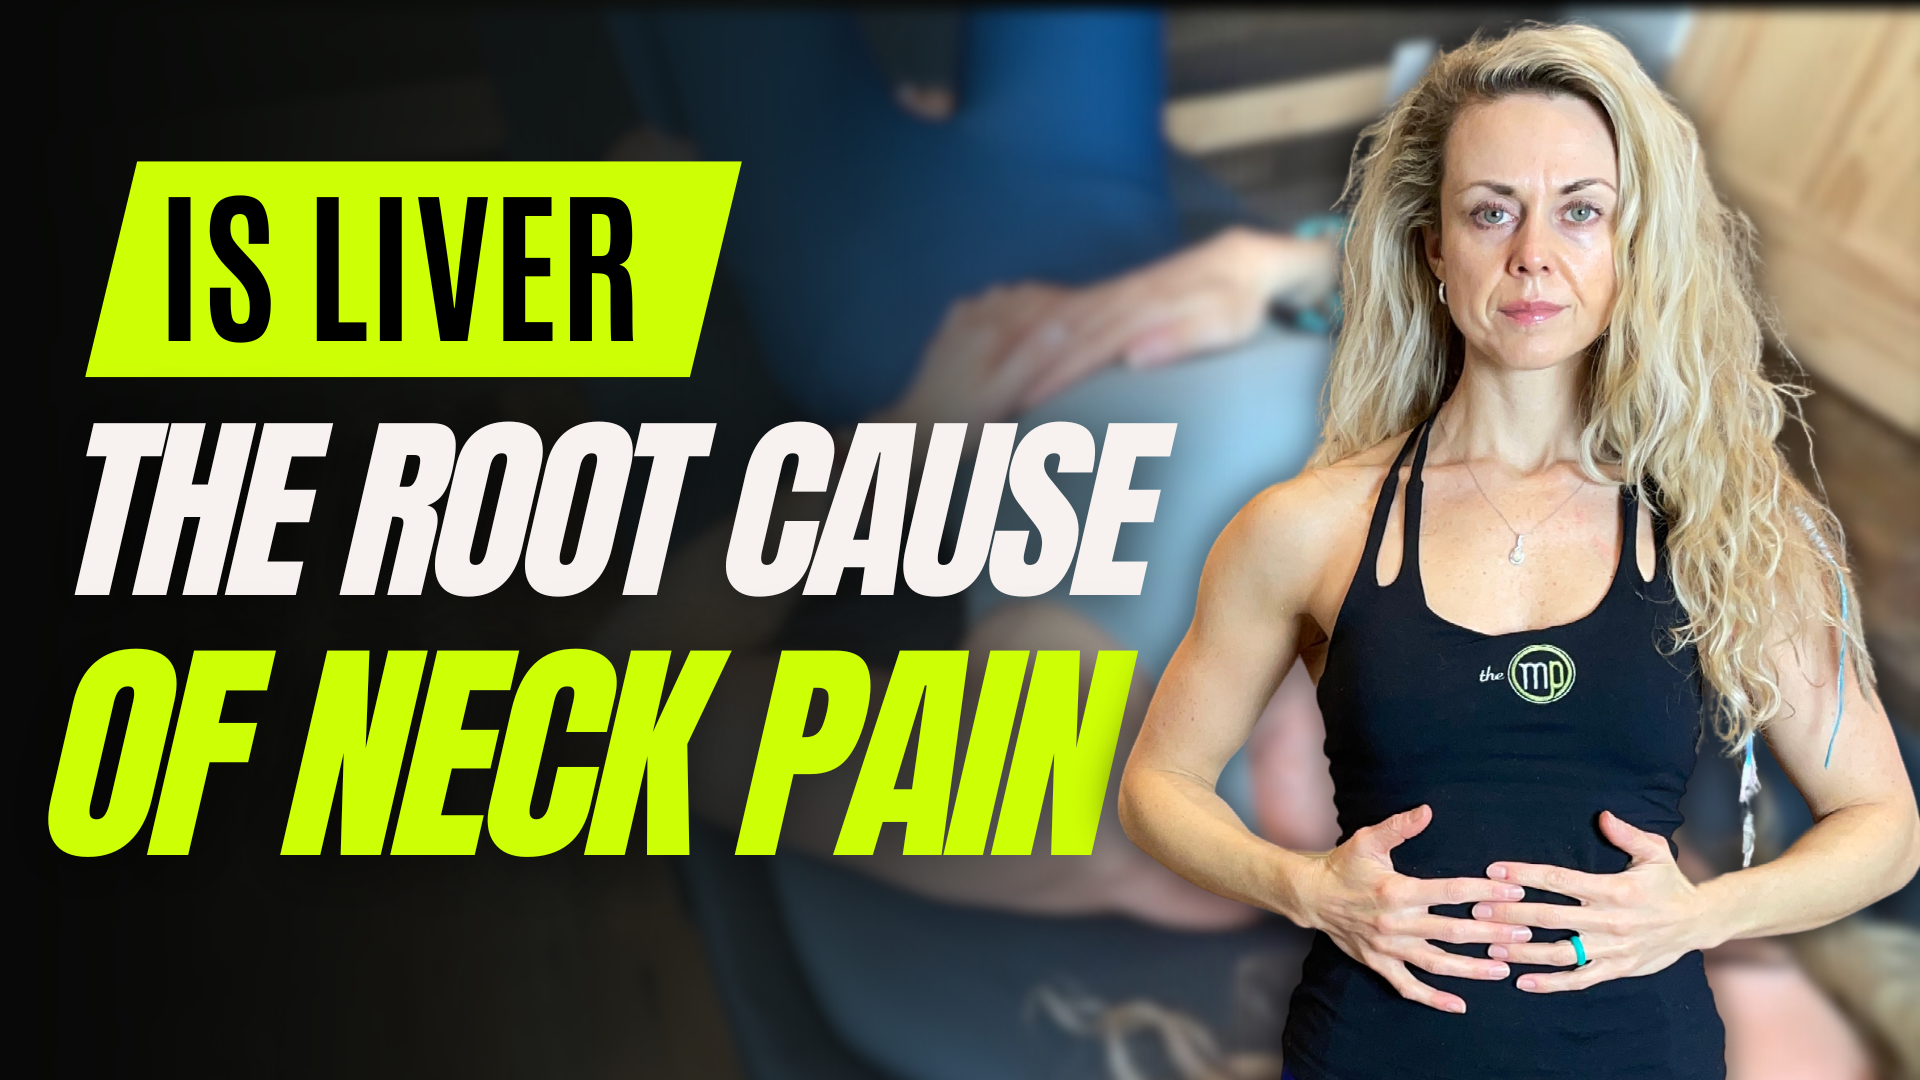
Are you experiencing right-sided neck pain, right shoulder pain, or sciatica? Are traditional treatments failing to provide relief? Perhaps you’re also dealing with frustration, anger, skin issues, or digestive problems. If so, your liver might be playing a significant role. Today, we’ll explore the connection between liver and neck pain, helping you look deeper into potential root causes.
Rather watch or listen?
The Connection Between Liver and Neck Pain
The liver is an incredible organ, essential for detoxifying blood, metabolizing nutrients, and producing bile. It’s vital for overall health, yet many factors can compromise its function. Genetic variances, toxic exposure, inflammatory diets, and chronic stress can all impact the liver. Additionally, there’s an emotional link to our organs; the liver is often associated with anger and frustration.
If you frequently feel stuck in a fight-or-flight state, constantly frustrated, or angry, it could indicate liver issues. Our main focus today is the liver’s connection to musculoskeletal problems, particularly in the right neck and shoulder. However, the liver can also affect the thoracic spine and cause sciatica on either side. Fascial connections, ligaments, and the liver’s relationship with the diaphragm mean liver issues can manifest as common musculoskeletal pain.
Self-Assessment for Liver-Related Pain
Let’s begin with a simple assessment. Even if you’re not currently in pain, checking for restrictions or mobility issues can be helpful. Turn your head fully to the right, then to the left. Tilt your head to each side and bring your chin down to your collarbone. Notice any tightness or restriction.
If you do experience pain, try this: place your left hand over your liver area, just below the right rib cage. Apply gentle pressure and turn your head to the right again. Notice any changes in range of motion or pain reduction. You can also test your shoulder: raise your arm without pressure on the liver, then with pressure, and compare the differences.
This assessment can reveal whether liver input affects your musculoskeletal system, suggesting fascial or joint restrictions linked to liver function.
Addressing Neck and Shoulder Pain
Here’s how to address neck and shoulder pain potentially linked to liver issues:
Cross-Body Stretch
Cross your arms over your chest, each hand on the opposite shoulder. Inhale as you rotate to one side, hold briefly, then exhale and return to the center. Repeat on the other side to stretch the fascia and create rib cage expansion.
Alternating Arm Movements
Inhale as you lift one arm up and the other down, then switch sides. Repeat several times to promote mobility.
Liver Motility Exercises
Imagine a 3D motion for the liver: out, up, and back, then down, front, and in. Perform this gentle practice for 45 seconds to a minute, mimicking the liver’s natural movement during breathing.
After these exercises, recheck your range of motion. You might find your neck and shoulder movements feel freer and less restricted.
Supporting Liver Health
To maintain a healthy liver, focus on a nutritious diet and incorporate lymphatic drainage practices. By supporting one of your body’s key detoxification organs, you can enhance overall health and potentially reduce musculoskeletal pain.
If this was helpful, please give it a like, share it, and subscribe to our YouTube channel, the Movement Paradigm, for weekly tips on mindset, nutrition, and movement. Our goal is to help you live your best life, heal, transform, and, more importantly, thrive.
You can always join us in our app, the Movement Paradigm. We have lots of challenges every other month—everything from movement to the nervous system, nutrition, and so on. And we have a great community of people.
You can also reach out to us for an individual appointment for functional medicine or holistic physical therapy. If you really want to get to the root cause, please reach out to us.
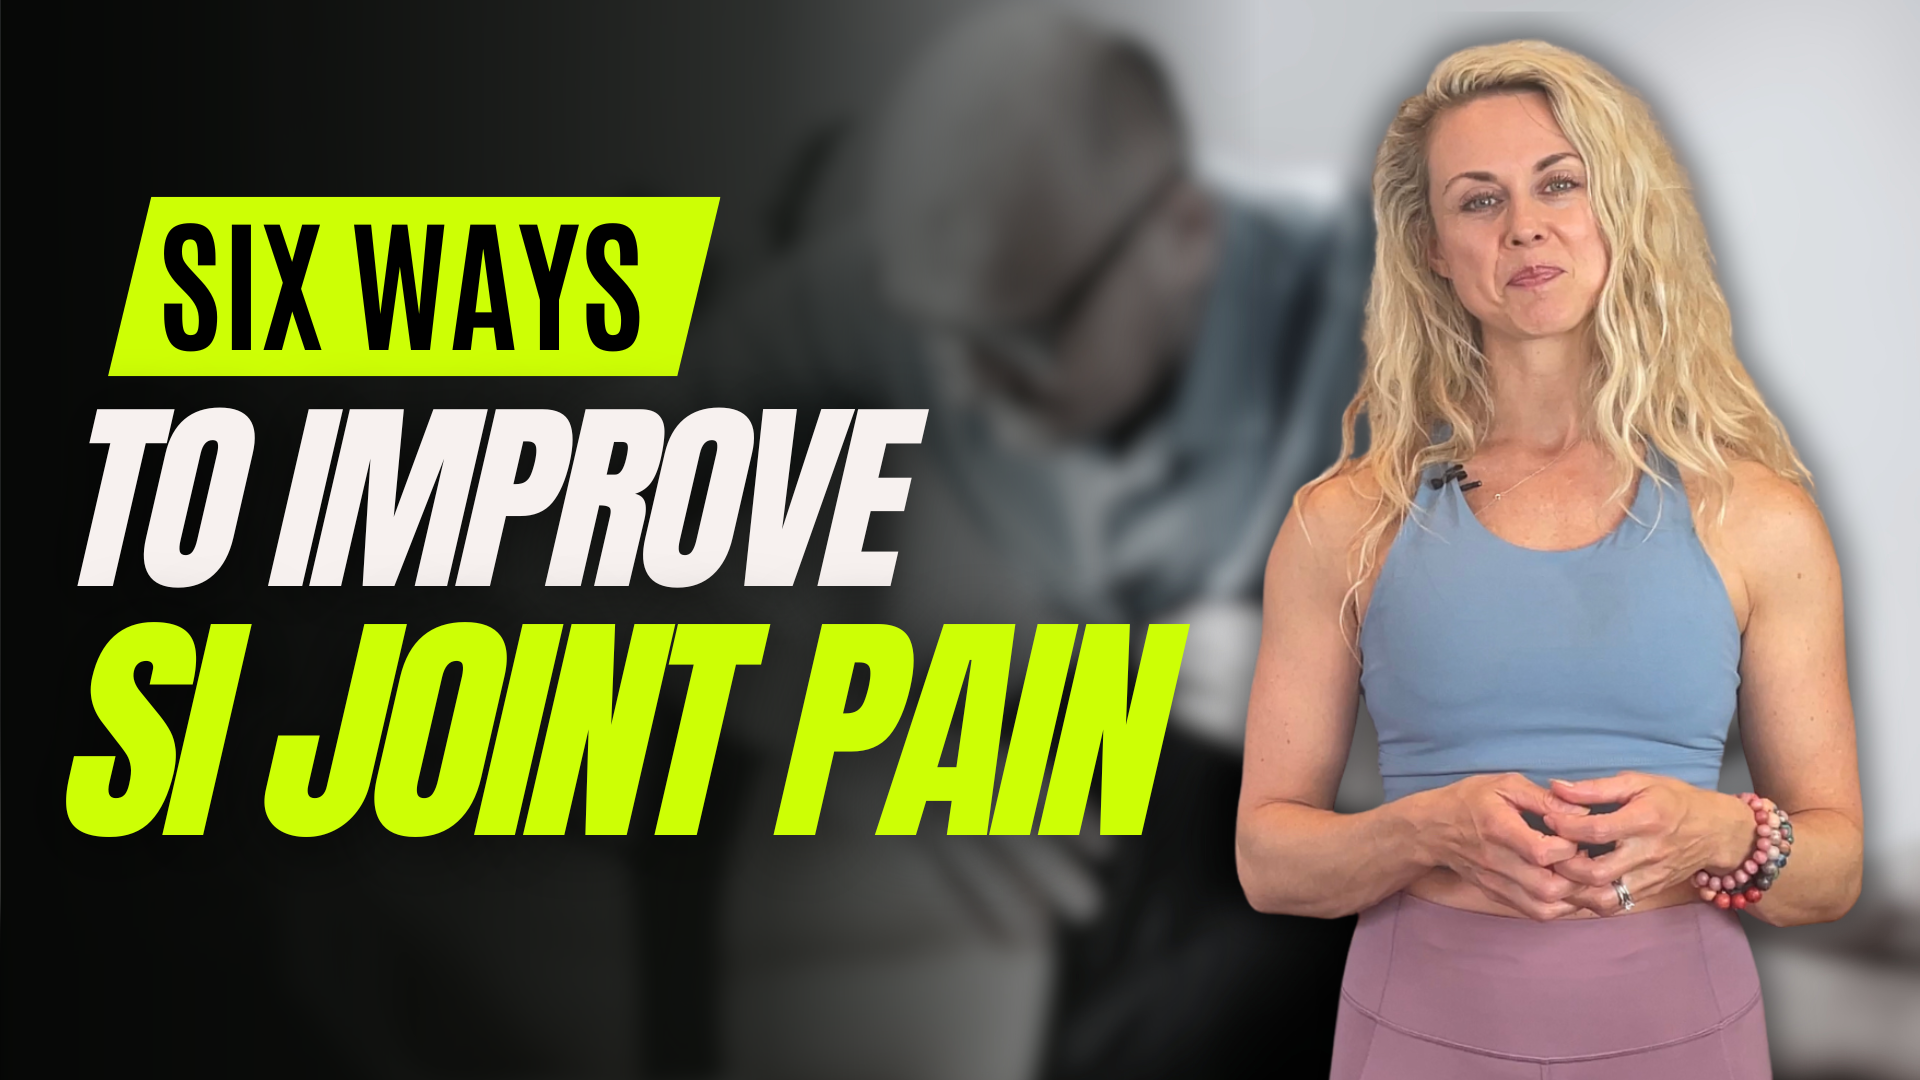
Struggling with SI joint pain even after physical therapy? You’re not alone. This pain can be frustrating, but the good news is there are often solutions. In this blog, we’ll explore six common causes of SI joint pain and offer targeted strategies to get you back on track. We’ll go beyond generic exercises and delve into specific approaches to address the root of your discomfort. Here’s how to improve SI joint pain.
Rather watch or listen?
What is the SI Joint?
When looking at the pelvis from the back, consider the bones: the sacrum, a triangular bone, and the ilium on each side. These pelvic bones are connected by various ligaments, including the sacrotuberous and sacrospinous ligaments, creating force and forming closure on the SI joint. Pain typically occurs in the lower back region, often near the bony bumps, but it can also present in different areas around the pelvis.
The SI joint is very stable due to its self-locking mechanism, known as form-force closure. This stability depends on the forces entering the joint. For example, a vertical load creates stability through form, while different forces transmitted through the joint also contribute to stability.
Six Causes of SI Joint Pain and How to Improve Them
1. Asymmetry
Most people with SI joint pain experience it on one side. Our bodies are asymmetrical due to the placement of organs like the liver, pancreas, and spleen. Daily activities, such as writing with one hand, driving, and crossing legs, can exacerbate these asymmetries. This can lead to changes in the diaphragm and respiration, affecting the stability of the entire integrated unit. For instance, a pattern of crossing the right leg may lead to internal hip rotation and weaker external rotation, contributing to pain.
2. Force Transfer
Asymmetries affect how we transfer force through our bodies. Our fascial tissue, a 3D network, plays a crucial role in this process. The deep longitudinal line, which includes the lower leg, hamstrings, hip rotators, and low back muscles, is essential for force transmission. Compensations and imbalances, such as flat feet or tight lower leg muscles, can impact this line and contribute to SI joint pain.
Optimal stability and reflexive stabilization from the deep front fascial line, which includes the foot, inner thighs, pelvic floor, diaphragm, and even the tongue, are critical for SI joint mobility and stability. Ensuring all the surrounding musculature is stable is essential for effective force transfer.
3. Foot Position
Foot position can influence SI joint pain. Overly everted (turned in) or inverted (high-arched) feet can stress the SI joint. A rotated-in, flatter foot may lack deep stability for proper force generation, while an externally rotated foot can stress the SI joint ligaments. Achieving a neutral foot position through mobility and stability exercises can help balance the lower leg and reduce stress on the pelvis.
4. Breathing
Proper breathing involves positioning the diaphragm correctly, with the rib cage over the pelvis in a stacked position. This allows the diaphragm to communicate efficiently with the pelvic floor. An open scissors posture, where the pelvis is tipped down and the rib cage up, can cause compression on the SI joint. To improve breathing, keep the tongue on the roof of your mouth, breathe through your nose, and focus on a 360-degree breath. Exhale with the abdomen contracting while maintaining a stacked position.
5. Pelvic Mobility
While stability is crucial, pelvic mobility is equally important, especially during gait. SI joint issues often involve mobility problems. The pelvis should move forward, backward, rotate, and side bend for optimal movement. Practicing pelvic movements while lying down and coordinating with your breath can restore natural fluid movement in the pelvis.
6. Integration
To bring it all together, stability, sequencing, timing, coordination with breath, foot position, and addressing asymmetries are essential. An effective exercise to integrate these elements is the short foot exercise.
How to do the Short Foot Exercise:
Step with one foot forward and the other foot slightly back, creating a small kickstand.
Hinge at the hip.
Breathe in through your nose, exhale, and gently root the tips of your toes into the ground.
Breathe in with the tongue at the roof of your mouth, exhale, and root the tips of your toes into the ground.
If this feels easy, progress to a single-leg stance.
This exercise promotes reflexive stabilization from the foot, enhances breath control, and engages deep stabilizers. It helps integrate stability and mobility for optimal pelvic movement and efficiency.
If this was helpful, please give it a like, share it, and subscribe to our YouTube channel, the Movement Paradigm, for weekly tips on mindset, nutrition, and movement. Our goal is to help you live your best life, heal, transform, and, more importantly, thrive.
You can always join us in our app, the Movement Paradigm. We have lots of challenges every other month—everything from movement to the nervous system, nutrition, and so on. And we have a great community of people.
You can also reach out to us for an individual appointment for functional medicine or holistic physical therapy. If you really want to get to the root cause, please reach out to us.
Are you experiencing digestive issues such as bloating, constipation, diarrhea, belching, or gas? In this blog, we’re going to dive into six specific ways on how to improve your digestion.
We’ll also explain the importance of a healthy digestive system and how to achieve it through natural practices.
Rather watch or listen?
What You Need to Know About Digestion
Digestion is a complex process with many variables, but there’s a lot we can control. The breakdown of food starts in the mouth with enzymes from saliva. The stomach uses hydrochloric acid and pepsin to break down proteins. The pancreas releases enzymes to break down carbs, proteins, and fats. The liver and gallbladder produce bile to aid fat digestion. The small intestine has enzymes to complete digestion.
When digestion breaks down, it can lead to gut issues like dysbiosis, leaky gut, inflammation, and even pathogens.
So, what are some tips to improve digestion?
6 Tips to Improve Digestion
1. Bringing yourself to a parasympathetic nervous system state
This means ‘rest and digest.’ When in fight-or-flight mode, blood flow moves away from the digestive tract. If we’re multitasking, like reading or looking at our phone, we’re increasing cortisol and diverting blood flow away from the digestive tract, which slows digestion. I recommend a nervous system practice before eating.
If you’re stressed or anxious, you might need to do a somatic practice to get rid of excess energy. This could be shaking, bouncing, or body drumming. Follow this with diaphragmatic breathing: in through the nose, out through the nose, tongue at the roof of the mouth, allowing the abdomen to expand and contract fully. This helps bring blood flow back to the digestive tract. You can also take a moment of gratitude or mindfulness to be present with your food.
2. Limiting your water intake around meals or fluid intake
If you’re having digestive issues, try to limit water intake to 15 minutes before, during, and 15 minutes after meals. Increased fluid around meals can decrease stomach acid and reduce digestion efficiency. From an Eastern medicine perspective, drinking cold water can also negatively affect digestion. Plan your fluid intake to avoid excessive drinking during meals.
3. Chewing your food 20 to 30 times
Chewing is crucial for optimizing digestion because it breaks food into small particles before it reaches the small intestine. Even if the food is soft, try to chew as much as possible. Ensure your diet includes food that requires chewing and isn’t all soft processed foods. Modern society’s shift toward softer foods has affected jaw structure and chewing ability.
4. Walking after your meals
A short walk, even as brief as 2-5 minutes, can significantly aid digestion. This is preferable to eating a large meal and then lying down on the couch. Walking helps support the digestive process, so it’s a great habit to form.
5. Meal spacing
This is important for people with digestive issues. Meal spacing is vital for the migrating motor complex (MMC) in the small intestine, a wave-like action that moves food through the digestive tract and aids in bacterial transport from the small intestine into the large intestine. Eating too frequently, like every two and a half hours, can disrupt the MMC and slow digestion.
To optimize our motility in our gut, we want to space the meals out. Aim for at least three to four hours in between meals and an overnight fast for 12 hours.
Everyone’s day will look different based on activity, interests, and preferences, but try to focus on spacing the meals out instead of frequent grazing and snacking.
6. Nervous system regulation
Regulating the nervous system is crucial for digestion, not just around mealtime but throughout the day. If you’re constantly in fight-or-flight or freeze mode, it affects digestion. Try nervous system-regulating practices like breathing exercises, shaking, body drumming, or swaying. Before bed, you can do abdominal massage techniques to calm your nervous system and enter a state of social engagement, connection, and safety, which can optimize digestion.
If this was helpful, please give it a like, share it, and subscribe to our YouTube channel, the Movement Paradigm, for weekly tips on mindset, nutrition, and movement. Our goal is to help you live your best life, heal, transform, and, more importantly, thrive.
You can always join us in our app, the Movement Paradigm. We have lots of challenges every other month—everything from movement to the nervous system, nutrition, and so on. And we have a great community of people.
You can also reach out to us for an individual appointment for functional medicine or holistic physical therapy. If you really want to get to the root cause, please reach out to us.
Are you experiencing any kind of blood pressure dysregulation, heart palpitations, bradycardia, slow heartbeat tachycardia, or faster heart rate that may be associated with your autonomic nervous system?
Rather watch or listen?
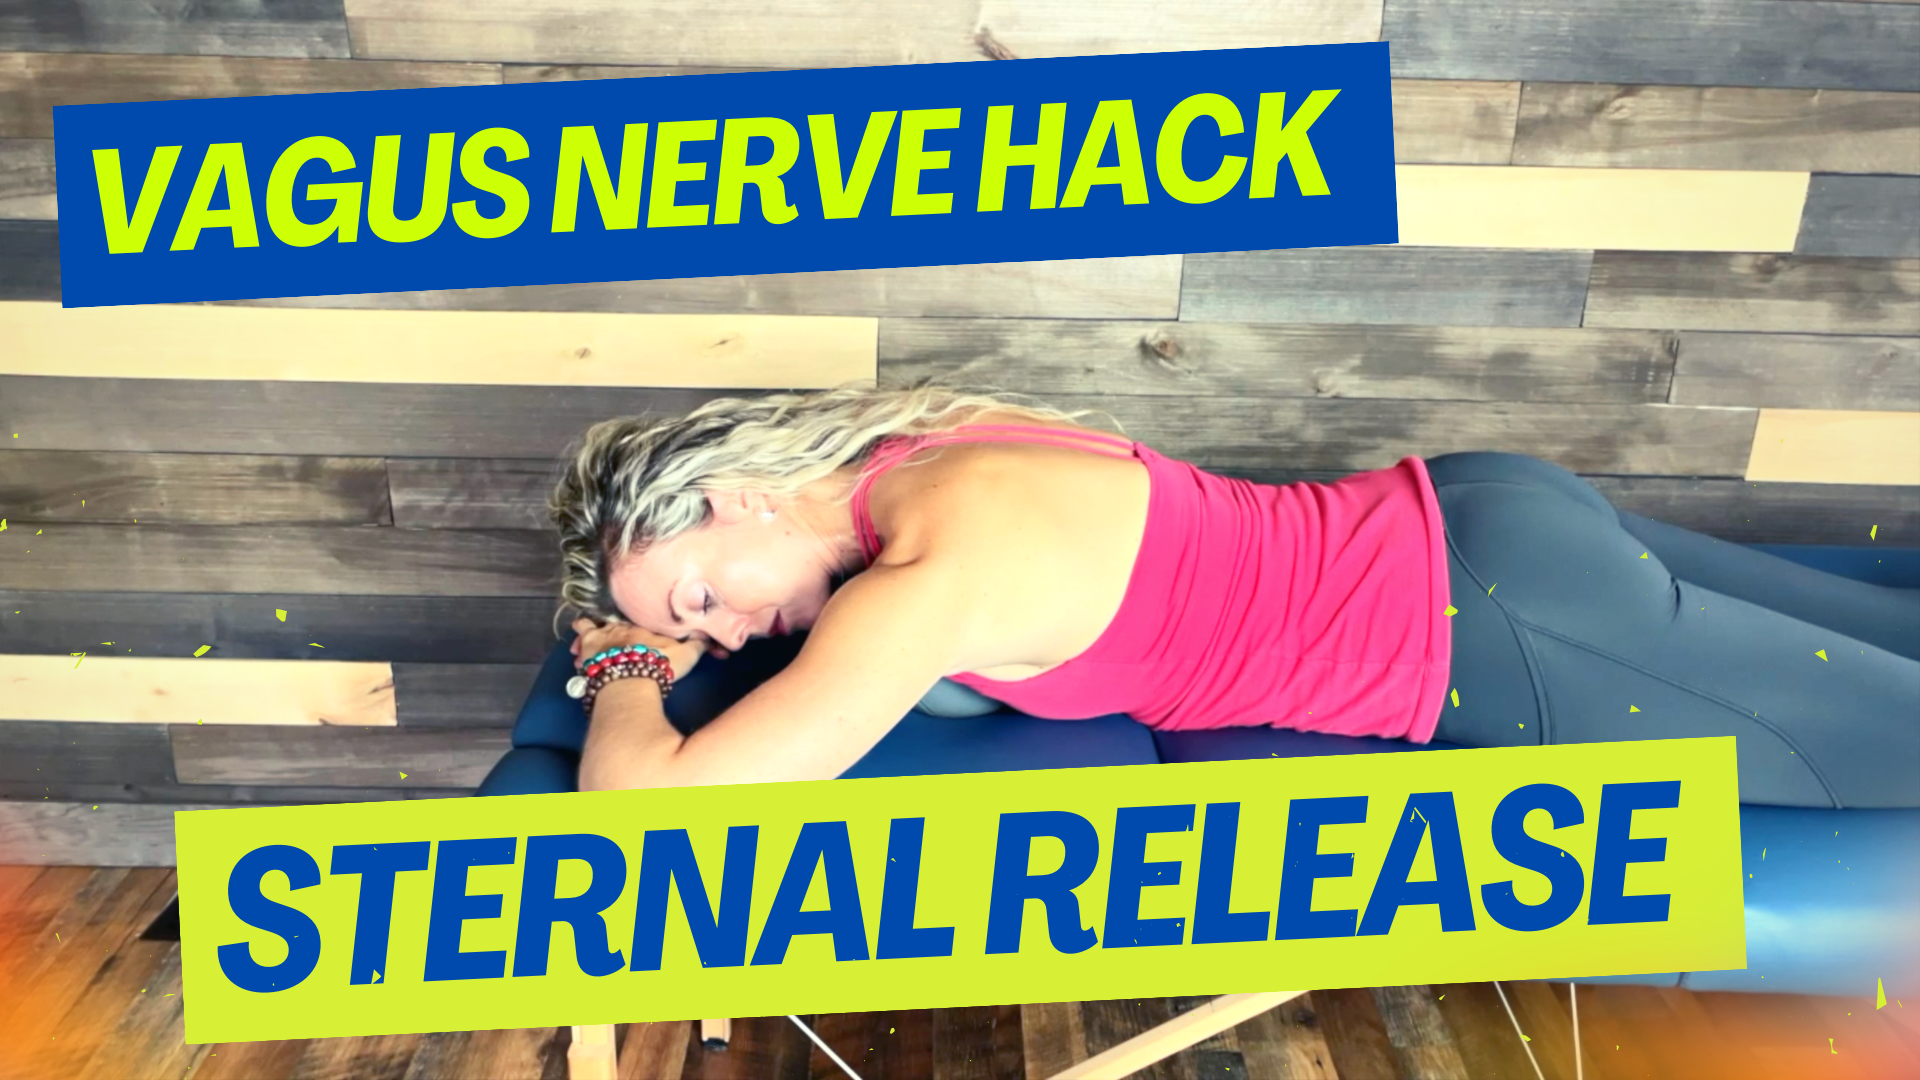
Sternal Release Exercise Precaution
Before we jump into the anatomy, I want to make sure that if you have any concerns about this particular exercise, please check with your doctor or health practitioner to see if it is appropriate for you.
Vagus Nerve Anatomy
With that said, let’s start with the anatomy of the vagus nerve, recognizing that this aspect of the vagus nerve is how we are going to influence it via the vagus nerve exercise.
The vagus nerve exits the brainstem and we have branches into the ear, throat, and then the area that we’re focusing on today is the influence of how the vagus nerve innervates the SA node of the heart. It passes through the lung tissue, and the diaphragm although not innervating it, and then it moves into the entire GI tract. We can influence the vagus nerve it through the SA node of the heart, as well as a pressure change. We can target the baroreceptors that are lying within the carotid artery and the aorta. Because of this pressure change, we can influence the vagus nerve response and create the relaxation response.
How to Do Sternal Release + Reminders
Before performing any vagus nerve exercise, you always want to make sure that you are in a safe environment. Again, you should consult with a healthcare provider if this is necessary and appropriate for you. For example, if you’re experiencing extreme blood pressure dysregulation, this may not be suitable for you at this time. However, you do want to ensure that you’re safe, you feel confident in the exercise, and you approach it with gentle curiosity rather than aggression. If you’re starting this particular exercise for the first time, ensure that you begin with just a little bit and gradually increase your duration over time.
To perform this exercise, grab a medium-sized soft ball and lie over the ball, with the ball directly underneath your sternum. Allow yourself to settle in, taking some nice slow diaphragmatic breaths. Then, when you’re ready, take a breath in through your nose, pretend to cough, but don’t actually cough. Do this as if you’re holding your breath. Then exhale slowly, and repeat this exercise for anywhere from 10 to 20 minutes. However, we recommend starting with a very small volume of it might be very beneficial for you.
If this was helpful, please give it a like, give it a share, and, of course, subscribe to our YouTube channel, the Movement Paradigm, for weekly tips on mindset, nutrition, and movement. Our goal is to help you live your best life, heal, transform, and, more importantly, thrive.
If you need help more individually, please reach out for a discovery session. We would love the opportunity to help you in any of these areas. And in addition to that, you can feel free to join our app, the Movement Paradigm. We have monthly challenges, live Q&As, and an amazing community, all geared toward whole-body health. So hope to see you there!
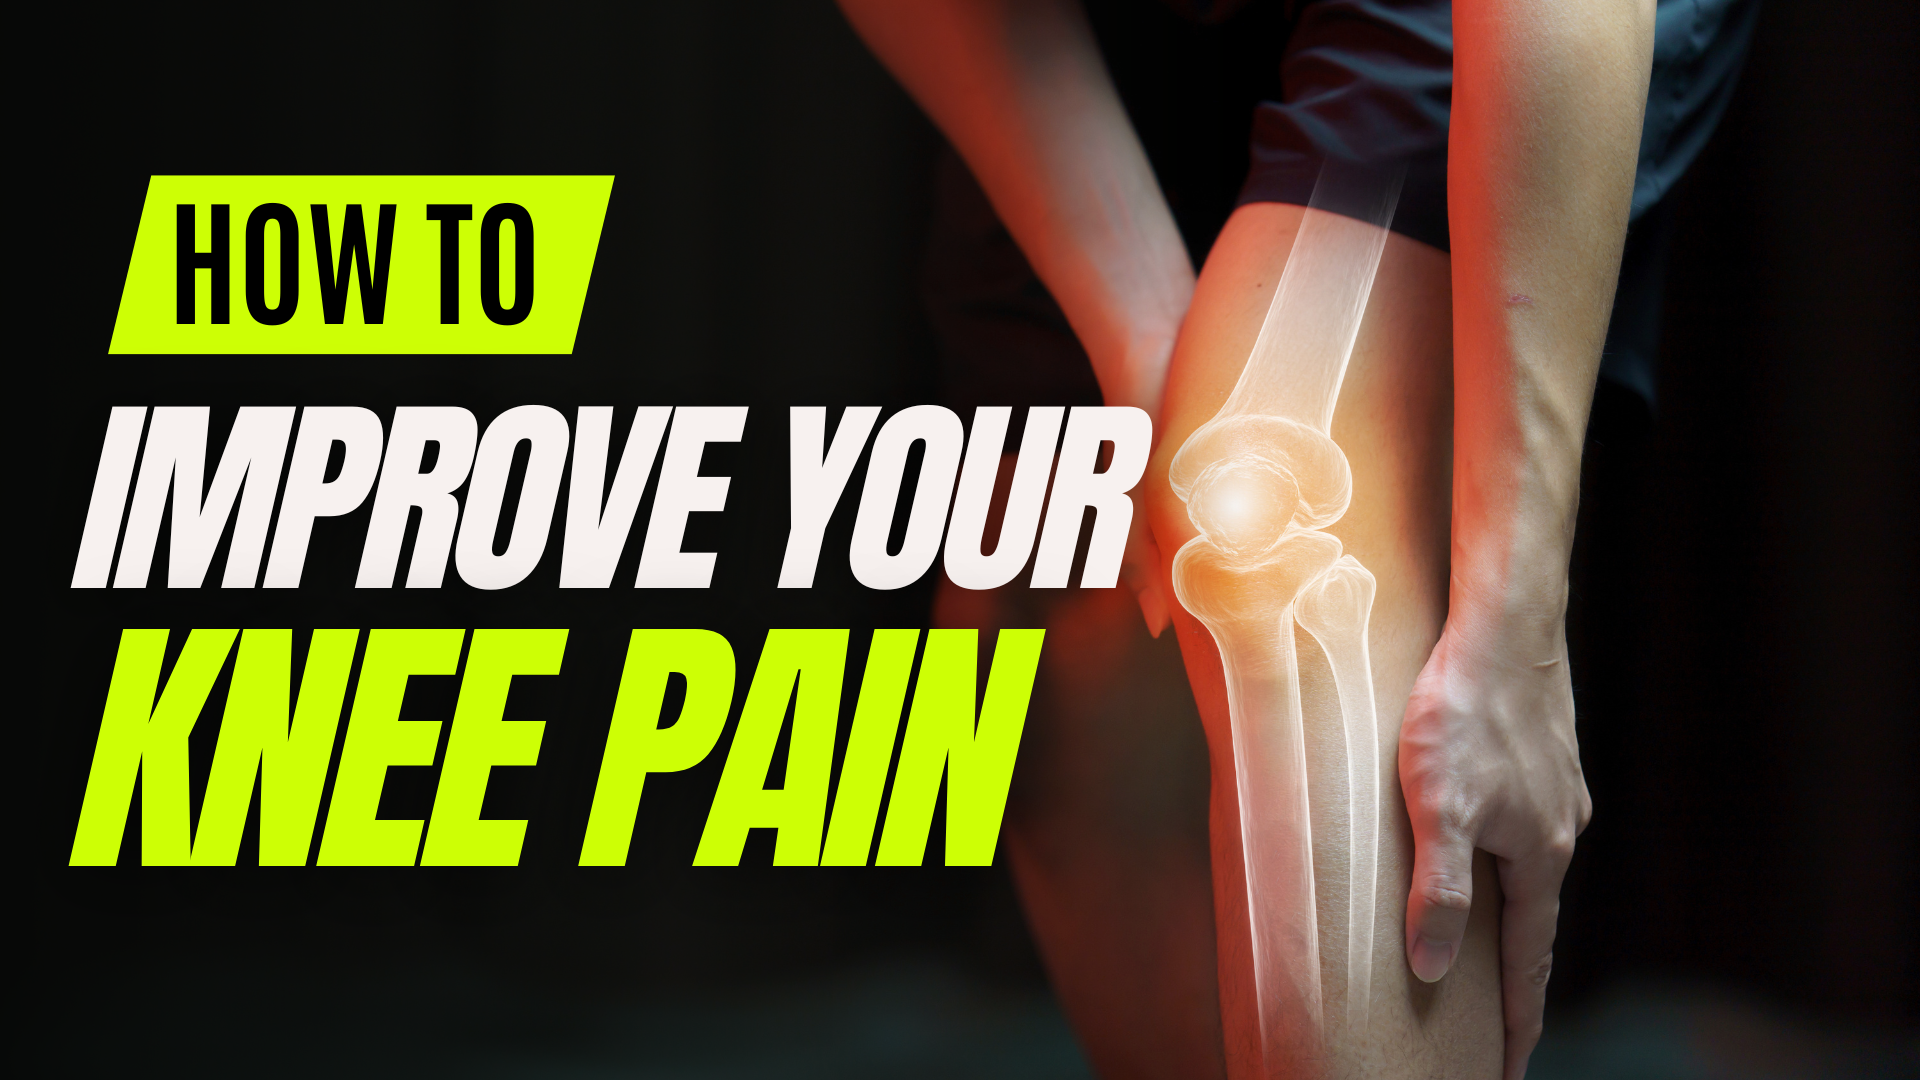
Are you experiencing chronic knee pain? Maybe you have had multiple issues with your foot, your knee, your hip, or our low back, and you haven’t been able to resolve it. In this blog, we’re going to dive into the rotational component of the knee that is often neglected in most rehab and movement programs.
Rather watch or listen?
How to Know If Your Knee Lacks Rotation of the Lower Leg Inward
If you notice that when standing, your feet are abducted and turned outward, it could indicate a deficiency in internal tibial rotation, where the lower leg fails to rotate inward.
Another sign can be observed during a squat: if your feet tend to turn out as you descend, this too may signal insufficient rotation in the lower leg. This lack of rotation could also stem from limited ankle dorsiflexion—the bending mobility of the ankle. While issues with the hip and foot may also contribute, for the purpose of this blog, we’re focusing on the inward rotation of the lower leg.
Self-Assessment
To assess this yourself, begin from a seated position. Place your arm under your upper thigh and concentrate on the rotation of your entire lower leg. It’s important to isolate this movement from the foot, as simply turning the foot in and out can be misleading. By stabilizing the upper leg with your arm, you can assist in and out movements, but the emphasis should be on inward rotation. This rotational ability tends to diminish with injuries such as meniscus injuries and other knee-related issues.
What You Can Do About It
If inward rotation feels challenging, start by assisting passively with your hand. Once you’re more comfortable, introduce a slight resistance. You can use a band wrapped around the foot in a figure-eight fashion to provide resistance while moving into internal rotation. Adding resistance helps reinforce this movement neurologically when loaded.
Advanced Progression
For a more advanced progression, try placing a block or a rolled-up towel between your knees. Then, using a smooth surface or a bolster, slowly extend your knees while keeping your toes and tibia rotated inward. Aim for complete extension, then reverse the movement by turning your feet and lower leg outward as you return to the starting position. This exercise requires careful control and deliberate movement to maintain good fascial tension throughout.
Key Takeaway
If you’ve encountered issues like patellofemoral pain or meniscus injuries, it’s often associated with inadequate rotation in the tibia or lower leg. I hope you find these assessments and exercises helpful in your journey. Remember, never work through pain, and approach assessments with gentle curiosity to truly understand the mechanics and choose appropriate exercises.
If this was helpful, please give it a like, give it a share, and, of course, subscribe to our YouTube channel, the Movement Paradigm, for weekly tips on mindset, nutrition, and movement. Our goal is to help you live your best life, heal, transform, and, more importantly, thrive.
If you need help more individually, please reach out for a discovery session. We would love the opportunity to help you in any of these areas. And in addition to that, you can feel free to join our app, the Movement Paradigm. We have monthly challenges, live Q&As, and an amazing community, all geared toward whole-body health. So hope to see you there!
Are you constantly searching for the next best diet? Maybe you’ve tried keto, intermittent fasting, paleo, or you’re looking for the right fit this time. If that’s you, read on for four things to consider when planning your personalized nutrition.
Rather watch or listen?
Why nutrition plan should be personalized
I truly believe that nutrition should be personalized for you. We can’t just look at what our friends or relatives are doing because there are many things to consider. Today, we’re going to discuss four key categories.
Key categories of a nutrition plan
1. Current health status and clinical symptoms
For example, are you experiencing cardiometabolic issues like hypertension, diabetes, or high cholesterol? Are you dealing with inflammatory bowel disease or IBS symptoms? Do you have an autoimmune condition?
First, look closely at your current health conditions because you may need a specific therapeutic plan for you. Additionally, examine clinical symptoms such as fatigue, low energy, mood issues like anxiety or depression, and inflammatory issues in your immune system. With various symptoms in play, all these factors must be considered to determine the best plan for you at this time.
2. Lab work
We aim for objectivity here. It’s not about labeling the carnivore diet as bad or the vegan diet as good; it’s about understanding how your chosen diet affects your body. Consider your gut health and microbiome and check for low vitamin levels like D, B12, and iron. A nutrient panel can reveal what your diet provides or lacks, eliminating the need for guesswork. Making this process more objective is crucial.
If you’re feeling great, with good energy and no health issues, and your labs show positive results, your diet is likely working well for you. Conversely, if subjective feelings conflict with objective information, it’s essential to be open-minded and delve deeper into what’s happening.
3. Environmental factors
Now, let’s consider environmental factors. What are your food preferences, likes, and dislikes? Any food aversions? Explore your genetic predispositions, such as the MTHFR gene, impacting B vitamin metabolism and detoxification, and genetic deficiencies, like the DAO (diamine oxidase) enzyme, which may necessitate a tailored approach. Addressing mold exposure, candida, and other specific issues becomes crucial when considering clinical symptoms and health status.
Environmental exposure is vital to factor in; for instance, if someone is exposed to mold. We also need to consider if there’s a genetic deficiency in breaking down histamines. In such cases, a low histamine diet might be necessary, distinguishing it from perceived sensitivity.
Proactively addressing exposure through nutrition is vital. Consider incorporating more phytonutrients and antioxidants to reduce oxidative stress if your body is under environmental strain. By understanding and addressing these environmental factors, we can proactively mitigate their effects through dietary choices.
4. Adverse food reactions
Lastly, we have adverse food reactions, which fall into three categories. First, there’s food sensitivity—an IgG and IgA-mediated reaction—which can be delayed. This means a reaction might occur on day two, three, or even four after consuming a potentially sensitive food.
On the other hand, a food allergy, an IgE-mediated reaction, results in an immediate response, varying from mild to severe—ranging from itching in the mouth to an anaphylactic reaction.
Additionally, there’s food intolerance, where the body lacks enzymes to break down specific food components.
To create a personalized diet plan, we must consider these reactions. For instance, one person might avoid a certain food due to sensitivity, intolerance, or allergy. However, it doesn’t mean you should avoid it too. Testing methods, elimination diets, and allergy tests can provide objective insights. It’s crucial not to eliminate foods solely based on assumptions, making the process more objective and informed.
Key takeaway
We consider all these categories, acknowledging numerous other variables. My biggest takeaway for you is to avoid blindly following a specific diet merely because it’s popular among influencers, friends, or family.
Evaluate your individual needs: your activity levels, interest in food, cooking preferences, and the feasibility of meal prep based on your schedule. All these factors are crucial in designing a healthy and sustainable meal plan tailored to you. It’s not about pursuing perfection but finding what works for you and allowing it to evolve over time. You may not start with a perfect diet, but gradually develop habits and broaden your perspective on food – not just as fuel but as information, medicine, a means to connect, and a way to heal your body. Nutrition is powerful and influences every reaction in your body. To function optimally, we must eat optimally.
If you found this helpful, please give it a like, share it, and don’t forget to subscribe to our YouTube channel, The Movement Paradigm, for weekly tips on mindset, nutrition, and movement. Feel free to reach out if you’re seeking an individualized approach to your nutrition plan – we’d love to hear from you and schedule a discovery session. Also, check out our fantastic community on The Movement Paradigm app, which is available on Apple or Google. Join us for various programs and abundant information. It’s a great community to support you on your journey. Hope to see you soon!
Are you feeling completely emotionally, mentally, and physically exhausted? You feel like you can’t keep going? Today, we are going to talk about burnout, which is actually an ICD-10 code, i.e., a medical diagnosis.
Rather watch or listen?
What you need to know
You’re exhausted in all aspects, and you feel like there is nothing in you to do what you need to do. You might have a lack of energy, daytime sleepiness, and overall lethargy. You might feel like you perform poorly at work, at home, or even in other aspects of your life.
Stages of stress
When considering the nervous system or stages of stress, we have our state of social engagement where we’re connected, mindful, grounded, curious, and safe. When in fight or flight, we’re in survival mode. Our body and nervous system do everything to protect us. We’re either fighting: angry, frustrated, worried, anxious, or even in a panic state, or in a freeze state, where you can feel shut down, overwhelmed, disconnected, and maybe even suicidal. In this freeze state, there’s blood sugar dysregulation, significant sleep disturbances, feelings of exhaustion, fatigue, and procrastination, where you just feel like you cannot do what you need to do despite knowing what you should do.
It’s important to recognize this because in looking at the stages of stress, stage 3 stress is where burnout exists.
What can you do about it?
Let’s get into the important part: what can you do about it?
1. Identify if there are any physical causes
The number one thing I want you to think of is being able to identify if there are any physical causes of your burnout. For example, do you have a medical condition like hypothyroidism or Hashimoto’s? Do you have a nutrient deficiency, such as vitamin D or iron, contributing to this depletion of energy that prevents you from doing the things you love and want to do?
This will require some investigation. I strongly encourage you to reach out to a functional medicine practitioner, a dietitian, or even your doctor to help identify the underlying root causes of why you might be feeling this way.
2. Focus on your sleep
Focus on your sleep, not just the quantity but also the quality. It’s not only about the number of hours you get each night but also about the conditions that promote restoration, repair, and healing for your body. This may vary for each person, but it’s one of the most crucial factors.
Consider wearing blue light blockers after 7:00 p.m. and establish a nightly ritual before bed. Use down-regulation techniques like breathing exercises, vagus nerve exercises, somatic practices, yoga, or hypnosis as part of your pre-sleep routine. Additionally, pay attention to the room temperature, ensuring it’s cool and dark, and optimize your natural circadian rhythm.
There are numerous ways to enhance sleep hygiene. I recommend starting with one approach, turning it into a habit, and staying consistent with your sleep pattern. This consistency will help optimize your natural sleep-wake cycle, contributing to the healing process for your body.
3. Sunlight
Ideally, aim for 20 minutes of direct sunlight within the first 20 minutes of waking. It’s essential to be outside, even on a cloudy day, as the sunlight’s photons influence cortisol levels. This natural exposure helps increase cortisol production in the morning, supporting melatonin production at night and optimizing hormones related to the sleep-wake cycle.
Sunlight during the day offers benefits beyond vitamin D; it positively affects mood and overall health when consistently integrated into your routine. This shift can help move you from stage three stress and burnout towards a state of social engagement and connection.
If getting outside, especially in the morning, is challenging, consider using a SAD (Seasonal Affective Disorder) light. Bright light therapy has proven helpful for the mentioned benefits. Set it up during breakfast or coffee time as an alternative when outdoor exposure isn’t feasible. While it may not match the Sun’s effectiveness, it serves as a valuable alternative.
4. Regulate your blood sugar
This might sound a little far-fetched, but it is the most important thing to regulate your stress, fatigue, and overall energy levels. The simplest way to achieve this is by eating every 3 to 4 hours. This means having something when you wake up, not necessarily attempting to fast during this time, but assessing your current state and striving for consistently balanced meals with a focus on protein.
Ensure each meal includes at least 30 to 40 grams of protein to stabilize blood sugar. If cortisol is dysregulated, leading to multiple awakenings during the night or early morning peaks, consider having a small snack before bedtime. Pumpkin seeds are a good option, providing zinc, magnesium, protein, fat, and fiber to stabilize blood sugar, along with magnesium promoting better sleep.
Alternatively, try a scoop of peanut butter. Peanut butter contains tryptophan, a precursor to serotonin, which in turn is a precursor to melatonin. This can positively impact mood and sleep regulation and help balance blood sugar throughout the night.
5. Vagus nerve exercises, somatic practices, etc.
It wouldn’t be me if I didn’t talk about vagus nerve exercises, somatic practices, and meditation. These tools and strategies can be incredibly helpful in regulating your nervous system. In the burnout state, where thoughts of “should, should, should” lead to procrastination and overwhelming fatigue—emotionally, mentally, and physically—it’s crucial to shift focus to the body in a positive way.
Step out of your head and into your body, initiating movement and bringing awareness to your sensations and feelings. Consider vagus nerve exercises or explore somatic practices like body drumming, where you shake, tremble, and discharge excess energy that may not serve you well. There are numerous positive practices to integrate gently; it doesn’t have to be all or nothing. Start with small steps to explore your emotions, feelings, and physical sensations at a deeper level.
6. Re-evaluation
Lastly, consider re-evaluation. This involves reassessing everything: your work, your life, your relationships. Can you learn to set boundaries and say no when you have nothing left to give? Recognize that the last bit of giving can be particularly depleting. Acknowledge this and say no, allowing yourself to say yes to your own needs.
Take a deep, inward look at everything in your life at the moment. Make adjustments to grant yourself the incredible opportunity to live life to the fullest. Embrace your authentic self, enjoy your work, your family, your relationships, and all that life has to offer. Providing yourself with this chance is crucial.
If you found this helpful, please give it a like, share it, and comment below. I’d love to hear where you are on your journey. If you need assistance, we’d be delighted to help. Reach out for a discovery session, or join us in the Movement Paradigm app, where we have an incredible community dedicated to whole-body health. That’s precisely what we’re offering, and we want to help you heal and address the root of your health issues. Remember, you can overcome burnout, and we are here for you. Have a great day!
Are you experiencing chronic thumb pain? Do you feel weakness, finding it hard to open jars and grip things? You might even be feeling numbness, tingling, or a burning sensation in your hand. If so, this blog is for you.
Today, we’re going to talk about carpal tunnel. If you, or someone you know, is stuck in that frustrating cycle where everyday tasks become a pain-filled ordeal, you’re not alone.
Rather watch or listen?
Causes of Carpal Tunnel
Now, what are some of the things that may cause carpal tunnel?
1. Repetitive activity
Using the mouse all day, engaging in repetitive labor, or activities such as knitting or sewing can trigger carpal tunnel. However, we want to recognize that there’s always an underlying cause.
2. Other causes
Some less obvious factors include hormonal and metabolic issues, inflammatory problems, systemic inflammation, as well as conditions like type 2 diabetes and thyroid disorders, which are correlated with carpal tunnel.
It’s important to understand that carpal tunnel is a specific area. When referring to carpal tunnel, we mean the compression of the median nerve at the level of the carpal tunnel in the wrist after it exits the cervical spine at C5, C6, and travels down the arm into the hand.
As mentioned earlier, you may experience weakness and pain in basic activities, such as using your phone. However, jumping straight to surgery isn’t always the solution. Carpal tunnel compression can occur at multiple levels, starting from the spine, through the scalene area in the neck, pectoralis minor, and down to the pronator teres in the forearm.
Patients often consider surgery immediately, but this approach can lead to more scar tissue, trauma, inflammation, and additional problems. Successful outcomes from carpal tunnel surgery are rare in my experience with patients. While specific cases may warrant surgery, considering anatomical differences between individuals, such as gender-related structural variations, it’s important to always evaluate the mechanics involved.
Assessing Carpal Tunnel
When assessing carpal tunnel, we don’t focus solely on the affected area. We examine everything happening in the neck and spine.
Check Range of Motion
Firstly, check your cervical spine’s range of motion for any discomfort. Can you touch your chin to your chest, look up with your face parallel to the ceiling, and turn fully to both sides without pain or symptom reproduction? Ensure symmetry in movements between both sides and check for compensatory patterns.
Breathing
Now, assess your nasal breathing. Are you able to breathe nasally? Are you able to maintain your tongue at the roof of your mouth? This position allows for proper expansion and contraction of the abdomen during nose breathing, avoiding unnecessary strain on the neck and shoulders.
These basic assessments are important because any compensation in these simple patterns indicates a potential issue higher up in the chain. For instance, someone complaining of thumb arthritis and weakness may trace the problem back to median nerve issues caused by neck involvement.
When considering surgery for carpal tunnel, it’s vital to weigh numerous factors and examine all reasons comprehensively. I’ve witnessed numerous individuals successfully avoid carpal tunnel surgery by addressing underlying issues and achieving higher functionality, even engaging in activities that may strain their hands. It’s essential to explore these alternatives and delve into the root causes of movement, pain, or health issues whenever possible.
What Can You Do
Now, what can you do?
1. Immobilize affected area
During the acute phase (1 week) of your carpal tunnel symptoms, especially as you’re trying to figure out why it’s happening—be it repetitive use or any of the other factors I mentioned—it’s crucial to immobilize it as much as possible, particularly if you need to continue activities.
If you’re typing or using a mouse extensively, it’s helpful to use a brace to stabilize the carpal tunnel in that acute phase, even while sleeping. This can prevent uncomfortable positions during sleep and waking up with excruciating pain and weakness. Consider it a protective measure that can gradually be phased out as you start feeling better.
2. Identify repetitive activities and make changes
Identify those repetitive activities causing the issue and make some changes. Implement basic ergonomic adjustments at work, use wrist support, take breaks—the most crucial thing—and optimize your posture. Note that perfect posture doesn’t guarantee injury prevention, but you can observe where you might be compensating.
Throughout the day, focus on breathing and movement variability rather than fixating on the ideal desk posture. Every 30 minutes, change positions, move around, take short walks—think of them as movement snacks. This approach aligns better with your body’s preference for avoiding prolonged static positions. Spending hours with your neck forward or in one position can contribute to pain and inflammation.
3. Address inflammation
If the nerve is inflamed, there are things that you want to think about from an overall health standpoint. Looking at things like your diet, is there anything that you are eating, or maybe even drinking alcohol or excess coffee, or things that might be putting you in a more inflammatory state?
You can check out some of my other videos to understand that, but ultimately, there could be potential inflammatory triggers such as stress, food, bugs, toxins, trauma, and hormones.
4. Work on your movement
It’s important to note that everyone’s experience will be different, as the issues they face vary. For instance, do you struggle with instability in your shoulders? Or perhaps your core isn’t as stable as it could be? Another factor is motor control, which refers to your ability to sequence, time, and coordinate your movements. If any of these problems are present, it may cause you to compensate at the wrist and elbow, perpetuating the cycle of discomfort.
Working with a professional is really important. Get a great movement assessment or a physical therapist so you know how you’re moving and what you need to do to correct that.
5. Nerve glide
When the time is right, which is not in the acute phase of your carpal tunnel syndrome, is nerve glides. To do this, stand up and use a wall for support. Place your opposite hand on your shoulder and press it down firmly. Then, with your fingers down and your elbow bent, straighten your elbow, flatten your palm, and turn your head. It’s important to remember to depress your shoulder while doing this exercise. You can start doing it without a wall, but using a wall for guidance can be helpful.
Go back to the center. Breathe in and breathe out. You only want to go to the point of tension; do not create more symptoms. If doing a few of these worsens your symptoms, it’s not suitable for you right now. If you feel fewer symptoms, you likely have more nerve tension, making this exercise appropriate. I recommend starting with one set of 10; assess and feel how it goes. If it feels good, limit it to no more than three sets a day. Ideally, work with a professional to ensure appropriateness.
Think of it like flossing your teeth; just as dental floss moves through teeth, your nerves floss through muscles. You’re not stretching the nerve but encouraging it to glide through the tissue more freely. This is crucial when addressing chronic issues.
If it was helpful, please give it a like, give it a share, comment, and, of course, subscribe to our YouTube channel, the Movement Paradigm, for weekly tips on mindset, nutrition, and movement.
If you’re looking for personalized guidance on your journey and feel that you need an individualized approach, please don’t hesitate to reach out to us. We would welcome the opportunity to assist you.
You can also join our Movement Paradigm app, where we have an amazing community. We have a great group of people who are all focused on whole-body health, high-quality movement, programs, mindset, nervous system regulation, nutrition, and so much more.