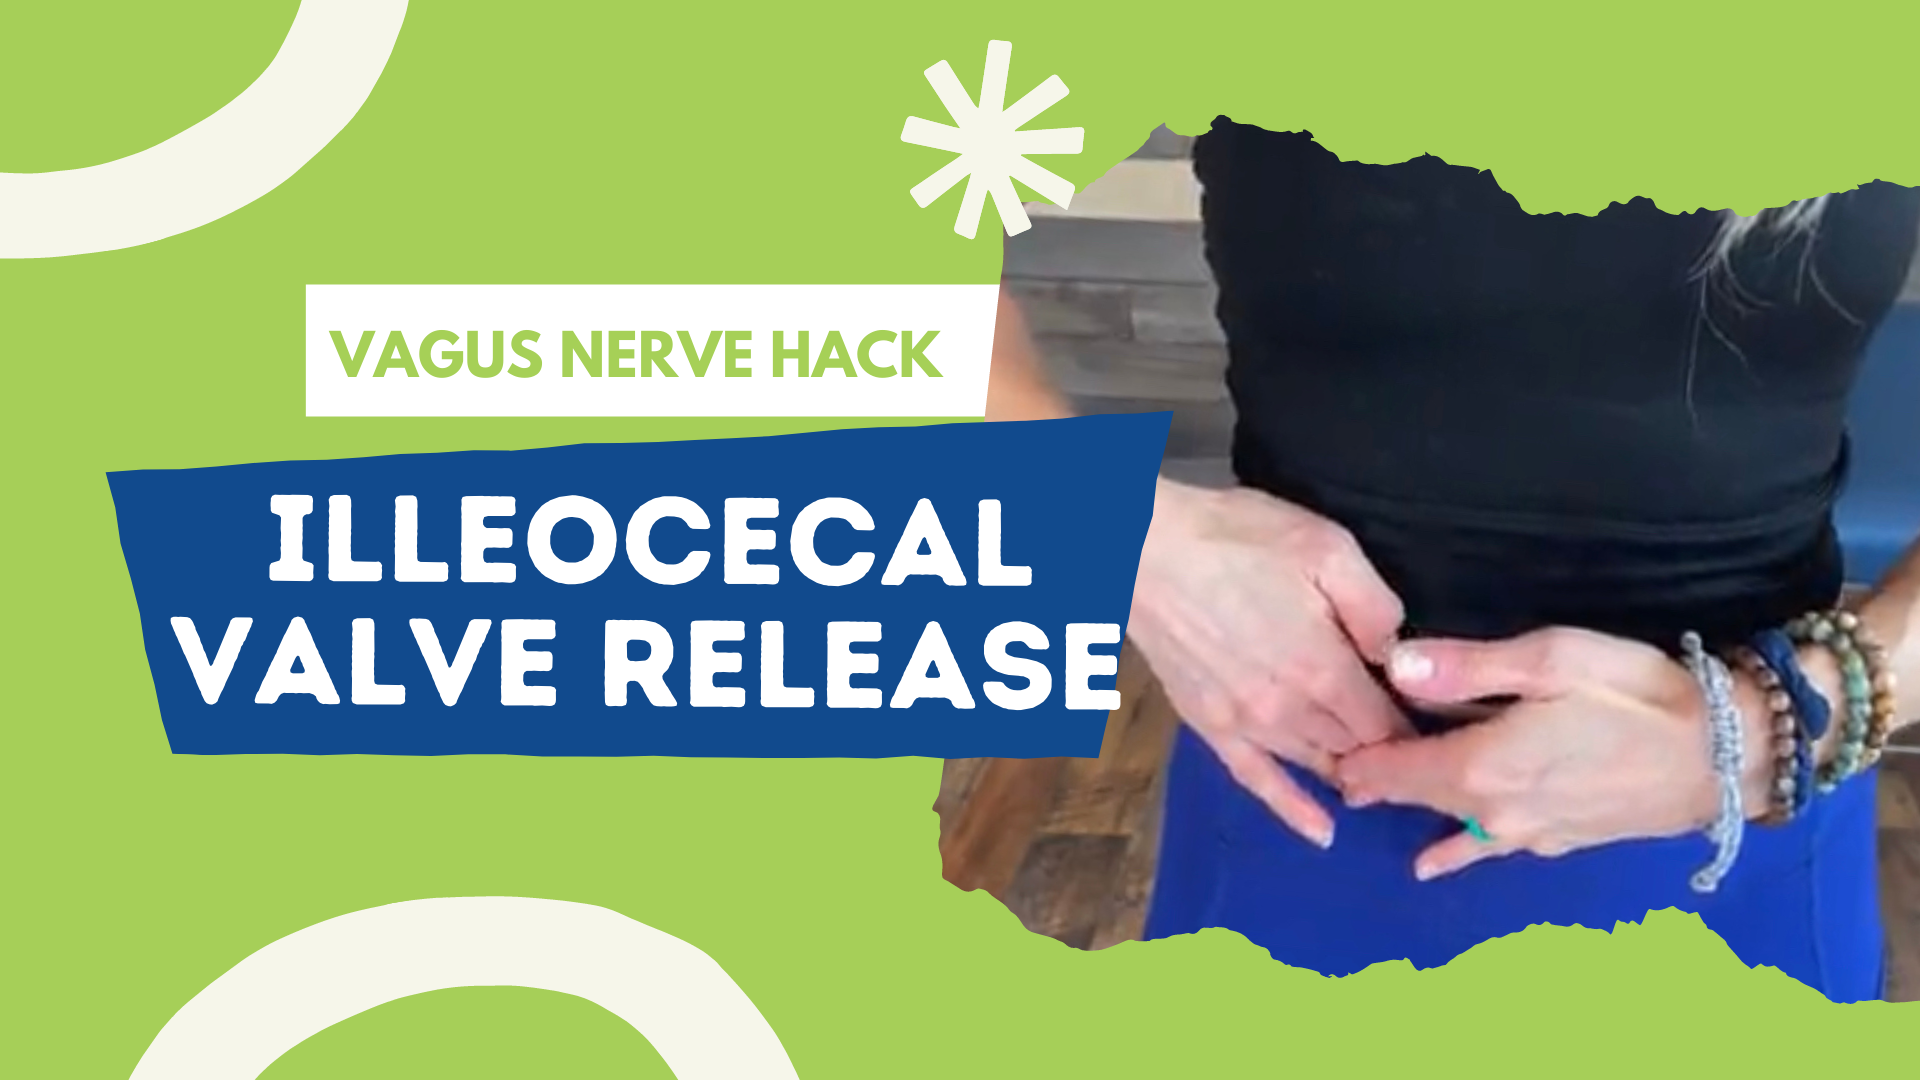
If you are experiencing any kind of gut issues like bloating, constipation, diarrhea, SIBO, leaky gut, or even upper GI issues like GERD then you should give this vagus nerve hack a try, the ileocecal valve release.
Rather watch or listen?
What is the ileocecal valve?
The ileocecal valve connects the small intestine to the large intestine and prevents any backflow of nutrients and undigested food into the small intestine. The large intestine is where we have most of our beneficial bacteria. So, we don’t want to have a backflow of toxic material moving into the small intestine where it is not supposed to be. This can cause a whole host of issues such as SIBO or small intestinal bacterial overgrowth. The small intestine is where we’re supposed to be absorbing the nutrients from our food. Issues around this ileocecal valve can typically cause a lot of tenderness around the area.
How does the vagus nerve fit into this?
The vagus nerve modulates digestion through the migrating motor complex. This migrating motor complex is located in our small intestine and helps to move things through towards the large intestine. It can also affect the ileocecal valve. In essence, the vagus nerve influences our small intestine and ileocecal valve.
How do you perform the release?
While lying down, find your hip bone. Then, orient yourself to your belly button. From those hip bones, move 1/3 of the way up towards your belly button and that is called McBurney’s point. When you get to that area, sink your fingers nice and easily into the tissue. First, assess to see if it is tender? Does it feel restrictive? Once you’ve assessed the tissue on your bare skin, gently compress the tissue inward and then traction the tissue up towards the belly button. Try to hold gently anywhere from two to four minutes. You may feel a decrease in tenderness and/or some motility. Sounds are common and normal. This is a great technique to do right before bed. Try to perform on a daily basis for eight weeks.
Need help? Reach out for a 15-minute FREE discovery session to see how we can help you on your journey.
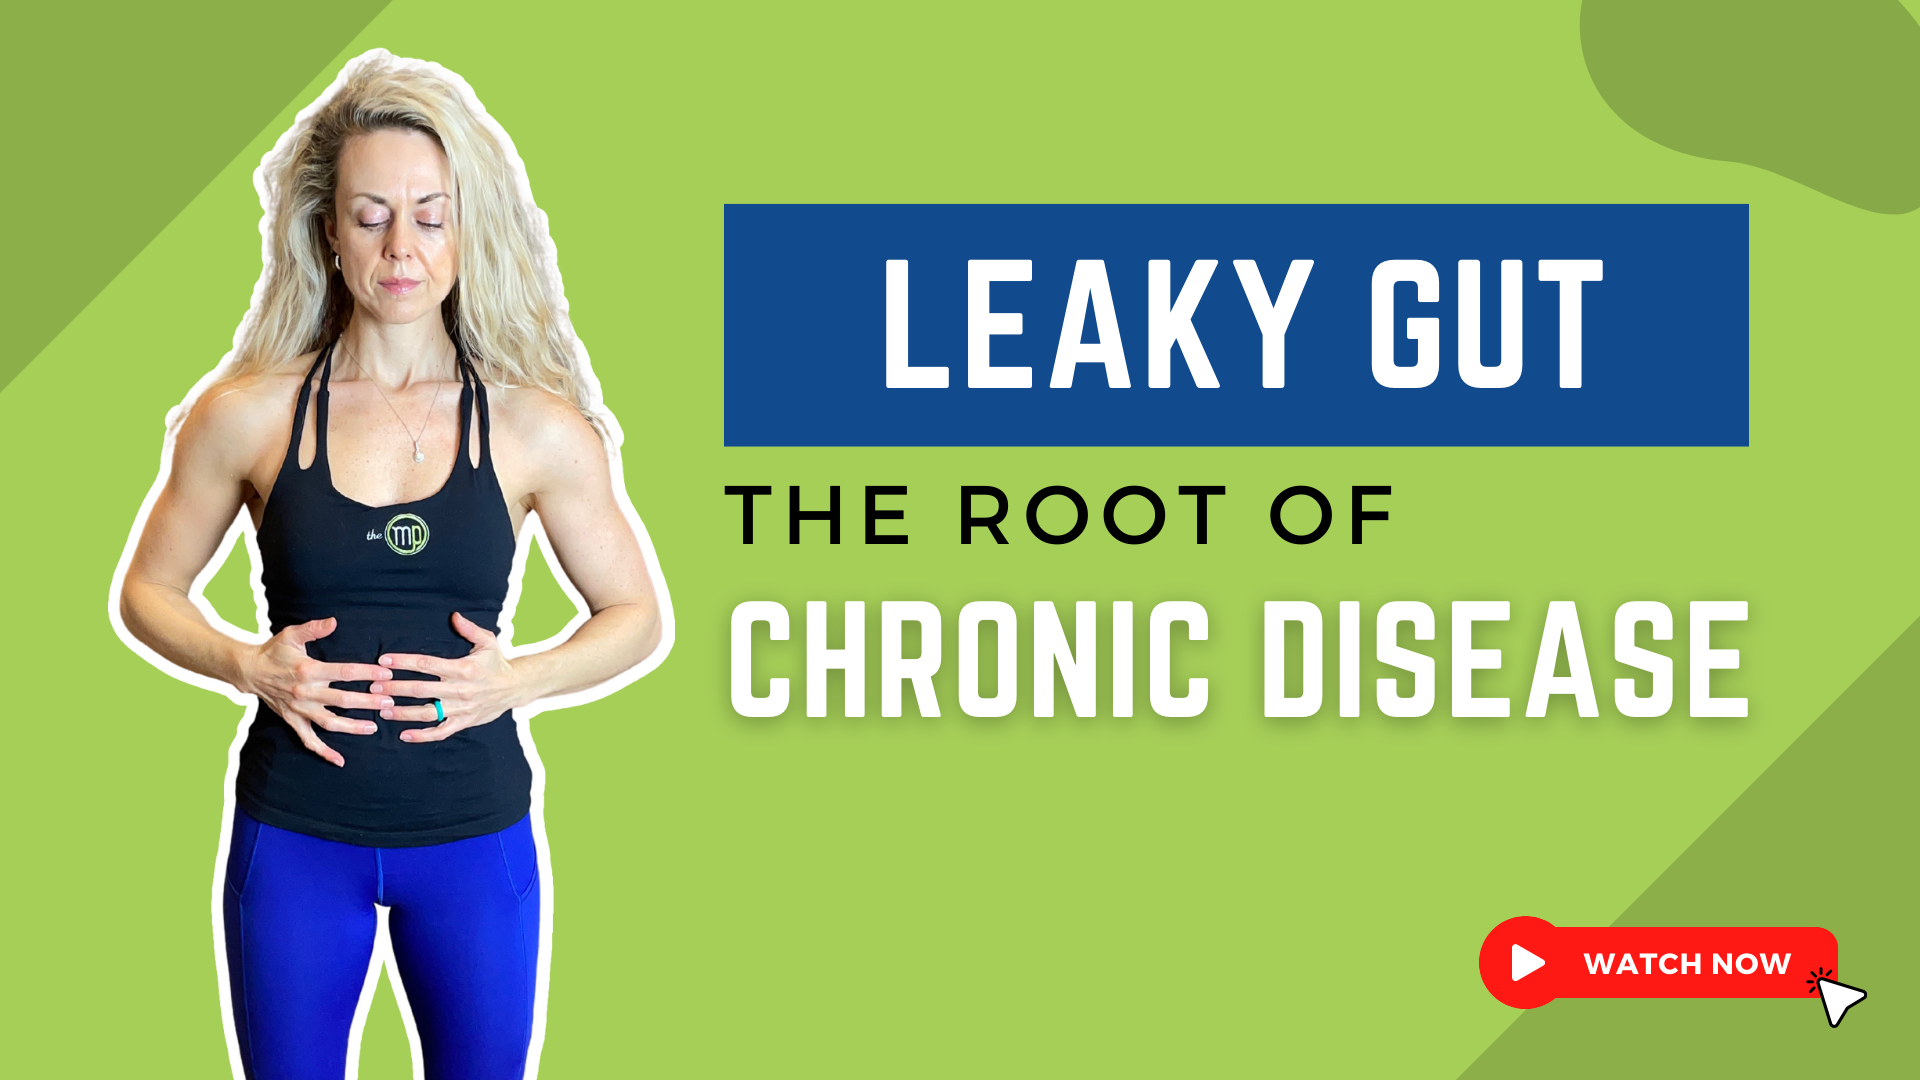
Did you know that leaky gut otherwise known as intestinal permeability has been researched for nearly 30 years and is one of the leading causes of chronic disease?
You may be wondering what is leaky gut? We have an epithelial lining of the gut mucosa which functions as a protective barrier. Simply put, it helps to get the good things in and keep the bad things out.
Rather watch or listen?
In this lining, we have tight junctions. These tight junctions are regulated by a protein called Zonulin and some other proteins.
In a healthy gut, the tight junctions allow the nutrients to be absorbed by the small intestine but keep the toxins, pathogens, viruses, and bacteria’s out.
When we have a leaky gut, these tight junctions are altered. Therefore, the pathogens, viruses, bacteria, and so on get into the bloodstream. Once this happens, our immune system is activated.
Think of our immune system as the detection of strangers and dangers. Once these antigens from the bacteria are crossing into the bloodstream, then our B cells are activated which can in turn attack the body. That is why a leaky gut can cause knee osteoarthritis. It is creating this systemic inflammatory response. It can cause pain, swelling, and inflammation, whether that is localized to a joint or body part or more systemic. This is also what leads to autoimmune disease.
So what are some causes of leaky gut?
– Food triggers
– Food sensitivities
– Stress
– Imbalance of the bacteria or bacterial overgrowth
This ultimately can contribute to more food sensitivities, malabsorption, and uptake of lipopolysaccharide, which is an endotoxin. This is something that can cause significant disruption in the body.
What to do if you’re not feeling your best
Whether you don’t feel your best or you’re dealing with some kind of chronic health condition, please know that this could be a possibility for you. Your first step is to reach out to a professional to be properly evaluated and treated. There is testing available, however is not always the most reliable. We are happy to help you and would love to see you virtually or in person, so please reach out for any assistance.
Leaky gut can be the root of so many chronic diseases whether it’s elevated cholesterol, osteoarthritis, or autoimmune disease. All of these things are related to systemic inflammation. Ninety percent of all chronic disease is linked to systemic or excessive inflammation. Please make sure that you are not just treating your symptoms and taking more medications which further contributes to intestinal permeability. Rather, seek the root cause.
Reach out for a 15-minute FREE discovery session to see how we can help you on your journey.
For more content, make sure to subscribe to our YouTube channel here.
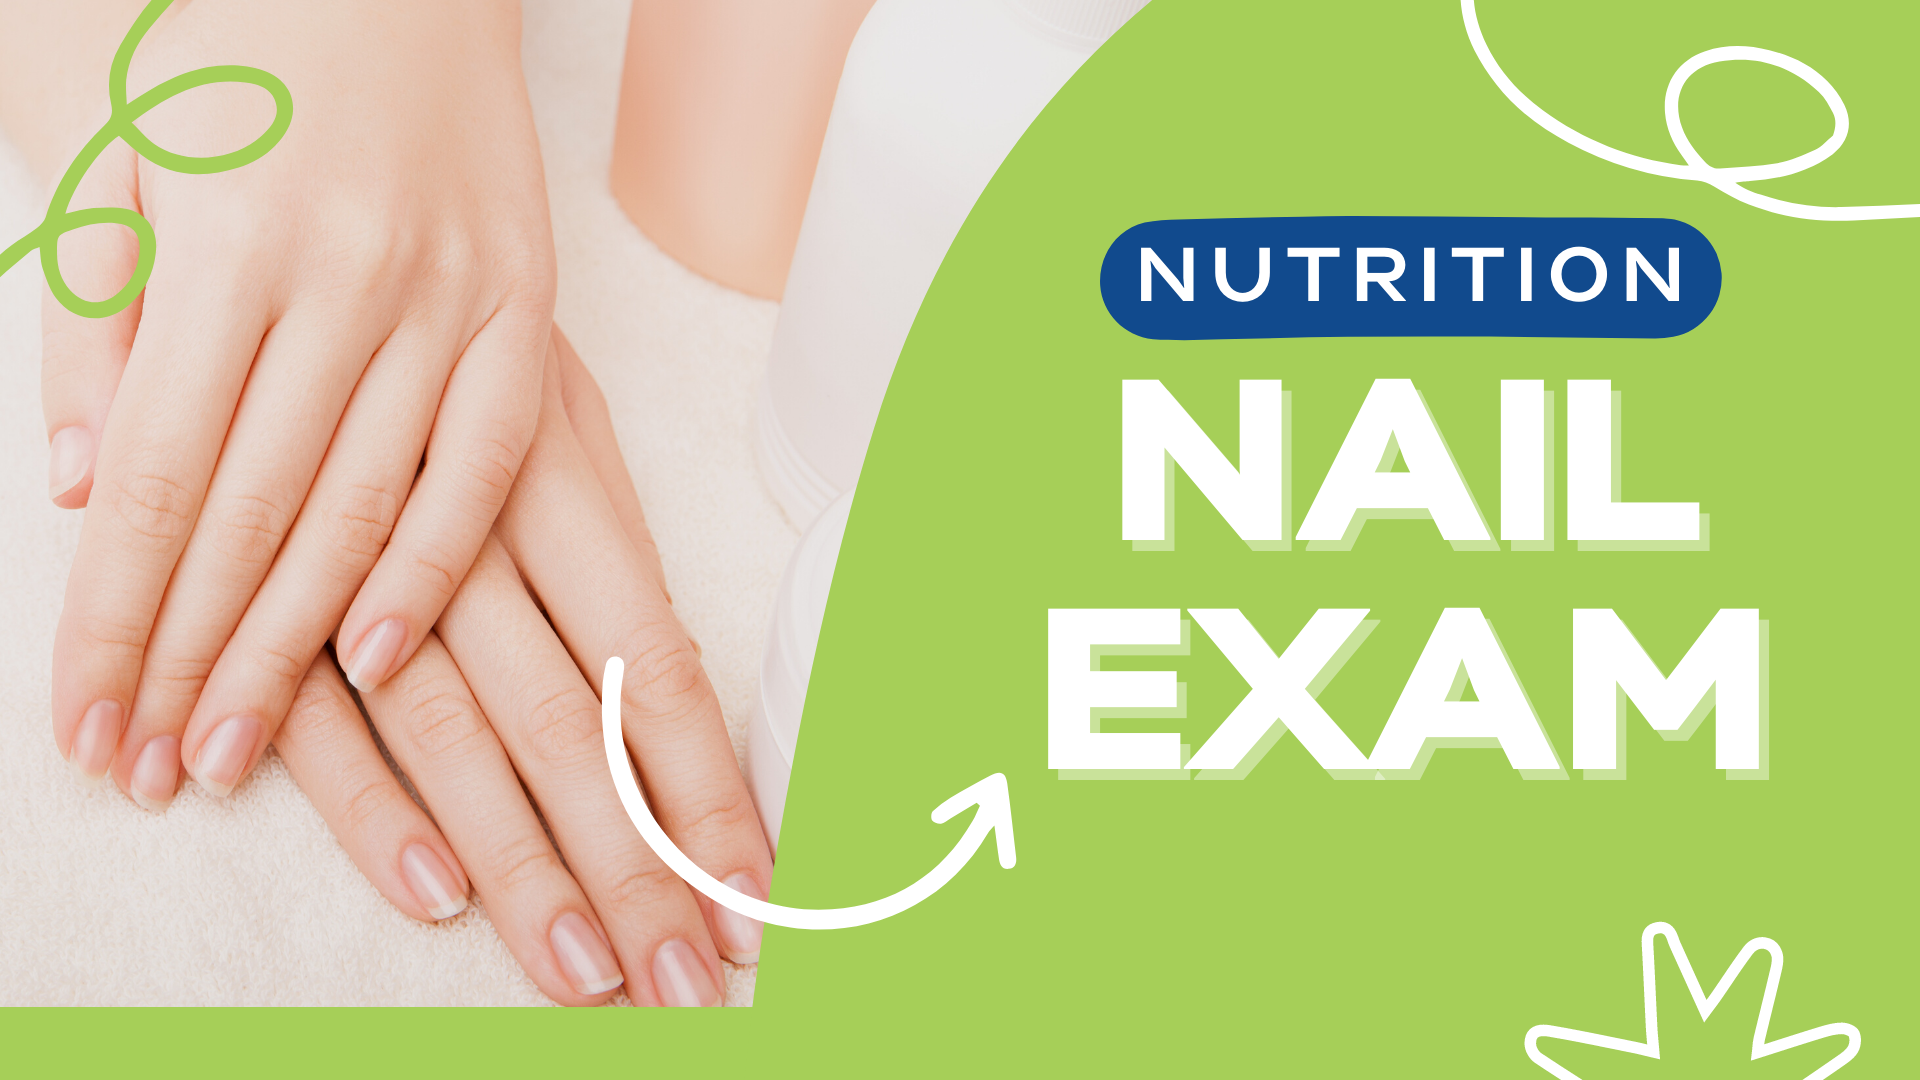
Did you know that your nails can be a great indicator of your nutritional status? Examining your nails will allow you to identify some preliminary nutrient deficiencies before you might even see it on lab work.
Let’s discuss the basic nail exam that you can perform to identify any potential nutrient deficiencies. That way, you can discuss this with your doctor, functional medicine practitioner, or dietitian, to make sure that you are assessing properly and getting potential lab work to confirm any findings.
Rather watch or listen than read?
What You Need to Know About Nails
Nails take approximately six months to regenerate specifically the fingernail and approximately a year for the toenail. This is a living tissue that can provide a lot of pertinent information.
We’ll keep it fairly simple and we’ll look at things like the shape, color, lunula, texture/rigidity, strength, and capillary refill of the nail. For example, if there’s a postmenopausal woman who has brittle nails, it would be important to check for bone density because this can be a preliminary finding that we see.
Here is how to perform the nail exam.
6 Ways to Perform Nail Exam
1) Shape
When performing the nail exam, we will start by looking at the shape of the nail. We ideally want this to be a nice round shape. This can be different based on the individual choice of the person as well. Koilonychia, soft nails that spoon out, can be associated with iron deficiency anemia, hemochromatosis, zinc and sulfur deficiency, lupus, and Renaud’s.
You also want to look for any clubbing in the fingers as this can be indicative of some type of systemic issue like cardiovascular disease, irritable bowel disease, mercury alcohol toxicity, etc.
2) Color
Next, you want to look at the color of your nails. You want to see a nice pink hue. When it’s a little bit paler, it can indicate an iron deficiency or anemia. If there are any brown lines that can be indicative of some arsenic toxicity. If there are any bluish hues that can be indicative of some copper toxicity.
3) Lunula
Next, we’ll look at the lunula which is the little white, round part at the base of the nail bed. That should be present on all of the nails, but may be very small or absent on the pinky side and that is okay. The lunula is indicative of protein status, so you do want to see that on all the nails.
4) Strength
We want to check the strength of the nails. You can do this by feeling and testing how firm the nail is. Does it feel like it is easily breakable? Strength is also indicative of protein status.
5) Texture
Is there any vertical ridging? That is common as we age, so you do want to take that into consideration. If it is a little bit more severe that can be related to protein, iron, B12, or folic acid deficiency as well.
6) Capillary Refill
Lastly, we will look at the capillary refill. Press down on the nail bed and release, and it will turn white. In one to two seconds, the blood flow should refill, and it should return to its pink color. If it takes longer than three seconds, then that’s indicative of a circulation issue. That could also play into any type of related issue to alcohol, stress, gluten, protein deficiency, and/or zinc deficiency.
This of course is just scratching the surface of a nutritional physical examination. However, it is a start and it is a way for you to begin to assess your nails. There are lots of signs and symptoms that we see in our nails that we might not be totally aware of.
Reach out for a 15-minute FREE discovery session to see how we can help you on your journey.
For more content, make sure to subscribe to our YouTube channel here.
Do you suffer from chronic pain? Perhaps you’ve had pain for greater than three months, and you’re not sure how you can support nutritionally? Fortunately, there is so much high-quality evidence to support how diet therapy can make a profound difference in chronic pain.
Chronic pain is associated with pro-inflammatory states which are linked to peripheral and central sensitization. This is when the brain perceives that there’s pain, and even a heightened sense of pain with very little stimuli, yet there is no tissue damage.
Rather watch or listen than read?
Additionally, the mitochondria, which is essentially the powerhouse of our cells, are also associated with chronic pain. The damage to the mitochondria can be driven by how we eat. Consuming pro-inflammatory foods, such as the Standard American Diet—the Western Diet—which is rich in sugary foods, alcohol, processed meats, and enriched grains, can contribute to inflammation and even damage the mitochondria. Therefore, with the Standard American Diet, there becomes an imbalance between our essential fatty acids, which we need for optimal health, and pro-inflammatory markers. That’s where a specific diet therapy comes in.
The first thing we want to do is address the inflammatory markers. The Mediterranean diet is one of the best and well-researched diets that has been shown to decrease inflammation. Think of a diet comprised of fish, legumes, olive oil, low in grains, and high in vegetables – also referred to as an anti-inflammatory diet.
5 ways that you address your chronic pain through diet
1) Decreasing Inflammation
The best way to do this is through an elimination diet. Eliminate the potentially pro-inflammatory foods for at least three weeks and then slowly reintroduce them, one at a time. These include gluten, dairy, sugar, alcohol, caffeine, coffee, tea, corn, soy, processed meats, red meat, chocolate, tea, coffee, and shellfish. If you don’t want to do a full elimination diet, you can do a modified version—eliminate gluten and dairy, for example. These two definitely can play a role in inflammation, and specifically chronic pain. If you’re eating a lot of sugar, this is also a great place to start. Sugar is a massive pro-inflammatory agent, so decreasing sugar in your diet would be very beneficial.
2) Calorie Reduction
When we are consuming fewer calories than required by our basal metabolic rate, then we can not only increase our brain’s ability to generate new neurons by decreasing free radicals, but we can also increase ATP, the energy source of the cells, and we can increase our number of mitochondria. These all could play a huge role in inflammation and pain.
3) Intermittent Fasting
Intermittent fasting, an eating pattern that cycles between periods of fasting and eating, can help turn on genes that help cells survive by reducing inflammation. There are many different ways to include intermittent fasting in your life. Fasting from seven o’clock at night until seven o’clock in the morning would be a 12-hour fast. You can slowly increase that to a 16 hour fast, or you can do 24-hour fast two days a week. There are many options to suit your lifestyle and it is strongly recommended to start slowly.
4) Specific Nutrient Supplementation
Omega 3’s, vitamin D, vitamin E, vitamin B-12, and magnesium have all been shown to impact chronic pain. There are other nutrients that also help specifically with chronic pelvic pain, such as vitamin E, B1, and B3.
5) Gut Health
Seventy percent of your immune system is in your gut. If there is an inflammation issue, we should start in the gut. So, do you need to include prebiotics, probiotics, or do you need a specific gut health protocol? If you are not managing gut health properly, then you are not managing chronic pain and inflammation well, either.
These are just a few of the ways that we can use diet to influence chronic pain. When we have that central sensitization of the nervous systems, our brain still perceives that there’s pain, yet there is likely no tissue damage. Our nervous system is heightened, and we can begin to associate chronic pain with pro-inflammatory markers. We can use diet to decrease inflammation and optimize our micronutrient, antioxidant, and phytonutrient profile to begin to bring our body back into a state of balance and healing.
Reach out for a 15-minute FREE discovery session to see how we can help you on your journey.
For more content, make sure to subscribe to my YouTube channel here.
The vagus nerve is our wandering nerve that originates from the brainstem. It is one of the longest cranial nerves and innervates the muscles of the face, throat, respiration, digestion, and heart. It has such a profound impact, and it is 80 percent of our parasympathetic nervous system. This is important because it can allow us to fully relax, restore, recover, and digest. It can also help us become socially engaged, connected to the greater world, connected to ourselves, and be more mindful, joyful, and grounded.
Rather watch or listen than read?
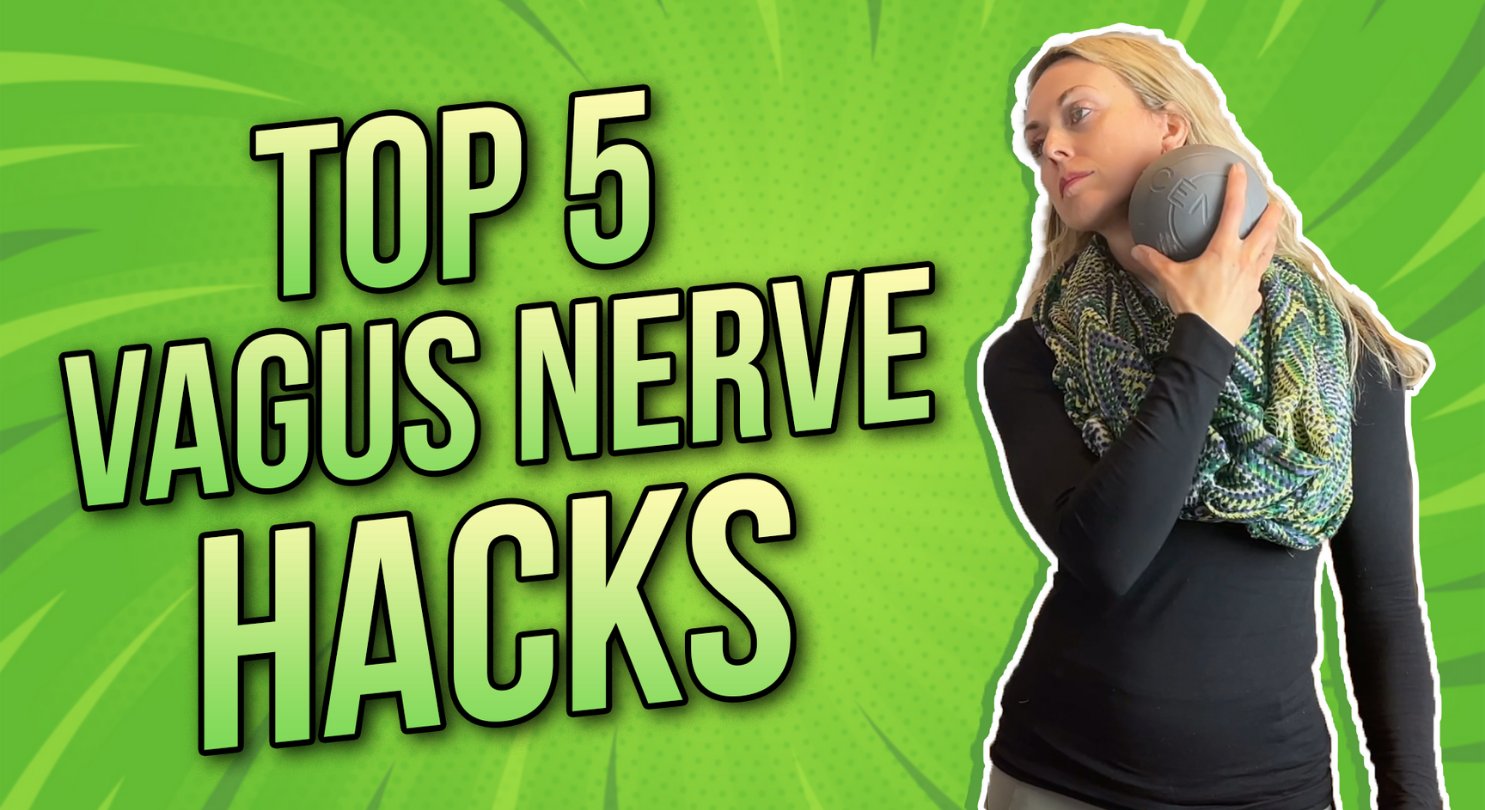
Here are five vagus nerve hacks that you can do to bring you back to this parasympathetic state; to the state of relaxation and social engagement.
1) Humming
Singing is a great way for us as humans to communicate and be connected to the greater world. Humming is a means of vocalization that has an extended exhale. When this happens, we are releasing a neurotransmitter called acetylcholine, which will stimulate the vagus nerve and create this relaxation response. Additionally, when we are humming, the vibration of humming oscillates the air and causes the nasal cavity to release nitric oxide, which thereby increases vasodilation and circulation. Lastly, it can create a co-regulation with other humans. This creates a safe place for us and that brings us back to that state of social engagement.
2) Sternal Release
The vagus nerve innervates the SA node of the heart, which is also referred to as our pacemaker. It also sits inside of the lung tissue and passes right through the diaphragm. You have baroreceptors in your aorta and carotid which detect pressure changes, especially blood pressure changes. When we are stimulating these things, we can induce a relaxation response.
To do the sternal release, place a soft ball under your sternum, inhale through the nose, and pretend to cough, but don’t actually cough. So, you’re breath-holding and then slowly exhaling. Perform this for 10 to 20 minutes.
3) Neck Release
Release the areas around the carotid artery, which moves into the carotid sinus, and is innervated by the vagus nerve. As we move through the tissues, we are moving, compressing, lengthening, and shearing all of these tissues around the vagus nerve.
You’ll start just below your ear by compressing and twisting the ball gently as you shear across the tissues. Gently lengthen the neck by turning your head in the opposite direction. Go slowly and carefully over the trachea, hyoid, and larynx in the center, because they can be a little bit more sensitive. After performing the neck release, you should feel warmth in the neck and perhaps even your face. You might even be able to use your senses a little more clearly; sight, sound, and smell. It might just feel like your face softens afterward as well.
4) Probiotics
The enteric nerves from the gut and the vagus nerve are connecting the gut and the brain, which is referred to as our gut-brain connection. Think of this as a highway, a beautiful bi-directional communication. This can be greatly impacted by our HPA axis, hypothalamic pituitary adrenal axis, referred to as our stress pathway. This can be influenced by probiotics. The two primary strains of bacteria that have been shown to impact mood, behavior, depression, anxiety, also referred to as psychobiotics are lactobacillus rhamnosus and bifidobacterium longum. Both of these strains have been shown to have improvements in anxiety and depression-related behavior, but they can also impact GABA, which in essence, inhibits feelings of fear and anxiety. This can have a profound effect on mood and behavior.
5) Visceral Release
We tend to hold a lot of tension in our abdomen. It is important to remember that 80 percent of our vagus nerve is sensory indicating that it is providing information back up to the brain. The vagus nerve is innervating our gut, so if we’re holding tension here, we are signaling “tension” or distress to our brain. It’s really important to create these relaxation responses of the organs, tissue, fascia, and skin by stimulating the vagus nerve.
For the visceral release, lie on a ball or even a rolled-up towel or blanket on your side, and gently guide the tissue, skin, fascia, and organs over the ball. Breathe diaphragmatically, starting on your left side and then moving to your right.
These are five of many different vagus nerve hacks, but please follow us (@themovementparadigm) on TikTok, IG, and FB, for more health tips to help you feel great again!
Reach out for a 15-minute FREE discovery session to see how we can help you on your journey.
For more content, make sure to subscribe to my YouTube channel here.
Do you have forefoot pain or pathology and you’re not really sure what shoe you should be wearing? There are numerous foot pathologies that you could have, however we are going just zero in on a few today, such as bunions, first metatarsal joint arthritis, neuromas, and plantar plate tears.
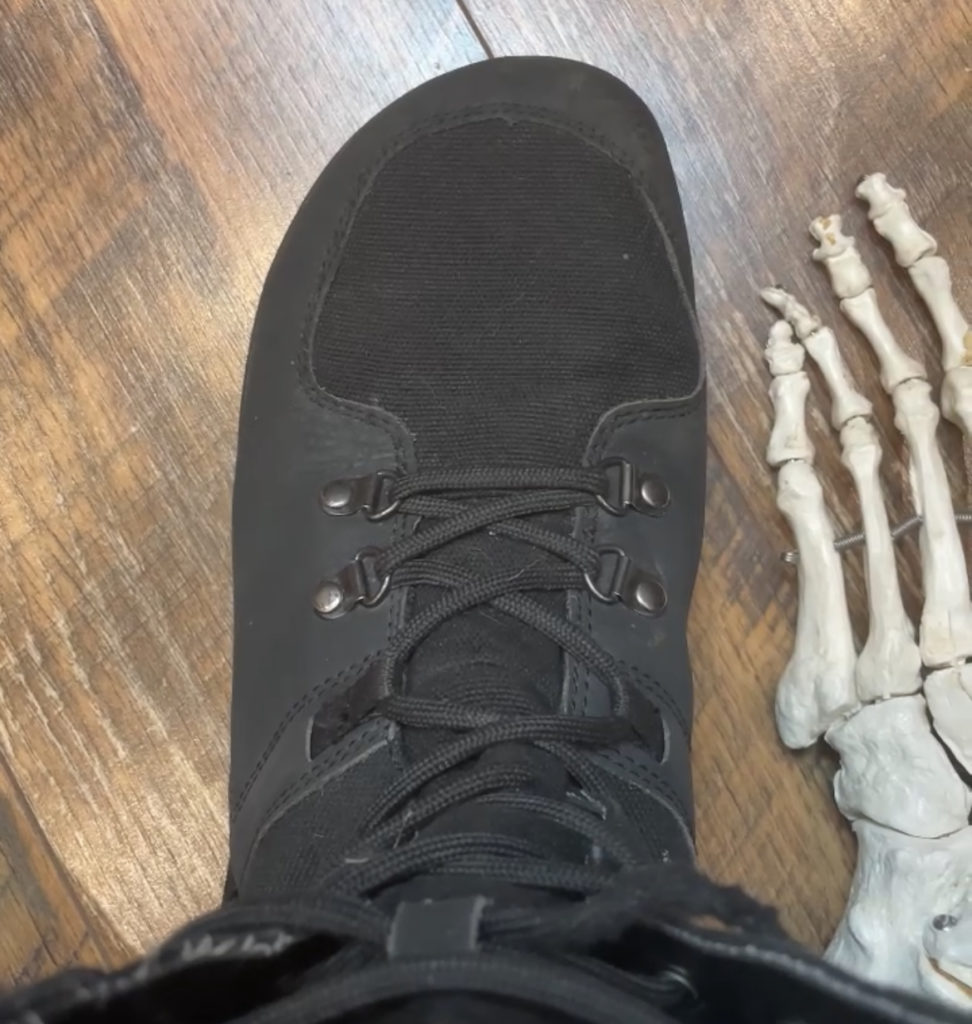
Before we get into details about each, let’s just go over some quick anatomy. The forefoot includes the phalanges (toes), the five metatarsals, and the connective tissue.
Now, let’s jump right into our foot pathologies and what feature in the shoe you should be looking for to accommodate for your pain.
1st MPJ arthritis:
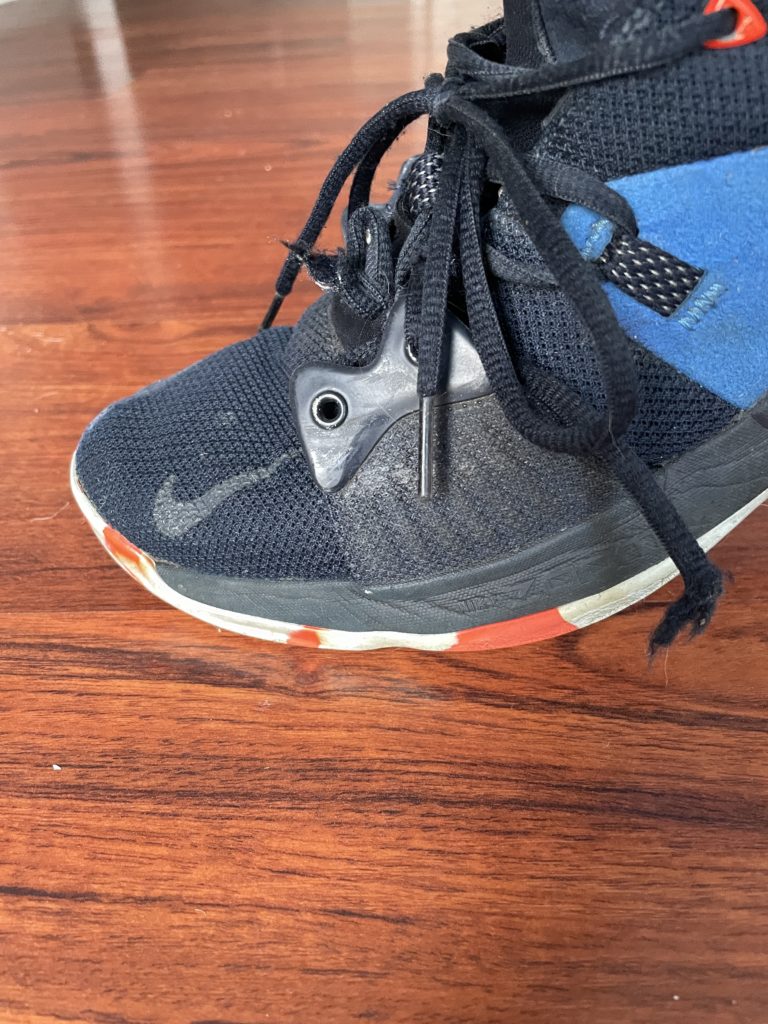
This 1st metatarsal phalangeal joint is also referred to as the great toe. This is caused by the joint jamming too early in the gait cycle or an inflammatory reaction. If you have arthritis in this toe and it is either painful and or limited in mobility, then the most important feature for your shoe will be a more rigid midsole. Secondly, you’ll want a wide toe box so that you have room for your toes to splay properly.
2. Bunion:
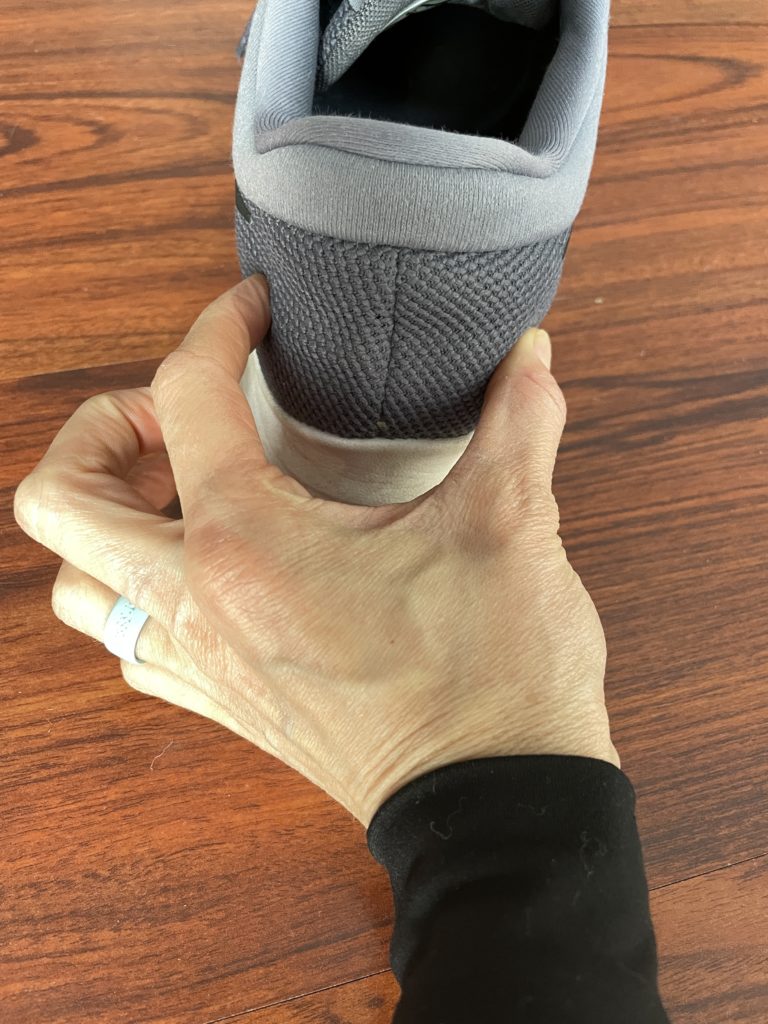
A bunion occurs when we lose stability in the metatarsal cuneiform joint (first ray). The first metatarsal will swing out and create a valgus position on the great toe. With a bunion, you definitely want a wide toe box. Because a bunion is caused by a lack of stability in the 1st ray, this often indicates that the foot is likely an unstable, everted foot type. In this case, a stiff heel counter in the back of the shoe will help control the foot so that it does not overpronate.
3. Neuroma:
A neuroma is a scarred or fibrotic nerve often between the third and the fourth metatarsal. The nerve rubs on the fascial tissue and then becomes fibrotic. This typically occurs from a loss of stability in the foot and/or compression in footwear, among other things such as injury. What will be most important with acute symptoms of a neuroma will be a stiff midsole. If the midsole is flexible, and you have an active, painful neuroma, you will continually compress the nerves at toe-off in your gait. So when your foot is more irritated, a stiffer midsole with a wide toe box will be most beneficial.
4.Plantar plate tear:
The plantar plate is an extension of the plantar fascia that runs horizontally across the joints. A plantar plate tear can be very painful, and you’ll want to immobilize the tissue for a period of time. In this case, once again, you’ll want something more rigid in the midsole. During an acute injury, you will want to immobilize the tissue for a period of time, therefore utilizing the rigid midsole.
In certain circumstances depending on the level of forefoot pain and pathology and how it’s affecting your quality of life, a forefoot rocker is frequently recommended. If someone has advanced great toe arthritis, whether it’s fused itself or a fusion surgery has been performed, a rocker bottom shoe can be very helpful. It can be added to the shoe or there are actually shoes that you can purchase with this specific feature.
Now for your bonus! The more cushion you have in your shoe, the more impact force you will have through your body. Picture yourself walking outside barefoot. Imagine how you would walk–your pace, your intention, your impact. Now picture yourself doing the same walk in high cushioned shoes. Think about the difference in how you would interact with the ground. You will strike the ground much harder because you do not have the same sensory input that you would have if you were walking barefoot.
When you have pain that is affecting your quality of life, shoes can be part of the solution, rather than part of the problem.
If you’d like to schedule a free 15-minute virtual discovery session, please email [email protected] or text 302-373-2394 to schedule. We’d love to help you get healthy again!
Make sure to subscribe to our YouTube channel for weekly tips on mindset, nutrition, and movement, and share with anyone you think may need this.
Do you suffer from nerve pain? Whether it’s sciatica, median nerve tension, carpal tunnel, thoracic outlet syndrome, chronic nerve pain into the hands, or maybe it’s even chemotherapy-induced or diabetic neuropathy? It’s important to address the root causes of any nerve pain, and most importantly, optimize your nutrition so that you can improve your nerve health.
Here are 10 different nutrients that you can consume through foods or supplementation that can optimize your nerve health.
1. Vitamin B12
This is important for the myelin sheath, which is surrounding the nerve. It’s been shown that even high doses of vitamin B12 can potentially repair damaged nerves. Good sources of vitamin B12 are yogurt, fatty fish such as salmon, cod, and sardines.
2. Vitamin B6
We need vitamin B6 to be able to absorb vitamin B12. Rather than supplementing with B6, which can potentially cause damage to the nerves, you can get this through your foods. Good sources of vitamin B6 are tuna, salmon, chicken, and spinach.
3. Vitamin B1
This is important for our muscular system and nervous system. It also converts carbohydrates to energy in the form of ATP which is our energy source. This is something that we only get a small fraction of through the metabolism of it so this is something you could supplement with, in addition to getting it from foods. Good sources of vitamin B1 are navy beans, other forms of beans, green peas, and sunflower seeds.
4. Vitamin B2
This is necessary for the absorption of B6 and B12. Good sources of vitamin B2 are soybeans, spinach, almonds, and asparagus.
5. Antioxidants
This can be powerful to optimize the myelin sheath and prevent any damage to the nerve. Good sources of antioxidants are berries such as blueberries, blackberries, or raspberries, dark leafy greens, fatty fish, and walnuts. Try to eat a rainbow every day!
6. Ginger
This can be a powerful anti-inflammatory agent. Try using a couple of teaspoons in hot water or you can incorporate it into salads, soups, and stews. It is very helpful for nerve inflammation and pain.
7. Omega 3
This is important in repairing the myelin sheath that the nerve is wrapped in. Good sources of Omega 3 are fatty fish, walnuts, and flaxseeds.
8. Water
We are made up of 70% water. All of our nerves, bones, ligaments, and connective tissue is inside of our lymphatic system which essentially is water. It’s our aquarium. We want to make sure that we are well hydrated so that our nerves can function at their peak.
9. & 10. Magnesium and Potassium
Magnesium helps the nervous system to relax where potassium is helping to transmit those signals or messages efficiently. Good sources of potassium and magnesium are pumpkin seeds, quinoa, and fresh fruit.
These ten nutrients may not eliminate your nerve pain, but they can definitely help optimize your nerve health. Remember, you always want to get to the root of the issue. You want to look at this from an integrative perspective and recognize that the nutrients that you are consuming or not consuming are going to impact how you are recovering from your nerve injury.
If you’d like to schedule a free 15-minute virtual discovery session, please email [email protected] or text 302-373-2394 to schedule. We’d love to help you get healthy again!
For more content, make sure to subscribe to our YouTube channel here.
Did you know that you can test your vagal nerve function, and not only can you test it, but you can begin to tap into the healing power of the vagus nerve? Your vagus nerve is responsible for the regulation of internal organs such as digestion, heart rate, respiratory rate and impacts certain reflex actions like coughing, sneezing, and swallowing. It is critical to optimal health and you can tap into it-but first, find out what state you’re in.
The Polyvagal Theory
Before we jump into how you can assess the vagal nerve, let’s talk a little bit about the autonomic nervous system. We used to think of the autonomic nervous system as simply fight or flight or rest and digest. However, Dr. Steven Porges’s work shows us that there’s much more to it and there are actually three circuits of our autonomic nervous system. This is referred to as the polyvagal theory.
Essentially we have our fight or flight state, which is also considered our sympathetic spinal activation. We also have our dorsal vagal state, referring to the most primitive vagal nerve, and indicates we are in a freeze state. This means we are shut down and feel hopeless. We are disassociated from ourselves and other people.
Lastly, we have the ventral vagal circuit, which means we are in a state of social engagement-a state of safety. This means we are connected to the greater world. We’re connected to ourselves. We are joyful and mindful. All three of these are critical and during the day we go through all of these different circuits, but most often we don’t even recognize that we do because we go through them so quickly. However, we can get stuck in these. We can get stuck in a fight or flight stress response where we’re constantly worried, anxious, frustrated, or irritated. It’s also easy to remain in a shut-down mode. We of course could be mindful and joyful. We’re constantly fluctuating.
Adapted by Ruby Jo Walker
Check out our previous blog on “How to Map your Nervous System” here.
Breaking that down a little further, let’s speak about the ventral vagal nerve. This originates from the brainstem just as the dorsal vagal nerve does. This innervates most of the muscles of the throat, such as the larynx, pharynx, uvular muscles as well as the levator palatini muscles in the back of the throat. Whereas our dorsal vagal nerve, which is more subdiaphragmatic, innervates the muscles of the stomach, liver, and digestive system. It also does innervate the muscles of the heart and lungs. Just a reminder, the dorsal vagal nerve is impacting that freeze state, shutdown mode, whereas the ventral vagal is eliciting that sense of inner calm and relaxation and is associated with our state of safety or state of social engagement.
Testing Ventral Vagal Function
You may need a partner for this. This is a really powerful technique that can have a profound impact on how you address your body. Remembering where all the powerful neural innervations are, one of the innervations of the ventral vagus nerve is the throat.
Grab a partner and a flashlight.
Have your partner look at the inside of the mouth at the back of the throat at the uvula that drops down right in the center.
Now, perform an “ah, ah, ah” sound.
When you open your mouth, you can use a tongue depressor or your fingers to push down your tongue so the uvula and soft palate can be more visible.
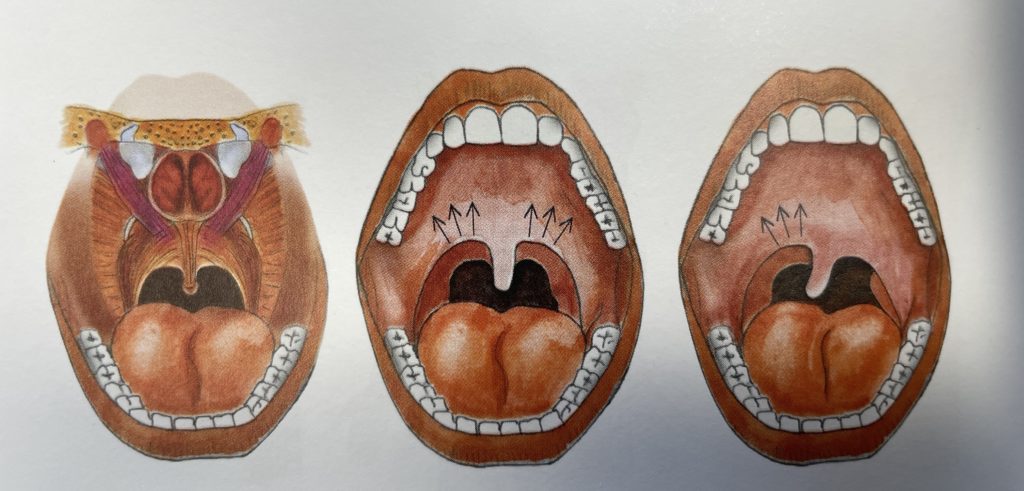
The examiner is going to look at the uvula to see if there is a deviation to one side.
Adapted from Stanley Rosenberg’s Healing Power of the Vagus Nerve
What you’re looking for, specifically, is if there’s any deviation from one side to the other. If the uvula pulls over to one side, then that is indicative of ventral vagal nerve dysfunction. If it moves up symmetrically, then that means that you are in that state of social engagement. So, if you have the soft palate moving up on one side, let’s say it’s moving up on the left side, and not moving up on the right side, then that would be indicative of a dysfunction of the pharyngeal branch of the ventral vagal nerve.
Now, that you’ve tested let’s move into how to stimulate the vagus nerve.
Vagus Nerve stimulation: The basic exercise
If your test indicated that you had a ventral vagal nerve dysfunction, perform the basic exercise for vagus nerve stimulation.
Lie on your back on the ground.
Interlace your fingers and bring them behind your head- right at the base of the skull
Look with your eyes to the right until you sigh, swallow, or yawn, and then repeat on the other side.
You may blink during the exercise.
Now that you’ve stimulated it, retest your vagal nerve and see if there was a change.
This is just one way to measure your autonomic nervous system function. This is also just one way out of many to stimulate your vagus nerve. However, recognize there are so many ways to become more aware, more in tune, and map your nervous system. You are completely in control of what’s happening in your life.
I want to give a huge thank you to Dr. Steven Porges for all of his amazing work in this area, as well as Stanley Rosenberg, for their contributions to this area of life-changing research. Make sure to check out the book, Accessing the Healing Power of the Vagus Nerve, by Stanley Rosenberg.
If you’d like to schedule a free 15-minute virtual discovery session, please email [email protected] or text 302-373-2394 to schedule. We’d love to help you get healthy again!
For more content, make sure to subscribe to our YouTube channel here.
Do you have hip pain that you are continually trying to stretch, roll, or smash, and nothing seems to get better? Before we get into the role of the psoas, one of your key hip flexors, let’s speak about the local stabilizers and global stabilizers of the body. This is important to understand how you are going to treat your hip flexors and hip pain.
Think of the local stabilizers as being muscles that are close to the joint. They create more of an isometric contraction versus concentric (shortening) or eccentric (lengthening) contraction. They control the joint centration which means keeping the joint centered in its axis. It’s also independent of the activity of motion so if you raise your arm overhead, the deep stabilizers in my spine are going to activate before your arm goes overhead. Essentially these local stabilizers are imperative for stabilization in the body so that we can have proper movement.
Our global stabilizers are equally as important. However, they have a different role, so they have more of an eccentric contraction. They decelerate the range of motion, are continuous with motion, and are farther away from the joint.
Now getting back to the psoas, which is what everyone wants to stretch when they have hip pain. The posterior or the back of the psoas is a local stabilizer. Think of it as one of our deep core muscles that is helping to stabilize the spine and also prevent the femur, our leg bone, from shifting forward in the hip joint. The anterior or front of the psoas serves as a global stabilizer. So, it is necessary to think of the psoas muscle as a stabilizer. Not only is it a stabilizer but it works in an integrated unit with all of the other muscles, including the pelvic floor, diaphragm, multifidus, the deep five rotators in the hip, and the transverse abdominus. All of these have to work together, and once again in this integrated fashion to be able to stabilize the low back and the pelvis during any kind of movement.
For example, if you performed a chest press with 30 pound in each hand on a bench and then transitioned into doing that on a stability ball, your weight would naturally go down. Why? Because you now have an unstable platform to work from and therefore can not generate as much force.
There are a lot of different hip pathologies that we won’t get into today, but when you have hip pain it typically happens from losing the deep stability of the hip. There are two common muscle imbalances that will exist. One is the TFL(tensor fascia latae) muscle, which is right in the front lateral side of the hip, can get tight, especially with increased sitting. Based on this attachment, it will pull the hip forward, and that will therefore inhibit or shut down the psoas. The other common muscle imbalance is the hamstring muscles, which can get tight for various reasons, inhibiting the glute muscles. The hamstrings can push the femur forward and that also leads us to lose that optimal position on the hip joint. Overtime if we have these muscle imbalances, instead of the hip being centered in the axis, it will start to shift forward and up. This will cause all types of pain issues and pathologies. Whether that’s a labral tear, hip impingement, tendinopathy, bursitis, and so on. So, it is important to get the hip stabilized and centered in the joint in order to decrease pain and ultimately improve function.
You can begin to do this through a four-step process. This is a great way to begin to address your pain, as well as any kind of movement compensation, and most importantly, integrate your foot with your core, in a very integrated manner. First is inhibiting the tissue, in this case we inhibited the TFL muscle that typically pulls the hip joint forward and creates that inhibition of the psoas as a deep stabilizer. Then, mobilize the hip joint to center the hip joint. Remember that when it is not in that center position it’s shifting forward enough so we’re shifting it back to the center position. Next, stabilize it by activating the deep stabilizers, such as our diaphragm, pelvic floor, etc. Then we’re integrating it with the ground. This is super important because the foot is part of the core and they work as an integrated unit. To get those deep stabilizers of the hip firing, short foot, i.e. foot to core sequencing, allows us to do that in a very integrated fashion.
4 Steps
1. Inhibition
For the TFL release, place the ball right on the outside of the hip. When you lie down, you’ll naturally rotate the hip in, which will expose the TFL muscle. With the other leg, anchor it up at a 90-degree angle and come down to your forearms. Holding that position your leg will be nice and long, naturally rotated in, and breathing throughout the exercise trying to relax into it.
2. Mobilization
For the hip mobilization with a band, you’ll place the band high up in the groin. You’ll have it back at a 45-degree angle away from you. You’ll start in a table position rocking forward 15 times, making sure your spine stays nice and long, and you’re breathing. Then rock away from the band, so to the opposite side, once again about 15 times, making sure you’re breathing throughout the exercise.
3. Activation
Now it’s time to activate the deep core, so you can do this by diaphragmatic breathing. Inhale, breathing into the abdomen and into the base of the pelvis allowing the abdomen to expand 360 degrees. Exhaling, letting the abdomen contract and the belly button in towards the spine. Once you feel like you have this established, then on your inhale allow the pelvic floor to relax, so you can exhale and gently lift the pelvic floor about 20% contraction to get a deeper integration. You want to think of this as a rhythmical balance, so nice and fluid. Inhaling to the base of the pelvis and exhaling gently lifting the pelvic floor.
4. Integration
Lastly, it’s time for integration. This is to be done with short foot. Standing on one leg, sitting the hips back, knees slightly bent, taking a breath in, while your foot relaxes then exhale and gently root the tips of the toes into the ground. That will naturally lift the arch and lift the metatarsal heads or ball of the foot.
So whether you have hip pain or hip tightness and are constantly stretching your hips, hopefully, this video will give you a little bit of insight to allow you to think about your hip differently and recognize that it is part of an integrated unit. It is really important to understand how that works as it relates to stabilization and movement
If you’d like to schedule a free 15 minute virtual discovery session, please email [email protected] or text 302-373-2394 to schdule. We’d love to help you get healthy again!
For more content, make sure to subscribe to our YouTube channel here.
Are you a person that sets a New Year’s resolution every year, but doesn’t quite follow through with it? Maybe you know a lot of friends and family members that set goals, but by the end of the year, you ask them if they’ve done them
Did you know that one in seven adults is diagnosed with an underactive thyroid and 60% of the people with a thyroid condition are unaware that they even have an issue? Hashimotos thyroiditis is an autoimmune disease and affects 1-2 % of the population. It is also more common in women than in men. It is really important to understand the common signs and symptoms, risk factors, proper testing, why do you get thyroid issues, and why is it so prevalent?
The thyroid is a butterfly-shaped gland that sits underneath the Adam’s apple. It is important for just about every organ system in our body. It secretes two hormones, T3 (Triodothyronine)and T4 (Thyroxine) and the thyroid impacts everything such as body temperature, metabolism, growth and development, brain development, among many other important essential functions in our body.
What are some things that can happen when the thyroid goes awry? The ten most common symptoms of an underactive thyroid are:
Dry skin and hair
Weight gain
Fatigue
Hair loss
Menstrual irregularities
Edema
Muscle/joint aches
Constipation
Depression
Cold intolerance
What are the things that disrupt the thyroid?
1. Stress
When we think about the hierarchy of how our thyroid might be affected, number one is always the adrenals. So when we have chronic activation of our stress pathway that means that we are chronically releasing cortisol. Cortisol negatively impacts our thyroid function. Our adrenals impact our thyroid which then in turn can impact our sex hormones. If we want to think about reverse engineering why you may have gotten a thyroid condition or how we would want to address the root cause, it’s important to always include stress management as part of the equation.
2. Toxins, infections, radiation, medications
Other things that will impact the conversion of T4 to T3 are things like infections, radiation, medications, trauma, and toxins. Examples of toxins are things like herbicides, pesticides, cleaning chemicals, and plastic water bottles. Take the Toxic Exposure Questionnaire HERE. Medications such as Lithium, used to treat bipolar disorder, various cancer drugs, and Amiodarone, used to make the heart beat more regularly, can contribute to hypothyroidism.
3. Nutrient deficiencies
Some of our key nutrient deficiencies that will drive thyroid dysfunction because the thyroid needs these things for proper conversion are ferritin (iron), vitamin D, Vitamin A selenium, zinc, and iodine. These are all key players in making sure that we are identifying the root cause of the thyroid dysfunction and also treating it appropriately.
Testing
Now that you know the common symptoms and causes, let’s look at testing. As it relates to testing, the most common lab value that is tested is TSH, the thyroid-stimulating hormone. This is a reflection of the pituitary gland, the master gland, which is what secretes this particular hormone. When thyroid levels are low in the body. The pituitary gland will make even more TSH. This can be totally normal and you can still have thyroid dysfunction. So, it is necessary, and critical, to have a full thyroid panel if you are suspecting symptoms. I would look at the patient’s history, clinical presentation, risk factors, and then determine if thyroid testing is appropriate. But, you need a full panel. That would include your TSH, Free T3, Free T4, total T3, reverse T3, TPO antibodies, and thyroglobulin antibodies. It is important to have all of those to get a full picture of what’s happening and you can look at specific ratios.
If you’ve been dealing with any of these issues please make sure to reach out so that we can help guide you on the right path. Recognize that hormone replacement is appropriate, in many cases, and it’s just a matter of finding the root cause so that you’re not just simply putting a Band-Aid on what’s happening. That’s why it’s really necessary to figure out what nutrient deficiencies you may have and what potential toxins you have been exposed that are contributing to your condition. You want to make sure that you continue to work towards finding the underlying causes of your thyroid condition, so that you can continue to feel your best, and living the life that you deserve.
If you’d like to schedule a free 15 minute virtual discovery session, please email [email protected] or text 302-373-2394 to schdule. We’d love to help you get healthy again!
For more content, make sure to subscribe to our YouTube channel here.