Pelvic Floor Physical Therapy for Men: Regain Strength, Confidence, and Quality of Life

When discussing health and wellness, pelvic floor physical therapy is often seen as a women’s health issue. However, men can also experience significant benefits from addressing pelvic floor dysfunction. Whether you’re dealing with leaking (with or without activity), performance issues, pain in the lower back or hips, pre and post-prostate surgery complications, or bowel issues, understanding the importance of pelvic floor health can be a game-changer.

Why Pelvic Floor Health Matters

The pelvic floor is a group of muscles that support the bladder, bowel, and for men, the prostate. These muscles are crucial for urinary and fecal continence, sexual performance, and overall core stability. When the pelvic floor muscles are weak, too tight, or not functioning properly, a variety of symptoms can arise.

Common Symptoms in Men:

  • Leaking: Urinary incontinence can occur during physical activities or even when at rest, leading to discomfort and embarrassment.
  • Sexual Performance Issues: Erectile dysfunction or premature ejaculation can be linked to pelvic floor dysfunction.
  • Pre and Post-Prostate Surgery: Surgery can impact pelvic floor muscles, making rehabilitation essential for recovery and maintaining function.
  • Pain: Chronic pain in the lower back, hips, or pelvic region can often be traced back to pelvic floor issues.
  • Bowel Issues: Constipation or fecal incontinence can also be symptoms of pelvic floor dysfunction.

The Importance of Assessment and Treatment

A thorough assessment by a trained pelvic floor physical therapist can identify the specific issues affecting you. This process typically involves a detailed history and physical examination to pinpoint muscle imbalances, weakness, or tension. Once identified, a personalized treatment plan can be developed. Our approach starts with an assessment done externally and uses breathwork to help you connect to your pelvic floor. This connection allows for better integration of your pelvic floor into your daily habits. Being more aware of where you hold tension and where you compensate helps us make changes to work on strengthening the right muscles to help you towards your goals. In other settings, an internal assessment may be completed on your first visit. 

Treatment Approaches May Include:

  • Exercises: Once an assessment is completed, you will be provided tailored exercises based on your pelvic floor needs. This could begin with working on relaxing the muscles in order to progress into strengthening the muscles through their full range. Integrating exercises into your daily life allows for improvement of function and reducing symptoms.
  • Education: Understanding your condition and how to manage symptoms effectively. Creating a toolbox of exercises for your symptoms and goals is important to help you feel empowered with being able to make changes to help you feel your best. Most importantly learning the anatomy of the pelvic floor to best understand how to advocate for yourself. 

Empowering Men to Take Charge of Their Health

The goal of pelvic floor physical therapy is not just to alleviate symptoms but to empower men to regain strength, confidence, and control over their bodies. Addressing pelvic floor issues can significantly improve your quality of life, allowing you to engage in activities you enjoy without fear of embarrassment or pain.

Building Strength and Confidence

Through dedicated pelvic floor physical therapy, men can:

  • Regain Control: Effective management of incontinence and bowel issues.
  • Enhance Performance: Improved sexual health and function.
  • Reduce Pain: Alleviation of chronic pelvic, hip, and back pain.
  • Recover Holistically: Optimal recovery from prostate surgery.

By taking proactive steps toward assessing and treating pelvic floor dysfunction, men can look forward to a future where they feel strong, confident, and in control. Remember, seeking help is a sign of strength, and investing in your health now can lead to lasting benefits.

If you’re experiencing any of the symptoms mentioned, reach out to us for an appointment or a local pelvic floor physical therapist. It’s time to take charge of your health and rediscover your potential.

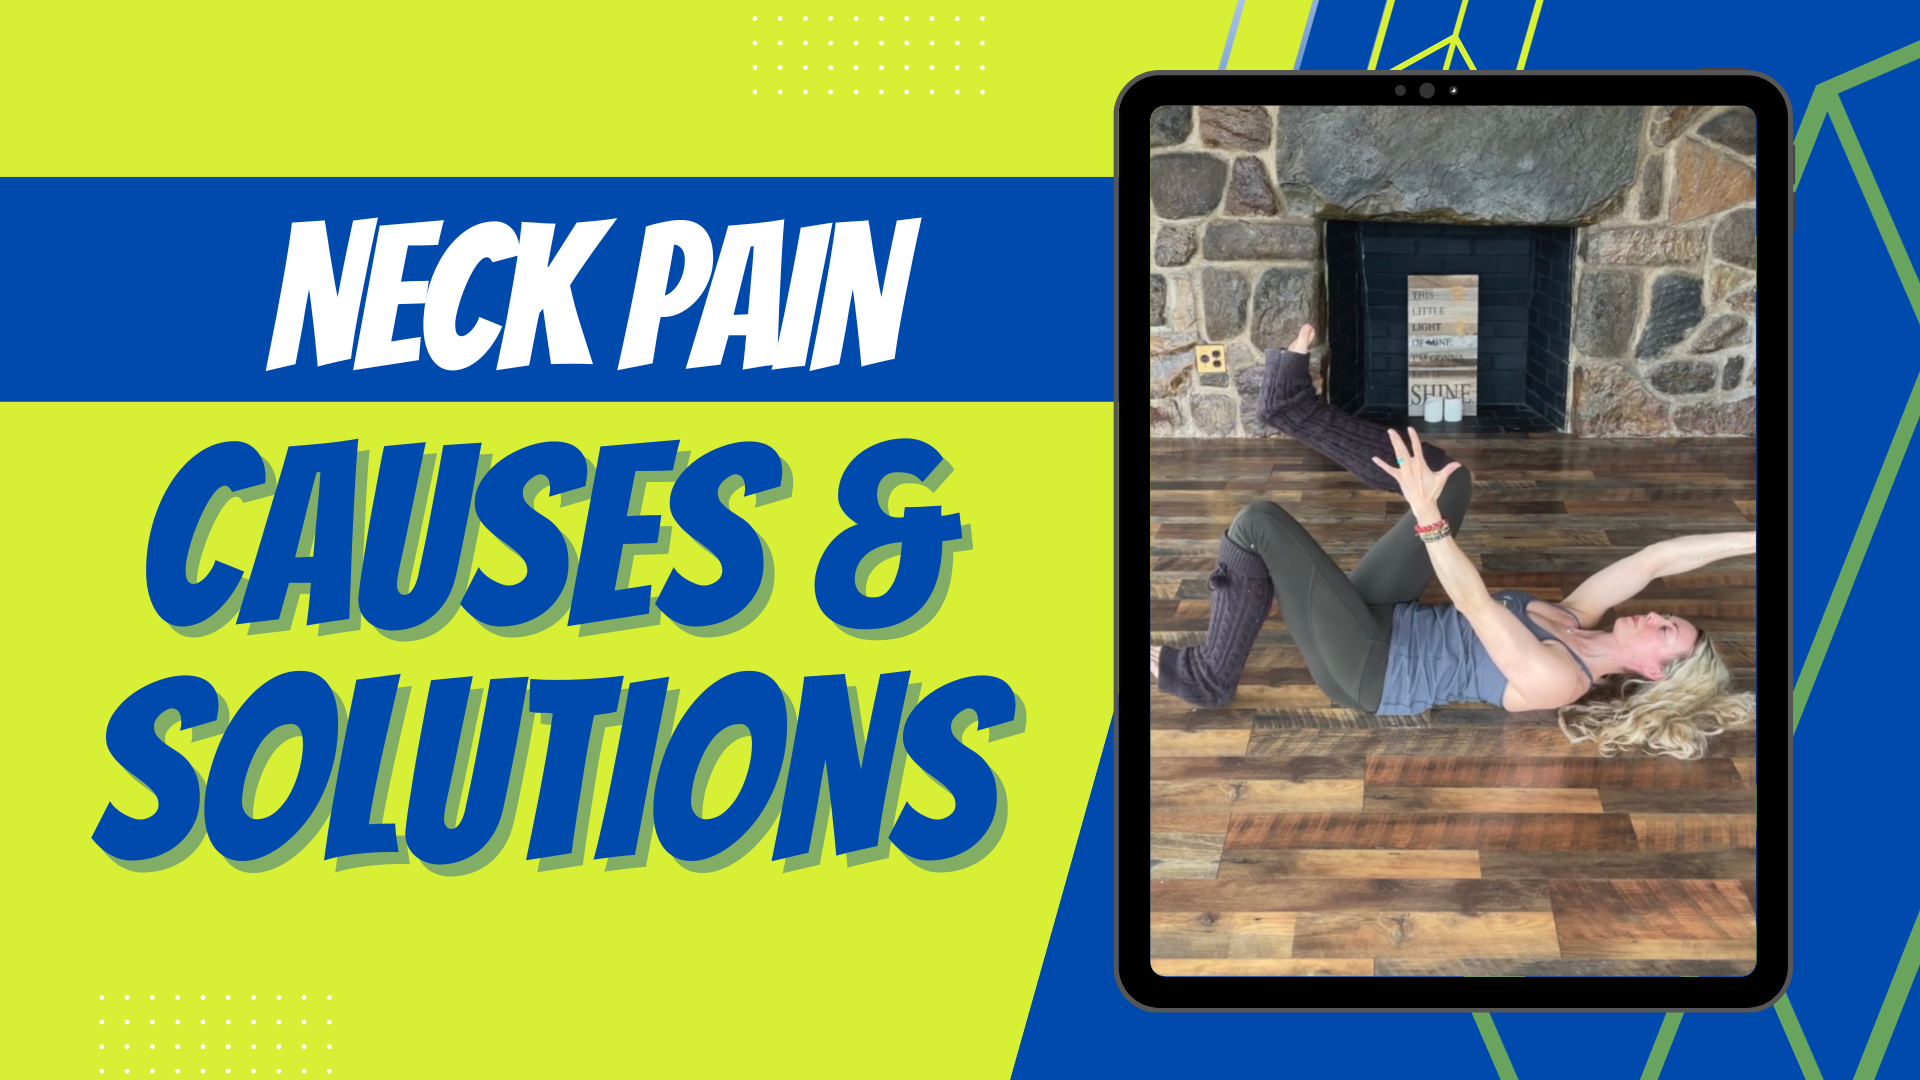
Neck Pain Causes and Solutions

Are you experiencing chronic neck pain? Do you feel like you’re always holding tension in your neck, and no matter how many stretches you do, it just does not seem to resolve? Today, we’re going to talk about some root causes of neck pain. Also, of course, some solutions for it. 

Rather watch or listen? 

4 Neck Pain Causes

1. Breathing and/or airway dysfunction

Let’s start with one of the biggest issues, which is some type of breathing and/or airway dysfunction. This means that we can be in a sympathetic state, indicating that we’re in that fight or flight state. This means that we’re going to be breathing from our neck and shoulders. 

We breathe 25,000 times a day. So, if every breath is coming from here, you can appreciate how tight this is going to be. We can also have an airway dysfunction, indicating that there could be a deviated septum, a narrow airway, or changes in the jaw. Even poor tongue posture can play a role in exacerbating these issues.

In essence, many things might indicate that there is an airway issue contributing to poor breathing throughout the day and during sleep. 

2. Posture

Although there’s no clear link between posture and neck pain, we want to think about any potential compensatory patterns that we have in our body, as they can ultimately lead to compensation in movement and, potentially, pain.

For instance, if you spend long hours at your desk staring at a computer, you might develop certain habits. If you’re always looking at the screen to the left, your muscles and tissues may adapt to that position over time, becoming shorter and possibly causing discomfort.

This doesn’t mean you can’t move your head in different ways, but it’s worth paying attention to regular activities to see if there’s a chance to adjust and put yourself in a better position. Making small changes might help prevent potential pain down the road.

3. Headaches or migraines

If you’re experiencing any ongoing headaches or migraines, this often can be associated with neck pain. But, once again, we want to understand the underlying causes of that. Many times, it can be associated with jaw clenching, which can be correlated with airway dysfunction.

4. Lack of stability or motor control

Neck pain occurs when the neck compensates for a lack of stability or motor control, which we refer to as sequencing, timing, and coordination, somewhere else in the body. A good example of that is our core or abdominal area. It’s a beautiful balance of having the respiratory diaphragm work in synergy with our pelvic diaphragm, and all these muscles need the right coordination to stabilize our spine. This way, we can generate force and move efficiently in everything we do.

If we lack stability in the core, then something in the body has to figure out what to do for that. So often, that can be the neck. For instance, if you are trying to do a core exercise on the ground, and instead of the core really doing what it’s supposed to do, you start to get tension and abnormal tension in your neck. It’s a perfect example of how this could happen.

5 Neck Pain Solutions

So what can you do about it? 

1. Optimize your breathing

Let’s talk about some key points. First, address your tongue position. The resting tongue position should be on the roof of the mouth, gently touching the top teeth. This allows our airway to open so we can get optimal breath. We want to think about breathing in through the nose, and instead of breathing straight back, think about breathing up. As you breathe in, aim for full expansion in the abdomen. Think of it as a 360-degree breath—front, back, and sides of the abdomen. This creates inter-abdominal pressure. As you exhale, the abdomen contracts and the ribs come down.

If you feel like you can work on your breathing and improve it over time, that’s amazing. If it seems challenging to improve, you might need to explore other options to identify if there is indeed some structural airway issue that may need addressing.

2. Stop stretching

Often, when we have neck pain, our instinct is to stretch and stretch. When anything is tight in the body, these muscles are doing exactly what we need at the time—they’re protecting us. So if there’s a lack of stability somewhere else, if breathing is not optimal, then our body is doing what it needs to do to compensate and maintain homeostasis or balance.

We want to be kind to it. If we just take away that compensation, it might have a temporary fix, but it won’t be an ongoing solution. Instead, I love recommending the salamander stretch

You’ve probably seen this in my other blogs and videos, but it’s worth repeating. This is based on Stanley Rosenberg’s work. Interlace your fingers, bring them behind the back of your head, and relax your arms. Keep your arms down, side bend your upper body and look with your eyes in the opposite direction. Hold this for about 30 seconds. You might experience a sigh, swallow, or yawn—a sign of relaxation. Come back to center, then switch to the other side, eyes in the other direction, holding for 30 seconds. Before and after you perform this exercise, I recommend checking your range of motion. Normally, there is an immediate improvement afterward.

3. Identify any habitual patterns

Is your computer screen over to the left? Can you move it right in front of you? Are you on your phone for hours looking to the right? Just observe these things that you might be doing all day long and consider making some modifications. You don’t need to have perfect posture all day long—I’m not suggesting that. But it might be beneficial to change some of these habits that you’re doing for hours and hours a day.

4. Create stability and strength in the rest of the body

Learn how to build a resilient body. I know that might sound like a lot, but when we think about becoming stronger from the ground up, from our feet up, we can establish a strong connection and have a foundation for stability, strength, and mobility. This way, our neck doesn’t need to compensate all the time. When there’s chronic neck pain, unpacking things such as optimizing breathing, building stability and mobility (for example, in the thoracic spine), and then building strength can truly shift the trajectory of your pain in a lasting way.

5. Identify causes of chronic pain

And last but not least, whenever we have chronic pain, we want to consider a couple of other things. First, is there any systemic inflammation occurring? Are there factors such as certain foods, hormonal imbalances, or chronic stress playing into this systemic inflammatory response, especially when the pain persists? Additionally, we want to distinguish between acute pain and chronic pain. 

Chronic pain involves central sensitization, where our brain perceives a high alert of pain all the time. We need to learn how to use nervous system regulation and other strategies to down-regulate the nervous system, recognizing pain as information and shifting from a heightened sense to pain associated with a specific movement pattern. In chronic pain, there is no tissue damage at that point, whereas in acute pain, there can be tissue damage.

As always, I hope this helps you understand your neck pain a little bit more and, of course, some of the things that you can do to begin to change your pain and improve your health.

If you found this information helpful, please be sure to give it a like, share it with others, leave a comment below, and, of course, subscribe to our YouTube channel, The Movement Paradigm®, for weekly tips on mindset, nutrition, and movement. 

If you’re looking for personalized guidance on your journey and feel that you need an individualized approach, please don’t hesitate to reach out to us. We would welcome the opportunity to assist you.

If you’re interested in accessing a wide range of programs, including those on nutrition, somatics, and vagus nerve exercises, as well as movement programs to help you optimize your overall wellness, consider checking out our app, The Movement Paradigm, available on both Apple and Google platforms.

Other things that might interest you:

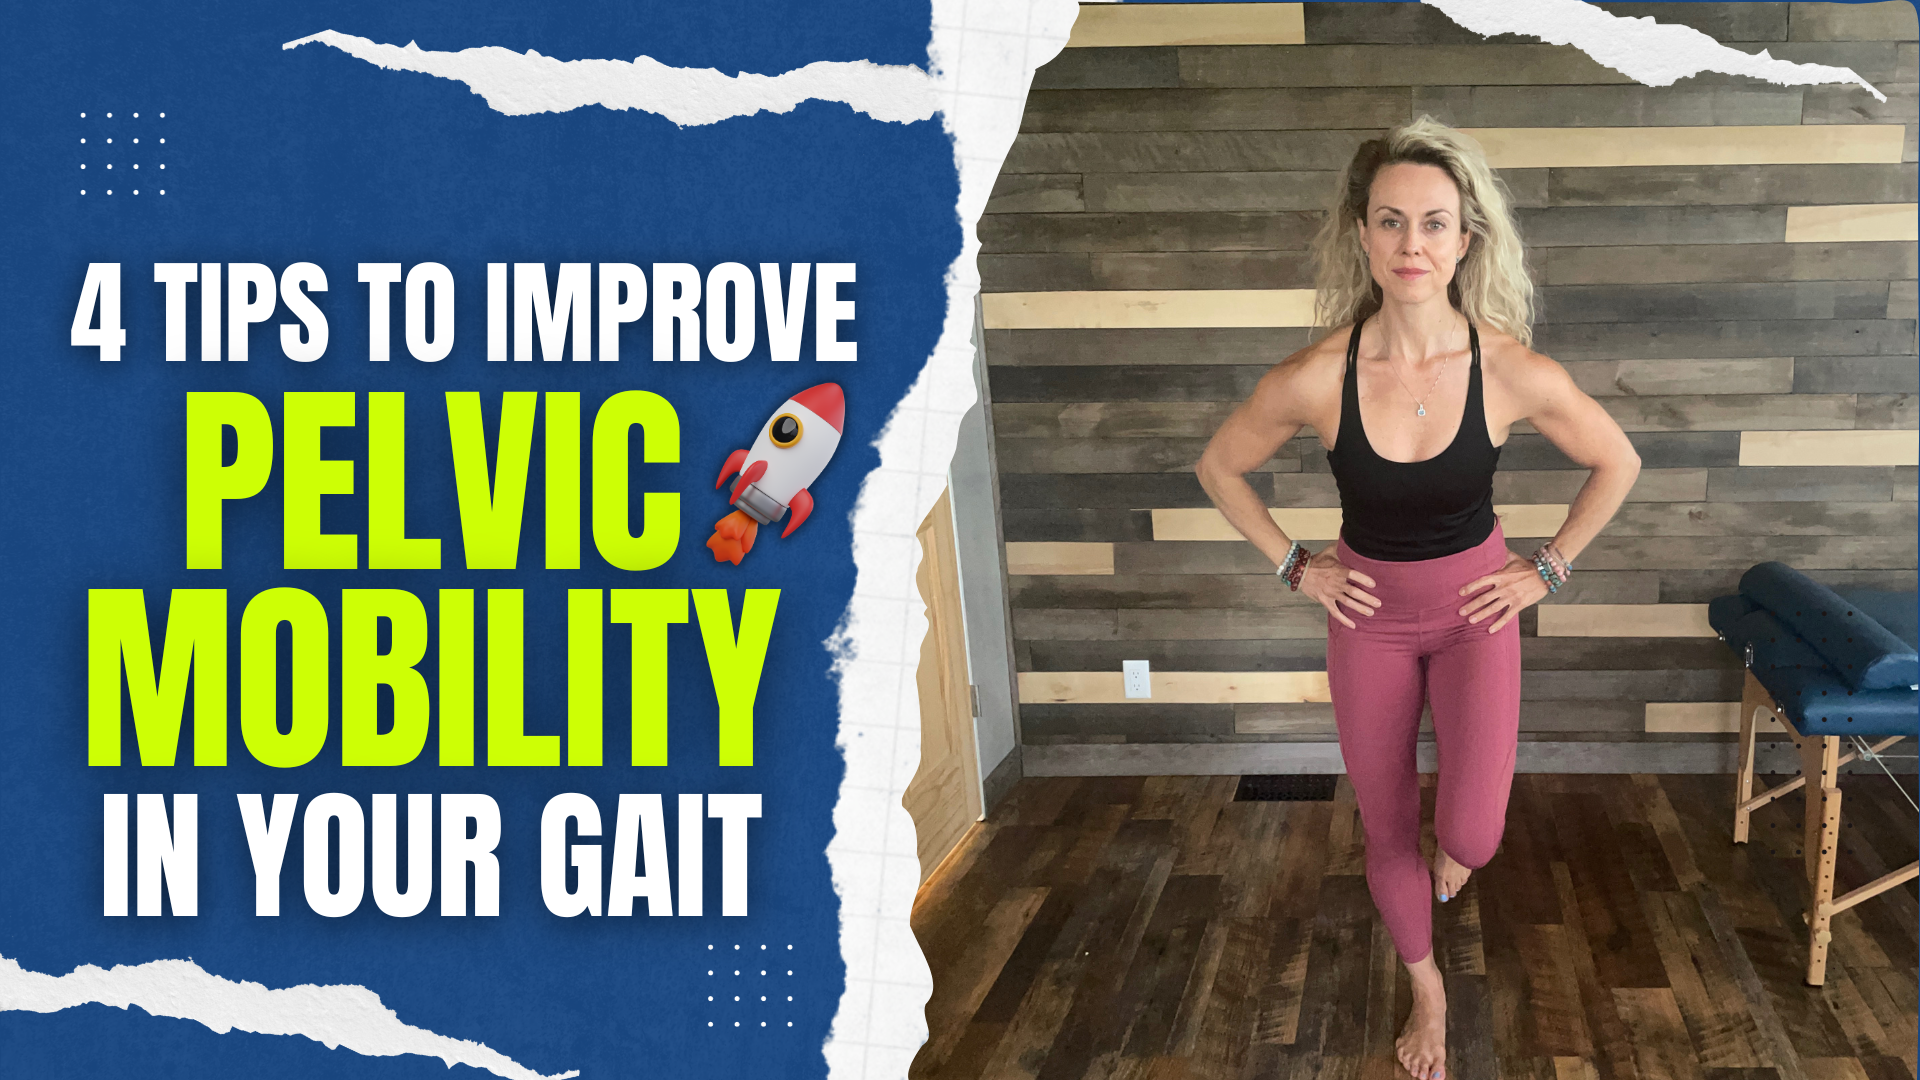
4 ways to improve pelvic mobility in your gait

Are you experiencing hip pain, back pain, or even knee pain when walking or engaging in other dynamic activities such as climbing stairs or running? Do you find yourself constantly searching for the perfect shoe or feeling like something just isn’t quite right? Your gait is one of the most powerful assessments of movement efficiency, revealing how you interact with the ground. The way you absorb impact and utilize it as energy is profound. 

Today, we’re going to delve into the topic of pelvic mobility and how it influences your gait cycle. We’ll also explore some exercises that can help you improve your walking, dynamic movements, and even running if that’s something you’re interested in.

Rather watch or listen? 

What you need to know about pelvic mobility

When walking, we encounter 1.5 times our body weight in force. When running, we encounter up to three to four times our body weight in force. And when we’re jumping, it could be up to eight times our body weight in force. That means that we have to be efficient about how we interact with the ground.

After doing probably thousands of gait assessments at this point, I’ve realized that there are some common themes, and one of them is something that is often ignored: pelvic mobility

We’re always thinking about what we need to stretch or what we need to strengthen. But we also want to consider how the pelvis moves in our gait cycle. We actually need proper rotation of the pelvis, side bending of the pelvis, and forward and backward motion. Any excessive movement or limitations in these aspects can affect our stride length, how we interact with the ground, and the impact force coming through our body.

So, although there are many things to talk about with gait, we’re going to zero in on pelvic mobility today. For example, Kim et al. showed that in chronic stroke patients, an anterior pelvic tilt, which is when your pelvis is forwardly tipped, affects balance and symmetry. These simple factors can have a significant impact on our overall function.

Ways to improve your pelvic mobility

1. Pelvic mobility from the floor

Place your hands on your hips and forward bend, tipping your pelvis forward and arching your back. Then, bend the pelvis backwards, flattening your back to the floor. Repeat this motion a few times, initially assessing if you feel any discomfort, if the motion is smooth, or if there’s any shaking. Notice if it feels limited in one direction more than the other.

Next, move into side bending. From here, bend your hip toward your shoulder, then return to the center. This can serve as both an assessment and an exercise. When using it as an exercise, focus on your breath. Inhale and exhale as you flatten your back in the forward backward bending, and if you’re doing the side bending, inhale deeply with a diaphragmatic breath and exhale as you go into a side bend. Once again, observe if there’s symmetry between the sides or if one side feels painful or crampy. All of these observations are essential.

2. Table position

Come up into a table position, and you’ll perform the same exercises from here. Focus on initiating the movement from the pelvis, not the upper back. As you go into the forward bend, tilt the pelvis forward, and as you go into the backward bend, tilt the pelvis backward. Coordinate this movement with your breath. Inhale as you tilt the pelvis forward, allowing the abdomen to expand. Exhale as you tilt the pelvis backward.

When moving into the side bend, think of it as “wagging the tail.” Breathe in, and then exhale as you perform the side bend. Pay attention to whether there’s symmetry on both sides or if it feels restricted. All of these observations are essential for how you would perform the exercises.

3. Pelvic rotation in table 

From table position, straighten one leg and rotate the pelvis toward the stable leg on the ground. Take a breath in, and then exhale as you drop your pelvis into this hip, and then bringing it back up to neutral. Inhale, and return to neutral. This exercise is really helpful for working on rotating the pelvis into a stable leg.

4. Airplane exercise

This exercise focuses on maintaining a stable hip while moving the pelvis toward the stable leg. Stand on your right leg and position your left leg as a kickstand. You can start with a breath in as you rotate your pelvis into your right leg and exhale as you bring it back to neutral. You can also progress this to single leg (no kickstand). Inhale and exhale as you return to a neutral position. This is a challenging exercise, and I recommend mastering the others first before advancing to this one.

All of these exercises can be powerful in improving your gait and how you interact with the ground. I recommend performing them in order, ensuring you can do the first-level exercises before moving on to the standing ones. Of course, you can integrate these into a comprehensive program that includes strength, stability, and mobility exercises. This can significantly impact your overall gait.  

If you found this information helpful, please like, share, and subscribe to our YouTube channel, The Movement Paradigm®, for weekly tips on mindset, nutrition, and movement. If you want to join our app and join our community, please make sure to check out the Movement Paradigm app on Google or Apple. Get a 7-day FREE trial!

If you’d like to learn more about how we can assist you on your journey, please don’t hesitate to reach out for a discovery session. We look forward to helping you on your path to wellness.

Other things that might interest you:

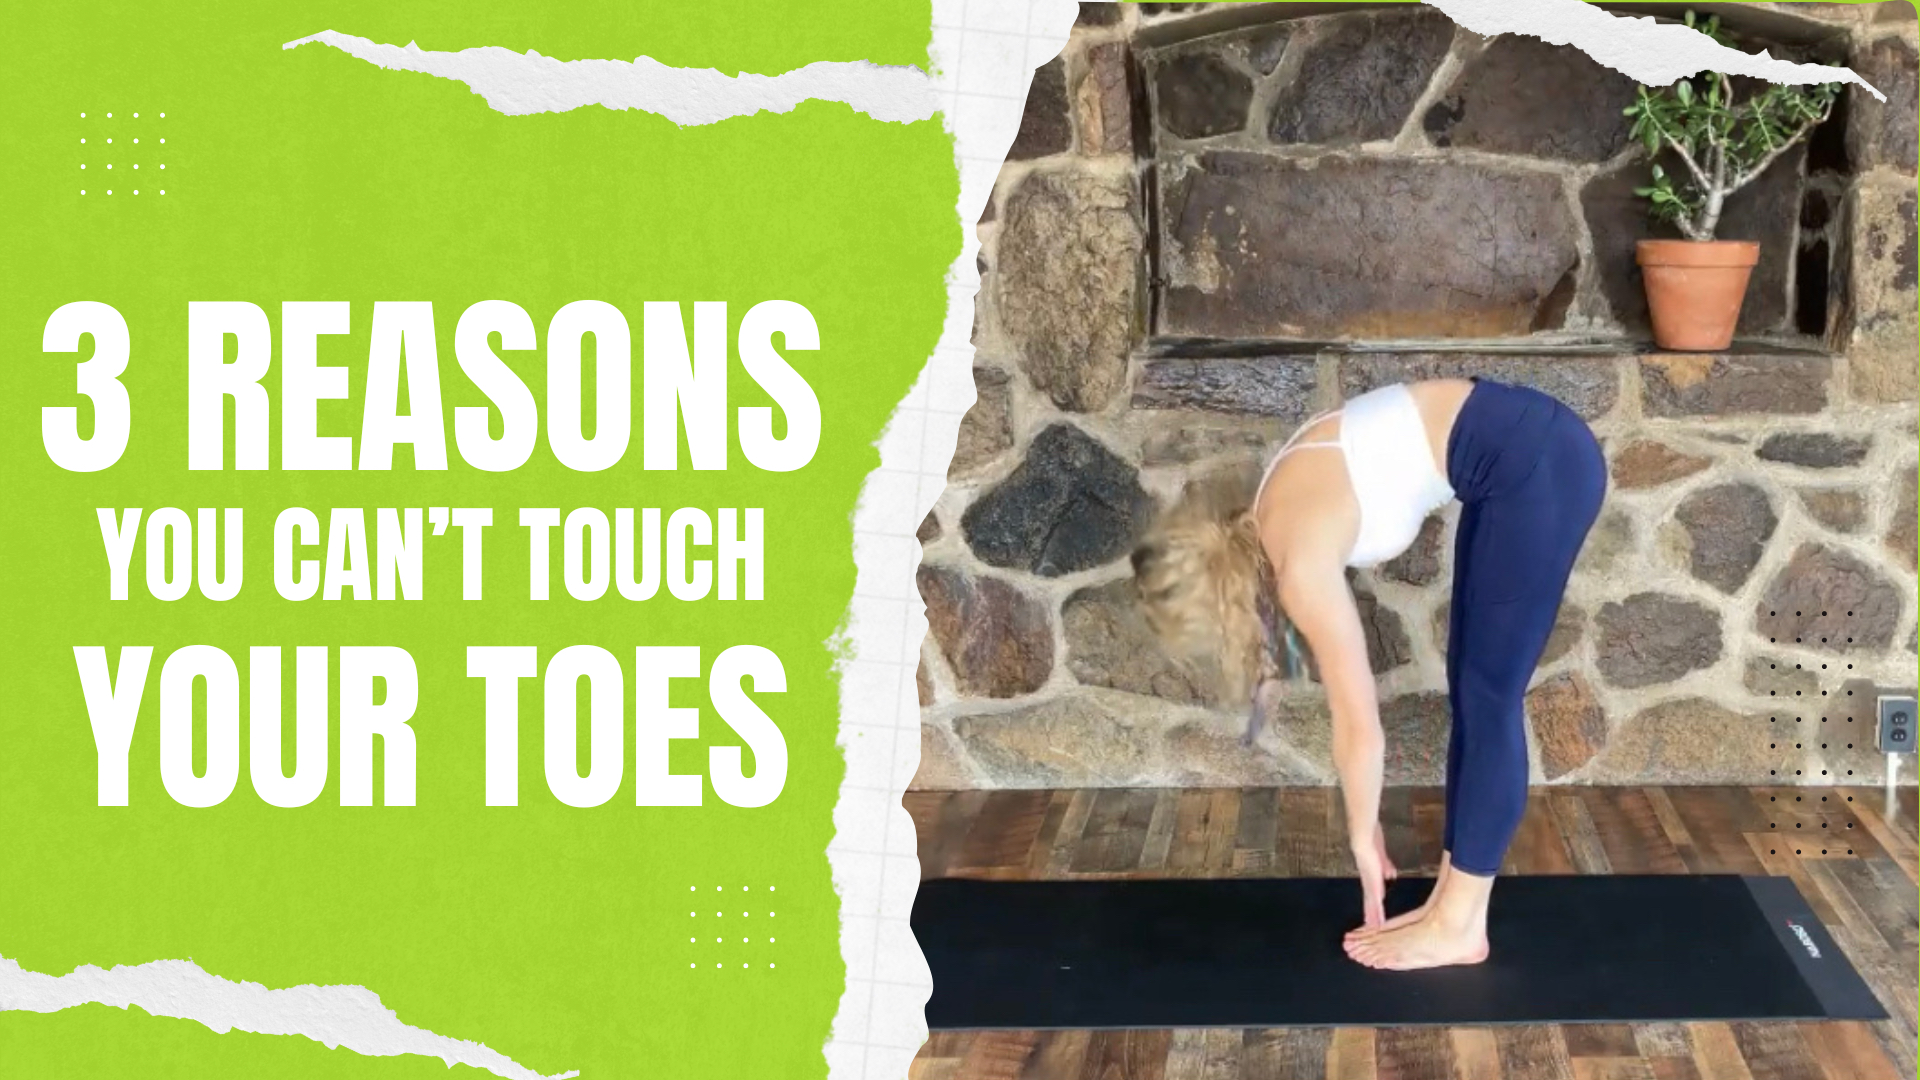
3 Reasons You Have Tight Hamstrings

Today, we are going to discuss three different reasons why you might have tight hamstrings. Whether it’s you or someone you know, tight hamstrings are a common issue. I’ve worked with many patients and clients over the decades, and it’s essential to understand the underlying causes.

Rather watch or listen? 

At this point, I’ve encountered numerous cases of tight hamstrings. However, the reasons behind tight hamstrings can vary significantly from one person to another. The three key factors we’ll explore are:

3 Reasons You Might Have Tight Hamstrings

1. Mechanical Tension

When we think of mechanical tension, imagine our body’s tissues as elastic, like a spring. 

Our fascial tissue, which envelops our muscles and organs, is responsible for maintaining elasticity and tension. However, various factors such as muscle imbalances, compensations, injuries, or conditions like torn hamstrings and tendinopathies can disrupt this tissue’s integrity. This disruption can lead to mechanical tension, including fibrosis, where the tissue loses its elasticity due to change. Emotional trauma can also have its impact on this over time. 

To address this, consider techniques like self-myofascial release, using balls or foam rolls to enhance tissue elasticity.

2. Neurological Tightness

Neurological tightness involves an increased neural drive to the hamstrings or the body’s posterior chain, back of the body. This can manifest as shaking when attempting movements like touching your toes or pulling your hamstring back. In such cases, the neural “volume” is dialed up, and we need to focus on inhibiting it, essentially turning down the volume. 

Neurological tightness can also be related to nerve tension, often stemming from conditions like sciatica. Reprogramming this requires specific exercises, such as leg lifts against a wall, gradually reducing the feeling of increased pulling behind the knee while promoting a comfortable stretch. Then, engaging the core and creating tension in the body further aids in reprogramming the nervous system while actively pulling the leg away from the wall. 

3. Stability Motor Control Dysfunction

Stability motor control dysfunction occurs when there’s a lack of coordination, timing, or sequencing in the core and pelvis, making it challenging to perform certain movements, like touching your toes. Even if there’s no significant tissue tightness, this dysfunction can mimic the symptoms of neurological tightness or even mechanical tension.

An effective remedy is to introduce stability and improved sequencing. For instance, try placing a block between your knees and elevating or lowering your toes while reaching down to touch them. This simple adjustment changes weight distribution and core activation, often leading to quick improvements.

Key Takeaways

It may be challenging to self-assess these issues, but consider your history, any past injuries or trauma to your legs, and how your hamstring tissue feels overall. Additionally, assess how quickly you can change your movement pattern when activating your core, as this might indicate a stability motor control issue. If you experience increased shaking and poor control, it could be related to neurological tightness.

In conclusion, not all tight toe touches are the same. Each case should be addressed uniquely, as optimizing this fundamental movement pattern is crucial for overall function and performance in daily life.

If you found this information helpful, please like, share, and subscribe to our YouTube channel, The Movement Paradigm®, for weekly tips on mindset, nutrition, and movement. Explore our other resources for in-depth insights into core function, hip mobility, pelvic floor health, and more to better understand your body and how to optimize it.

If you’d like to learn more about how we can assist you on your journey, please don’t hesitate to reach out for a discovery session. We look forward to helping you on your path to wellness.

Other things that might interest you:

What to expect and not to expect from physical therapy

Are you wondering what you should expect from physical therapy? Or maybe what you should not expect? As a physical therapist for the past 12 years and as a movement specialist for the past 24 years, I can confidently share what you deserve in physical therapy.

Rather watch or listen? 

What you should expect from physical therapy

1. Thorough evaluation

You deserve a thorough evaluation, no matter what you are reaching out to physical therapists for, whether that’s movement issues, chronic pain, acute pain, vestibular, balance issues, post surgery, pre surgery, or any other reason.

That means not only a physical therapist should be looking at your current symptom (s), but they are looking to figure out why they happened in the first place, even during post-surgical cases. A thorough evaluation includes looking at a detailed movement assessment, where your compensation patterns lie, what might be driving some of the issues you’ve had, and all of your modifiable lifestyle factors. How is your sleep? How is your nutrition? How are your relationships? How is your stress management? If your therapist is missing these details, they are missing a huge element of helping you heal.

2.  Practicing what they preach

You deserve a physical therapist who practices what they preach, whether that’s movement, balance, or exercise. They should be a health leader, educator, and movement specialist, and because of that, they have an obligation to be able to do the things that they are recommending that you should do.

3. 1-on-1 care

It is hard to find 1-on-1 care in today’s healthcare environment. I worked in the outpatient practice for eight years, so I understand a busy outpatient setting, and unfortunately, the demands of insurance companies are dictating this. However, you deserve to be able to be the only person in the room, to be listened to, and to have your therapist understand your diagnosis, prognosis, underlying causes, current concerns, goals, and plan of care without being pulled in a million directions. One-on-one care is extremely important, whether that’s 30-minute sessions or 60-minute sessions.

4. Someone who will look at you as a whole person

You should expect someone who listens to your story and understands that you are not a “shoulder problem,” you are not a “hip injury,” and that you are a person; you are human with a story and emotions and thoughts and all the things that make you wonderful. So, make sure that someone is looking at you as a human with a beautiful story, not just an injury.

5. Mindful and intentional movement

You should expect a therapist to help you perform mindful, intentional movement to help guide you to move with interoception, internal awareness of self, to be able to understand movement quality, as opposed to high-volume exercises with poor form.  As movement educators, one of the greatest gifts we can share with you is to help you move your body the way it was intended to so that you can continue to do the things you love.

What you shouldn’t expect from physical therapy

What are some of the things that you should not expect from physical therapy? This is equally as important.

1. You should not be on things that will not help you get well

You should not be on hot packs, cold packs, electrical stimulation, ultrasounds, or other modalities that aren’t helping you get well. They are sometimes time-savers for the therapist, but they are not actually creating better movement in your body. They’re not getting to the root of your issue. They are not moving you forward, and you want to be able to maximize your time spent in physical therapy.

2. You shouldn’t be warming up on machines

You don’t want to get to physical therapy and go on the treadmill or bike to warm up for 10 or 15 minutes. You want to learn how to move your body. Every minute counts!

3. You shouldn’t be on tons of band exercises

You should not be going through tons and tons of band exercises with poor form without guidance. Especially when you feel like you are going through the motions and you could do this at home.

If you feel like you could do that at home, that’s your first sign that this is not a good fit.

I want everyone to believe in physical therapy. We have an amazing opportunity to share with you the gift of movement.

In summary, when you think physical therapy is a waste of time, you’re put on machines and lots of modalities, and you feel like you are competing for your PT’s attention, you deserve better.

Please make sure to find a great physical therapist in your area who does one-on-one care, that looks at you as the whole person, that addresses potential root causes of your injury or your pain or any other issue that you might be experiencing.

If you need help, please reach out to us, we do virtual and in-person care, and we perform holistic physical therapy. Schedule your evaluation here: https://p.bttr.to/3qHXz8i

If it was helpful, give it a like, share it, and subscribe to our YouTube channel, The Movement Paradigm, for weekly tips on mindset, nutrition, and movement.

Other things that might interest you:

3 ways to treat your acute low back pain

Pelvic floor–Gut Connection

A neck exercise that really works

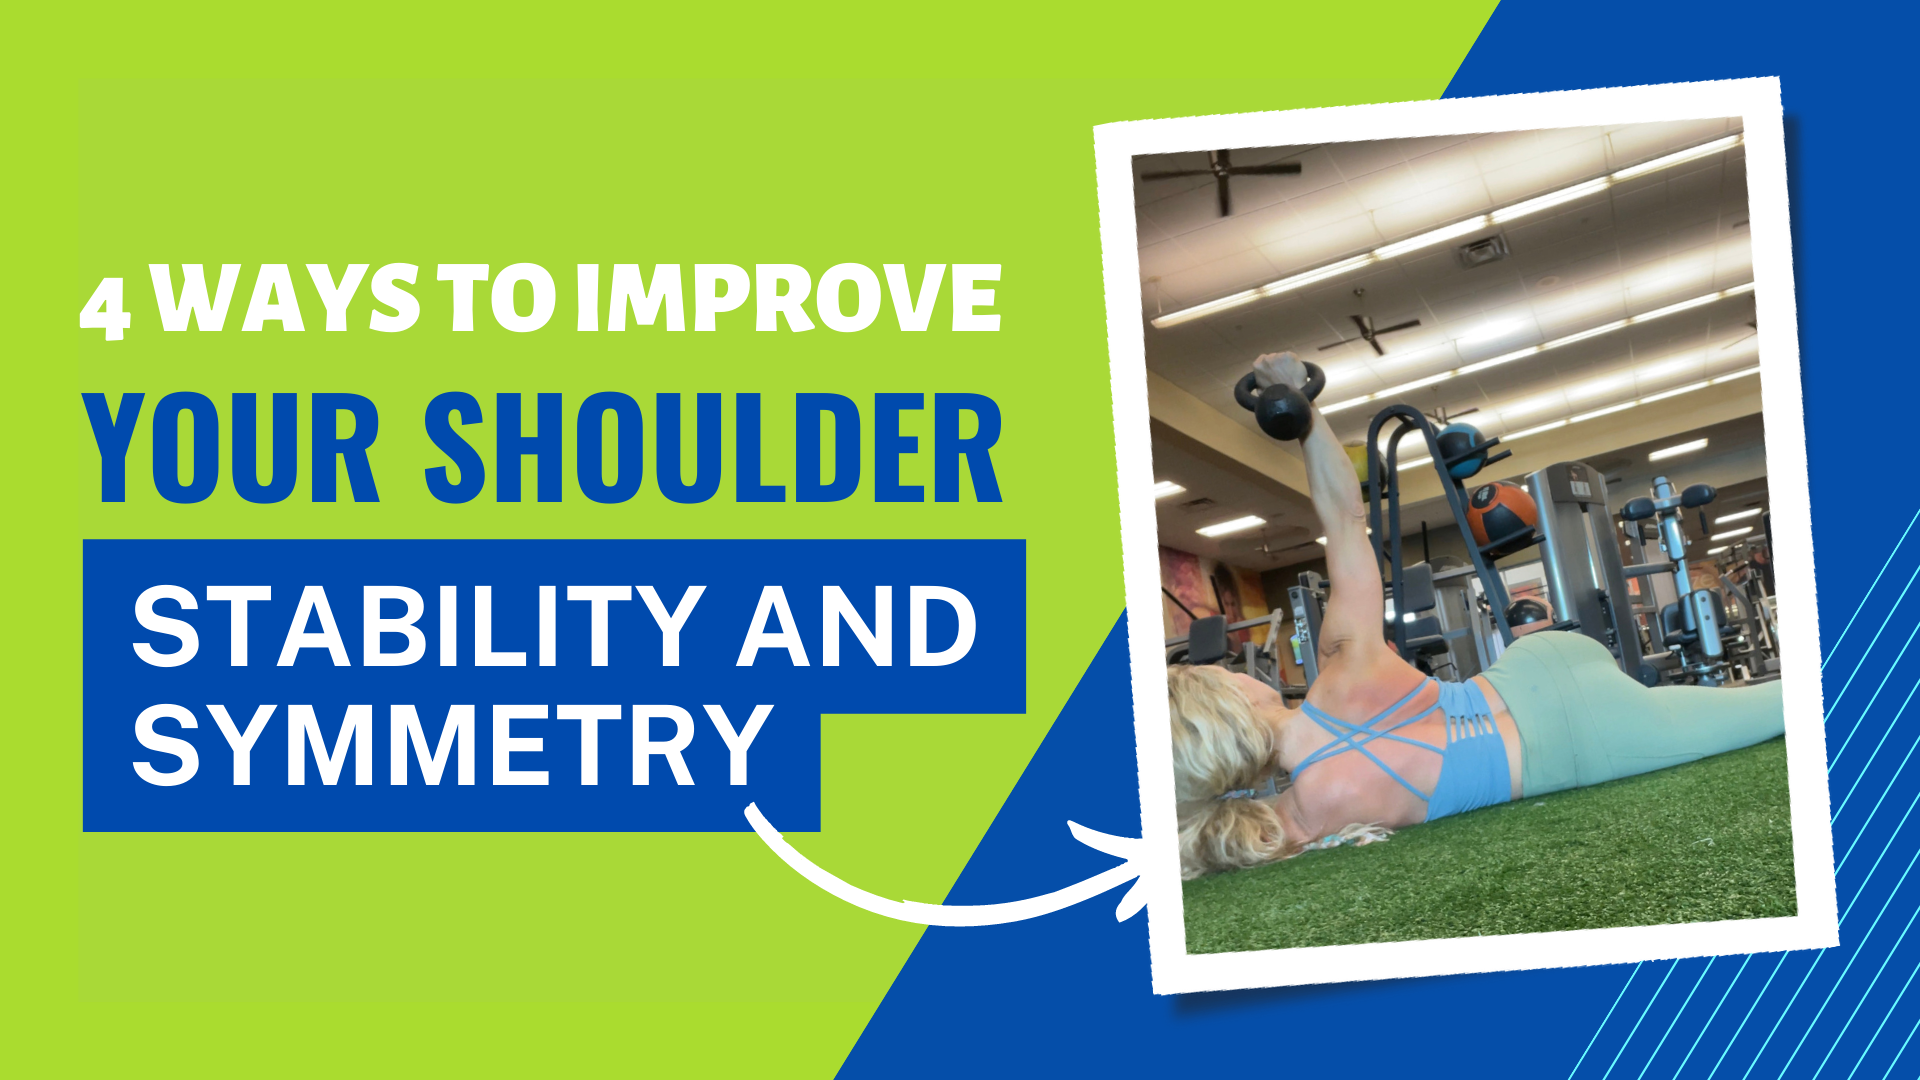
4 ways to improve your shoulder stability and symmetry

Are you struggling with a strength deficit or you keep getting injured? Well, it’s really important to address your shoulder stability and symmetry to be able to optimize your overall strength, performance, and movement longevity.

Rather watch or listen? 

What is stability?

Stability is defined as sequencing, timing, and coordination, also referred to as “motor control.” It is different from strength which is defined as how much force we can generate. The best way to improve stability is through isometric contractions that create fascial tensioning— tension around the joint. Think of our stabilizers as muscles that are close to the joint. If we’re referring to the shoulder specifically, the rotator cuff close to the joint.

What is symmetry?

The first thing to recognize is that we are asymmetrical beings because of all the placements of our organs. However, asymmetry in movement can be a predictor of injury. For example, if we can move our right shoulder in a certain range of motion and we are very limited on the left, that could be a huge predictor of injury. As you are working through a proper training program, you want to try to create symmetry. The exception to that rule is high level athletes, like golfers, who whose asymmetry can contribute to their peak performance. To do that, it’s great to do unilateral exercises to see how the right shoulder compares to the left shoulder and vice versa, for example.

4 ways to improve your shoulder stability and symmetry

Although there are many exercises that you could do as well as assessments, I would suggest these few exercises that I think can be very valuable in assessing as well as treating your shoulder symmetry and stability. Now, if any of these progressions are too hard for you, please do what feels appropriate.

Here are four ways to improve your shoulder stability and symmetry:

1. Kettlebell screwdriver

Start with a kettlebell hold. You want to think about packing the shoulder, bringing the shoulder blade down towards the ground and down towards your hips, maintaining that tension in the shoulder while you slowly rotate it in and out. From there, you can move towards a kettlebell arm bar.

Link to Video

2. Kettlebell arm bar

For this, drive from the hips, while keeping the shoulder stable the whole time, moving into your arm bar position where you’re gazing up at the bell. Hold that position for 30 seconds to 1 minute and then come back to your start position while initiating the movement from the thoracic spine.

Link to video

3. Side kick through and crab

Based on animal flow, start from a beast position and drive the ground away and you reach one leg through. Then you can also move into a crab, maintaining strong shoulder integrity.

Link to Video

4. Halo

Lastly is the halo to bring it all together, integrating your core. From a tall kneeling or half kneeling position, while using a kettlebell, bringing it around the head while maintaining a strong foundation.

Link to Video

If these exercises were helpful, please make sure you give it a like, share it with a friend or family member who might need this, and of course, subscribe to our YouTube channel, The Movement Paradigm, for weekly tips on mindset, nutrition, and movement.

If you need help with your shoulder, please make sure you reach out. We can see you virtually or in person and would love the opportunity to help you on your journey.

Other things that may interest you:

Why You Should Track Your HRV

A neck exercise that really works

Optimize all 3 brains

A neck exercise that really works

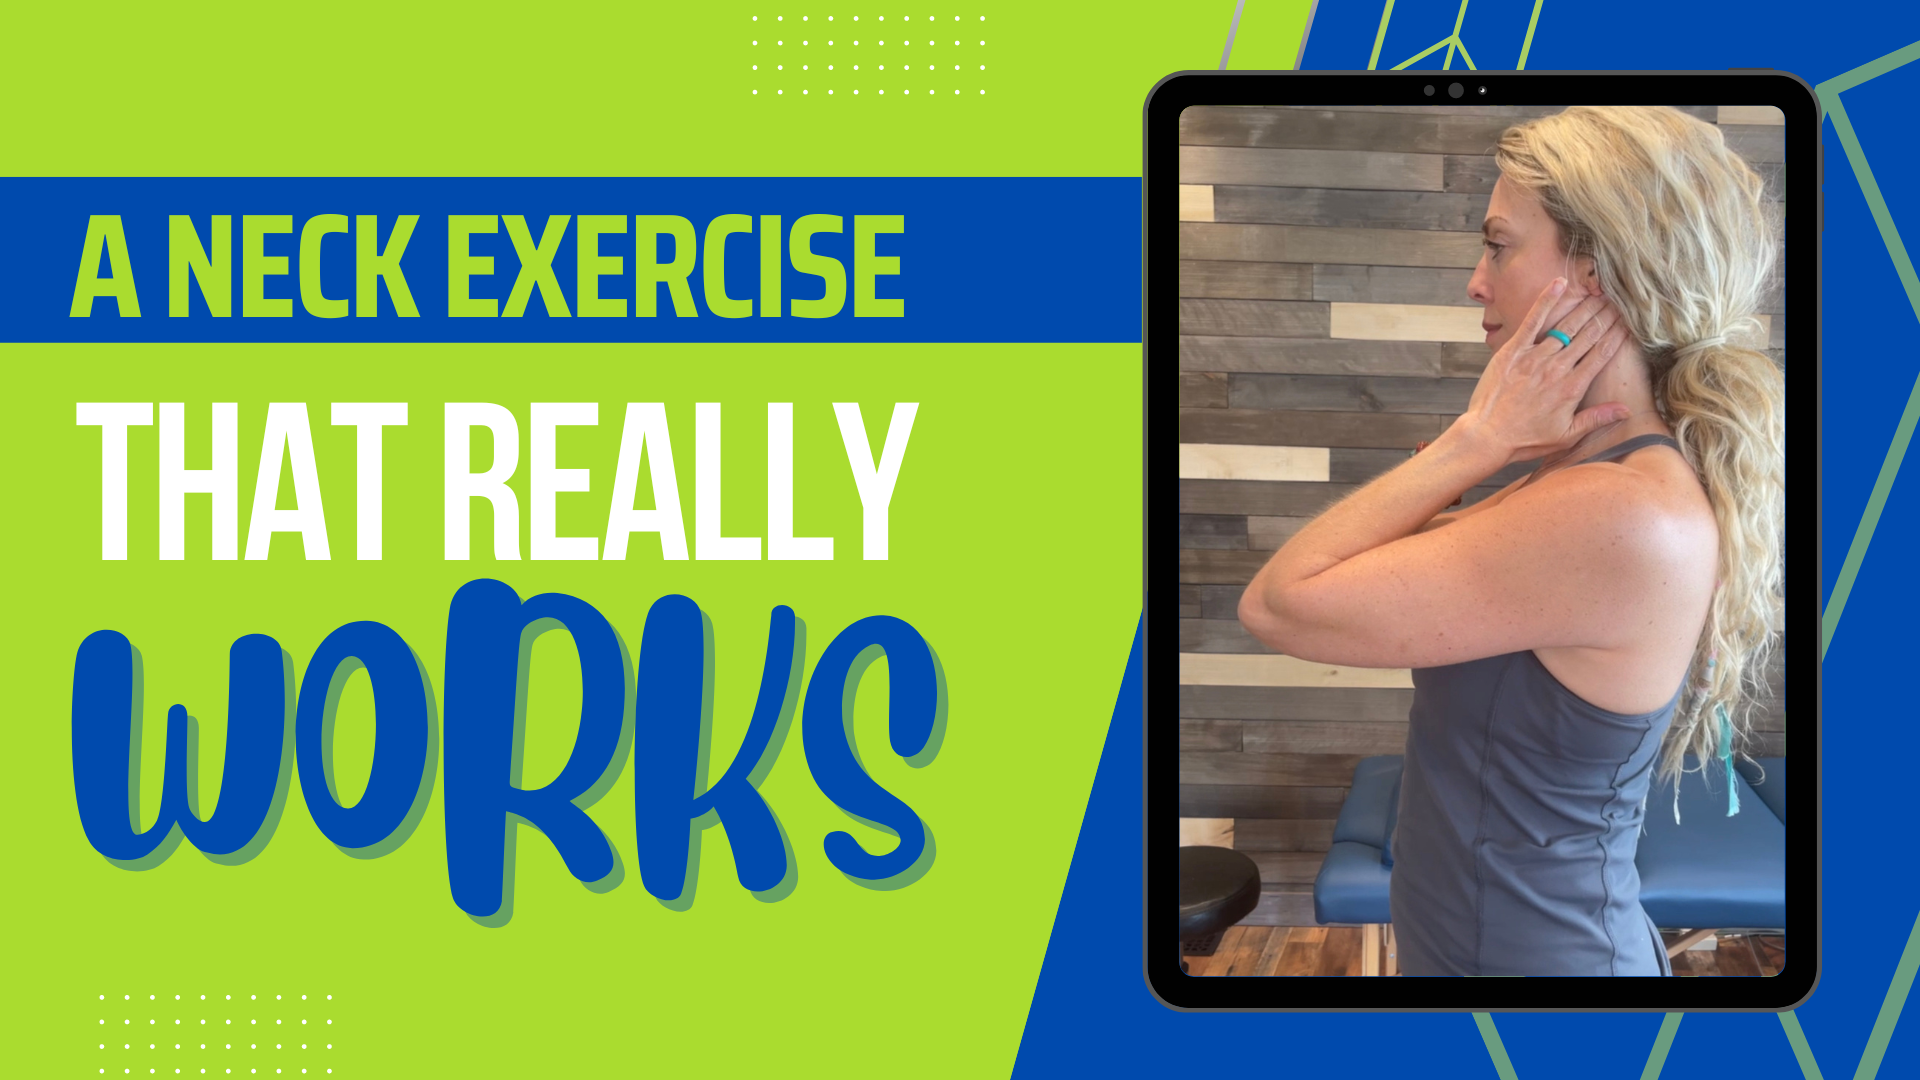
Are you performing aggressive chin tucks due to your neck stiffness or neck pain with no results? Well, instead, try out this very simple and effective technique that works wonders.

Rather watch or listen? 

As a physical therapist for the past 12 years and being in the movement industry for my entire career, I’ve realized that chin tucks are prescribed so often, aggressively. As always, it is important to address root causes of why forward head posture is happening in the first place.  

In our previous videos and blogs, I’ve gone into more depth about forward head posture, and we have to think beyond just the mechanics of it. Is there an airway restriction? Is there emotional and nervous system dysregulation that’s contributing to poor posture? Aside from that, we want to also think about what forward head posture is doing to our nervous system.

What forward head posture does to the nervous system

Poor forward head posture can affect our vagus nerve (and other cranial nerves) and create more dysregulation in our nervous system. It can compress some of our spinal nerves as well as our cranial nerves, which have very important functions.

With that said, we have to think beyond just chin tucks and respect the nervous system.

One of my favorite basic techniques, which is a myofascial technique, stimulates the vagus nerve. It can ultimately help bring us into a better mechanical position and begin to reinforce optimal mobility in the spine.

How to perform

To perform this exercise, think about where the vagus nerve exits right behind the ear. Take both hands and place them right behind the earlobe. Traction that tissue up in the direction of the ear.

Place your hand on the tissue, move the tissue over, tractioning it up very gently, and you will almost immediately or shortly thereafter feel a sense of relaxation that could come in the form of a sigh, a swallow, or a yawn — it could just feel like a simple sense of relaxation.

You should feel like you’re actually placing the neck in a more neutral position, creating a natural lengthening of the spine.

Once you assume that position, from there, move through a gentle range of motion — forward bending, backward bending, rotation, and even side bending. What that will do is give good feedback to the nervous system because you’re actually stimulating the receptors in the joints and signaling to the brain that this is a good position. This feels safe. This feels pain-free.

Begin to incorporate this exercise frequently throughout the day. It’s easy, only about a minute, and can be very effective. 

Are you interested in seeing how we can help you with your neck pain, shoulder mobility, etc.? Schedule your 15-minute discovery session here: https://p.bttr.to/3qHXz8i

If you are ready to take action now, schedule here. https://p.bttr.to/3Qu7wRd

I hope this is helpful. If it was, please give it a like, share it, and subscribe to our Youtube Channel — The Movement Paradigm — for weekly tips on mindset, nutrition, and movement.

Other things that may interest you:

Vagus Nerve Hack | Neck Release

Jaw-Emotion Link

How to fix your forward head posture | Cranial nerves

Jaw-Emotion Link

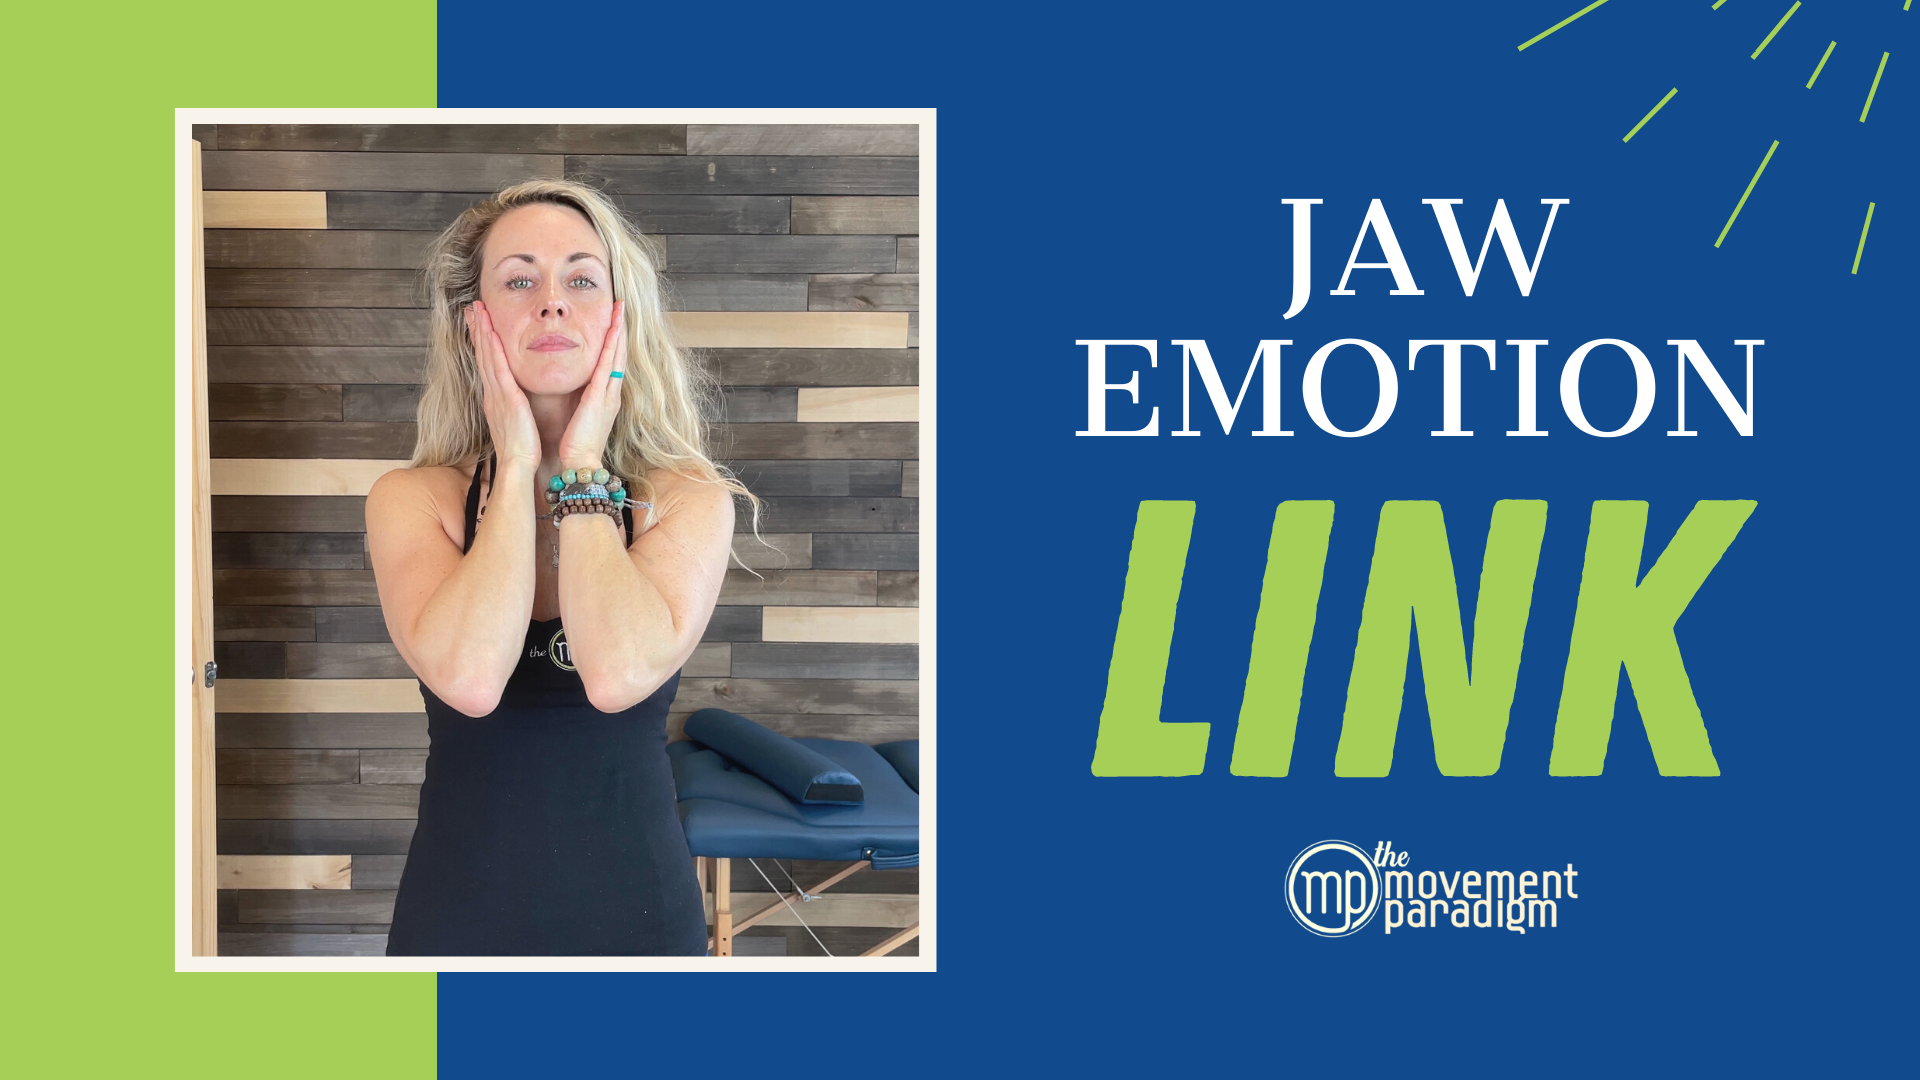
If you experience jaw pain, you should know about its link to emotions. Poor vagal tone is linked to things like clenching and grinding.

When we have overstimulation of the trigeminal nerve from the masseter muscle, one of our main jaw muscles, we are in sympathetic nervous system (flight/flight) overdrive. Clenching or grinding your teeth at night or during a stressful situation is very common.

Rather watch or listen? 

Other Factors that Affect Jaw Pain

Poor tongue posture can also contribute to jaw pain. The tongue should be on the roof of the mouth and gently touches the back of the teeth in our resting tongue posture.

If we have dysfunctional breathing or breathing from the neck and shoulders, that creates a stress response. That can further drive dysfunction in the trigeminal nerve.

The trigeminal nerve innervates the muscles of the face, sinuses, and nasal cavity. It is one of the biggest nerves that we want to associate with our sympathetic nervous system, our fight or flight system. It is also deeply connected to the vagus nerve.

Our vagus nerve is 80% of our parasympathetic nervous system. These two nerves are bringing information to the brain and affect transmitters such as serotonin and noradrenaline, which are linked to neuropsychiatric disorders such as depression and anxiety.

Ultimately, when we have dysfunction or miscommunication in these nerves, whether the sympathetic nervous system is increased or the parasympathetic nervous system is decreased,  then this can contribute to jaw pain. 

Most often, you’ll see clenching and grinding at night. Our reticular activating system is part of our brainstem and when we’re sleeping, our cerebrum is at rest and our reticular activating system is that alert system that is going to tell us if our child is crying.  Think of it as our survival mechanism. So during sleep is often where we’ll start to see the sympathetic overdrive kick in. 

Takehome Message

The take-home message is that there is truly a jaw-emotion link. If you’re suffering from TMJ, have your airway evaluated. It is important to make sure that there are no structural abnormalities that are contributing to it. However, you also want to dive into the emotional aspect of it. Explore your emotions, learn how to regulate your nervous system, try many of my vagus nerve hacks, speak to a professional. Find what works for you. 

I hope this was helpful if it was please give it a share with your friends and family. Make sure to subscribe to our YouTube channel The Movement Paradigm for weekly tips on mindset, nutrition, and movement.

Reach out for a 15-minute FREE discovery session to see how we can help you on your journey.

For more content, make sure to subscribe to our YouTube channel here.

Other things that may interest you:

5 Ways to Improve your Mobility

10 Best Health Hacks for the New Year

Vagus Nerve Hack | Trapezius Twist

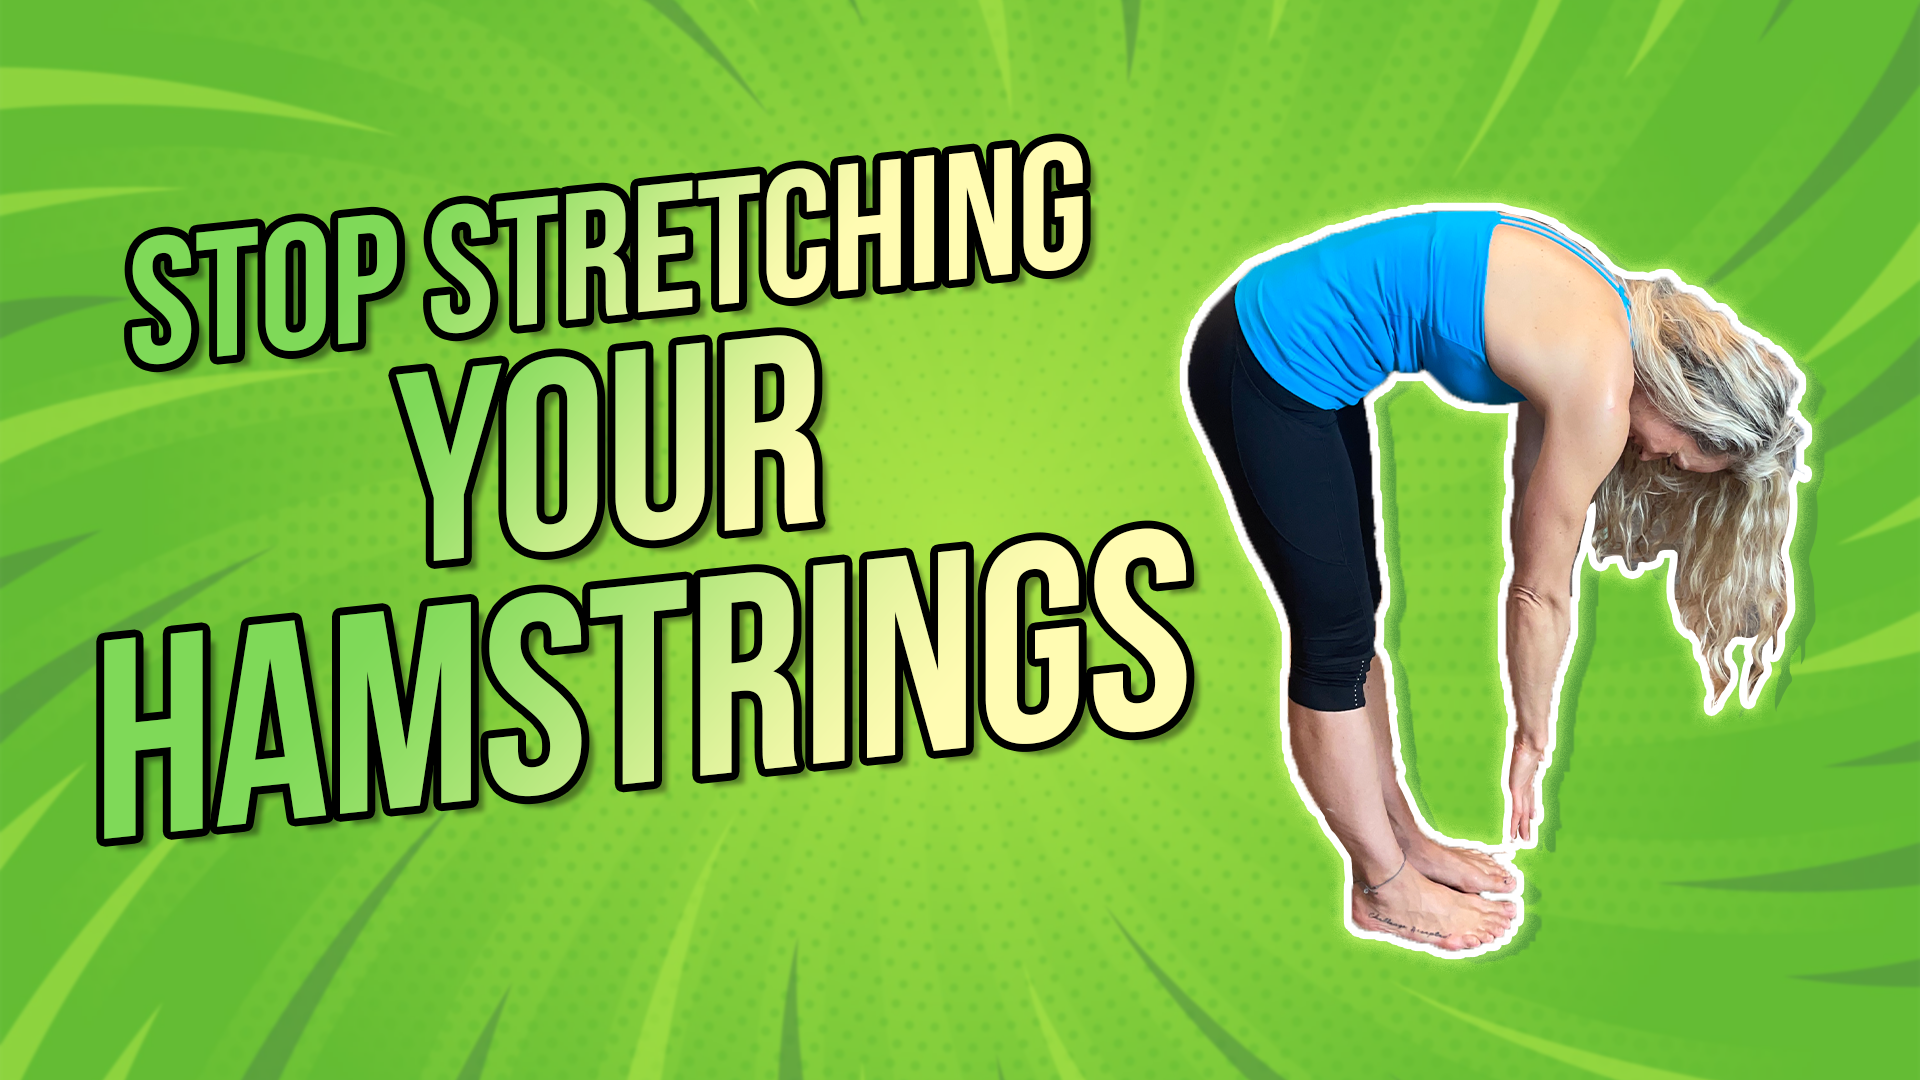
Stop Stretching Your Hamstrings

Have you been stretching the heck out of your hamstrings for years with no improvement?

Most people think that when we are stretching, we are lengthening the muscle. Unfortunately, that is not true. What we are doing is creating the neurophysiological response to convince our nervous system that we are safe in a new range.

Rather watch or listen than read?

What is actually happening when you stretch?

When we are stretching too far, especially in the case of hamstrings, you have proprioceptors in the muscle fibers that signal to the brain to tell it, “Hey, this is a vulnerable position.”

We also have a stretch reflex that functions as a protective mechanism that you’re going too far. So when you begin to have this pain, irritation, or a sense of discomfort when you’re stretching, that means that you are not making a change. We have to think about changing our nervous system, so let’s get into how to do that.

Let’s use the classic toe touch test as our example. When we are touching our toes and reaching down, what ideally happens is that the pelvis shifts backward which allows for a uniform curve in our spine.

Most people that can’t touch their toes will see all of their motion is coming from their spine and there is no motion coming from the pelvis. That means that they’re not getting a natural sequencing in flexion, or forward bending, pattern. To change that pattern, we have to think about how is the pelvis and trunk sequencing with the rest of the body.

One of the most basic things from a biomechanical standpoint is to look at the position of the pelvis. Ideally, in a neutral position, we have our rib cage stacked over top of our pelvis. If our pelvis is tilted forward, an anterior pelvic tilt, or it’s tilted backward a posterior tilt, this changes the length of our hamstrings.

Our hamstrings, just like any other muscles, contract, relax and lengthen. When they are in the lengthened position, it might present as a tightness but doesn’t mean they are tight, and in fact, might need to be strengthened.

Essentially when we have one of these pelvic positions, then that means that our deep intrinsic stabilizing system, our pelvic floor, diaphragm, and our deep stabilizers of our core are not sequencing well.

If they’re not doing their job, including the deep stabilizers of the hip, then our glutes can never really produce the appropriate amount of force. We have to have enough stability to be able to generate force through our glutes.

So what happens if we’re not using our glute and we’re not using our core properly? Then, the hamstrings present as tight because we’re having a global tightness or facilitation from our nervous system. Our nervous system is saying “Hey, I have to tighten up something to create some stiffness somewhere.”

So what can you do?

Reestablish your breathing and pelvic position. Using a diaphragmatic breath, breathing into the base of the abdomen, all the way into the pelvic floor, and getting that ribcage stacked over the pelvis. It is important to do this in a variety of different movements and patterns. Everything from standing, sitting, quadruped, and lying on the ground; establishing this and integrating it into all of your movements and activities.

Here are a few things that you could do, most importantly reestablishing new movement patterns, especially a posterior weight shift of the pelvis. Allowing for proper sequencing in the pelvis reinforces that your nervous system isn’t in protective mode all the time, using hamstring stiffness as a way to protect your body.

3 Exercises To Establish New Movement Pattern

Here are some exercises you can perform to help you establish this new movement pattern.

1. Rock on Forearms

To perform this exercise, place your elbows and knees wide on the ground. Inhale as you rock back, only bending from the hips and keeping the spine straight. Exhale as you return slightly over your shoulders.

2. Hip Hinge

For the hip hinge, place a dowel behind your back touching your pelvis, middle of your shoulder blades, and your head. Inhale as you go down, hinging in your hips backward and allowing the knees to bend softly. Exhale as you come up.

3. Toe Touch Progression

For the toe touch progression place a block between your thighs and start with your toes elevated. Inhale as you reach up, and exhale as you reach down to touch your toes. Then you’ll reverse the direction by putting your heels up on the board and toes down, and performing the same thing. This creates a natural posterior weight shift in the pelvis and activates the deep core.

Reach out for a 15-minute FREE discovery session to see how we can help you on your journey.

For more content, make sure to subscribe to our YouTube channel here.

Other things that may interest you:

5 Steps to Addressing SI Joint Pain | the Truth About SI

Why You Shouldn’t R.I.C.E

8 causes of LOW BACK PAIN that isn’t a weak core

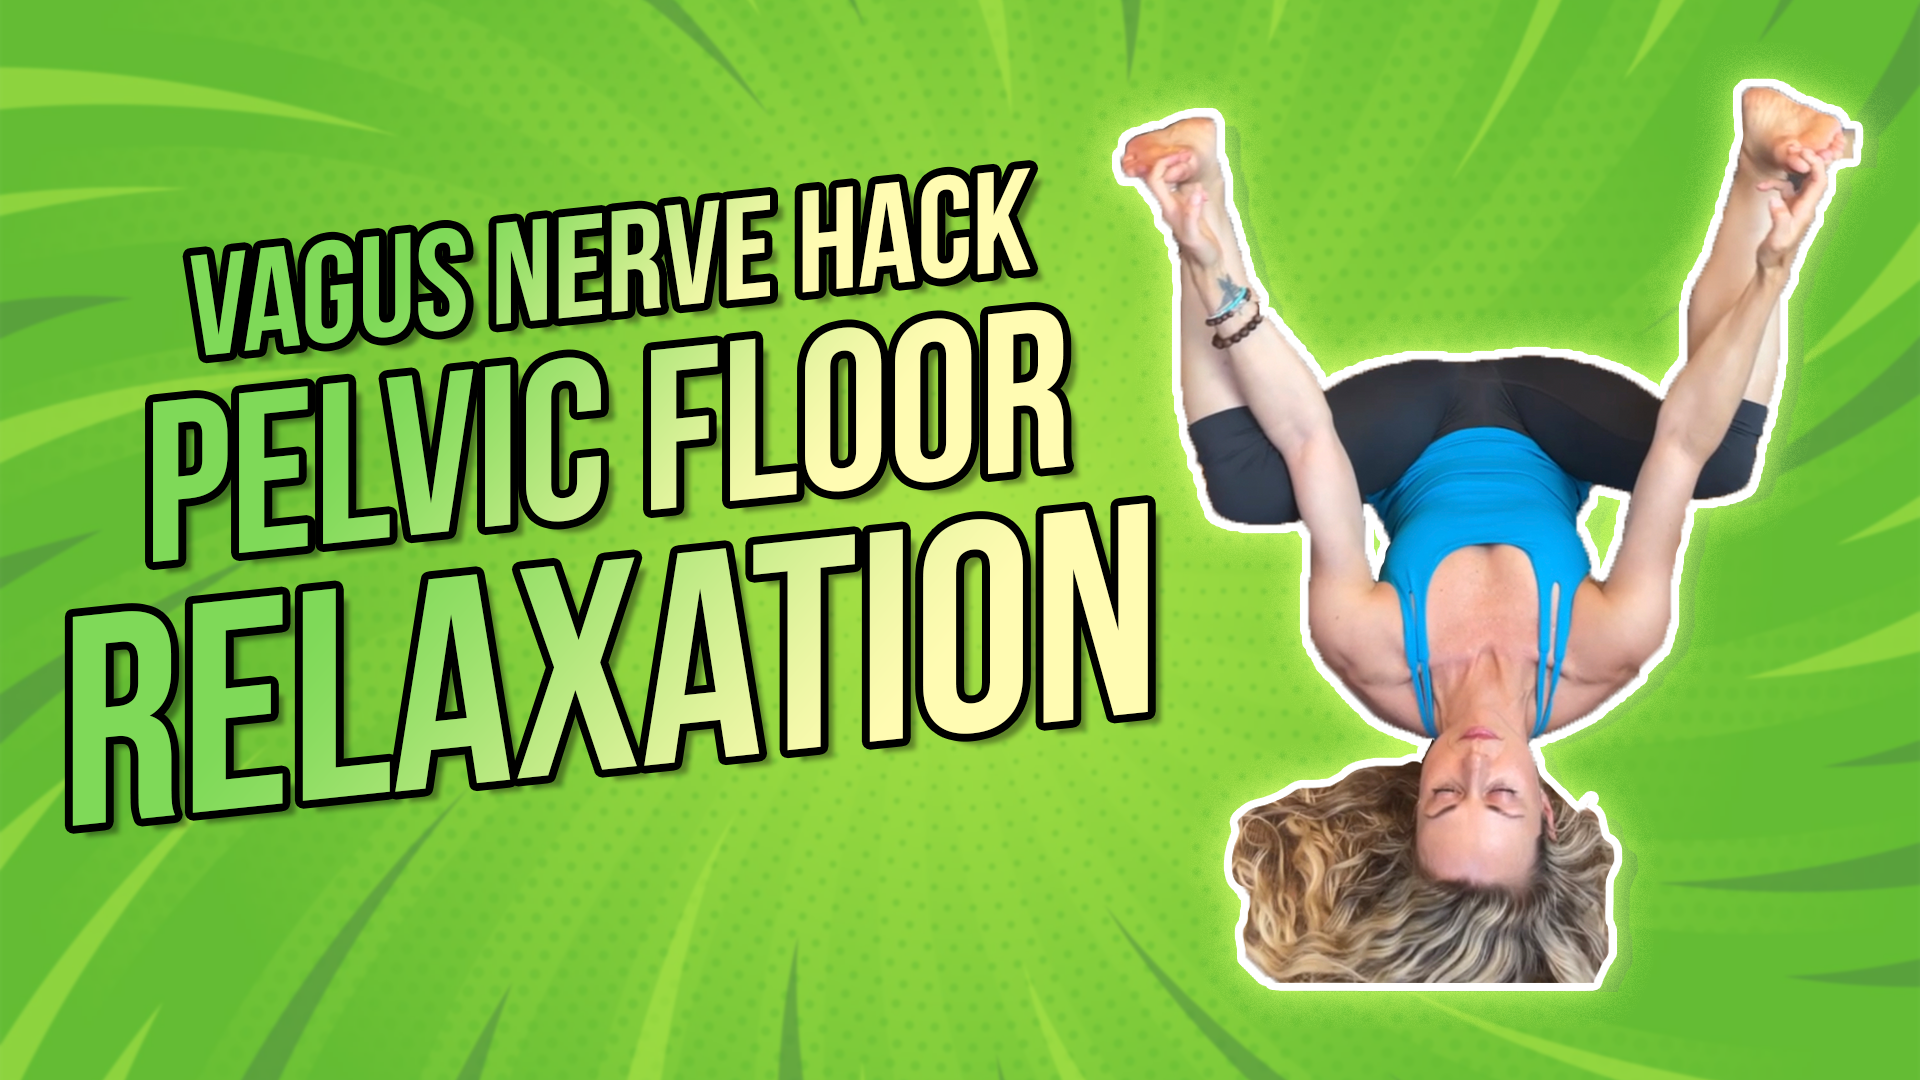
Vagus Nerve Hack | Pelvic Floor Relaxation

Another great vagus nerve hack that you can do is pelvic floor release and relaxation.

The vagus nerve is integrated with a sympathetic nervous system (fight/flight) almost everywhere in the body, but especially the gut and the pelvis. What’s interesting about the pelvic floor is that we tend to hold so much tension here. This is where we tend to hold our emotions, too.

Rather watch or listen than read?

Let’s dive into the anatomy. The posterior vagus nerve actually integrates with a network of sympathetic plexus with a network of nerves:

  1. celiac plexus
  2. superior and inferior mesenteric plexi
  3. superior and inferior hypogastric plexi

This plexi actually forms an integrated circuit that moves blood flow in and out of the pelvis, and this is exactly what the autonomic nervous system is all about—moving blood. This network of nerves is where the vagus nerve brings blood to the heart and brain. Lastly, urination, defecation, sexual orgasm all require this complex integration of all of these nerves and blood flow from the pelvis to the rest of the body. In order to do all of those things, we have to feel safe in the bedroom as well as in the bathroom. Safety is the cornerstone of our state of social engagement of the ventral vagal nerve. Check out the video HERE to see how to perform:

1.   Pelvic Floor Release

Sitting on a ball and addressing the pelvic floor musculature is a great way to create this efficient relaxation response. The placement of the ball is behind the pubic bone to address the front of the pelvic floor and then right inside of the buttocks to address the back of the pelvic floor. Sit on the ball and breathe diaphragmatically until you feel a release or relaxation response.

2.   Happy Baby

This is a great relaxation exercise where there are lots of variations. However, you just need to get to a position where you feel very comfortable, and you’re able to inhale into the pelvic floor. When you are inhaling, that’s when the pelvic floor is relaxing and you are opening the pelvic outlet.

3.   Rock on Forearms

Resting on the forearms and knees wide, inhale as you rock back and exhale as you rock slightly forward. Once again, you’re opening up the pelvic outlet, inhaling into the base of the pelvic floor to create that relaxation response.

The pelvic floor is one of the most fascinating connections with the vagus nerve, so it’s a really great way to address this from a chakra standpoint. It tends to be an area for clenching and guarding, and especially for holding emotions.

You can see this intimate relationship with your nervous system and how it could affect you.

Reach out for a 15-minute FREE discovery session to see how we can help you on your journey.

For more content, make sure to subscribe to our YouTube channel here.

Other things that may interest you:

Vagus Nerve Hack | Valsava Maneuver

Vagus Nerve Hack | Auricular Release

Vagus Nerve Hack | Neck Release