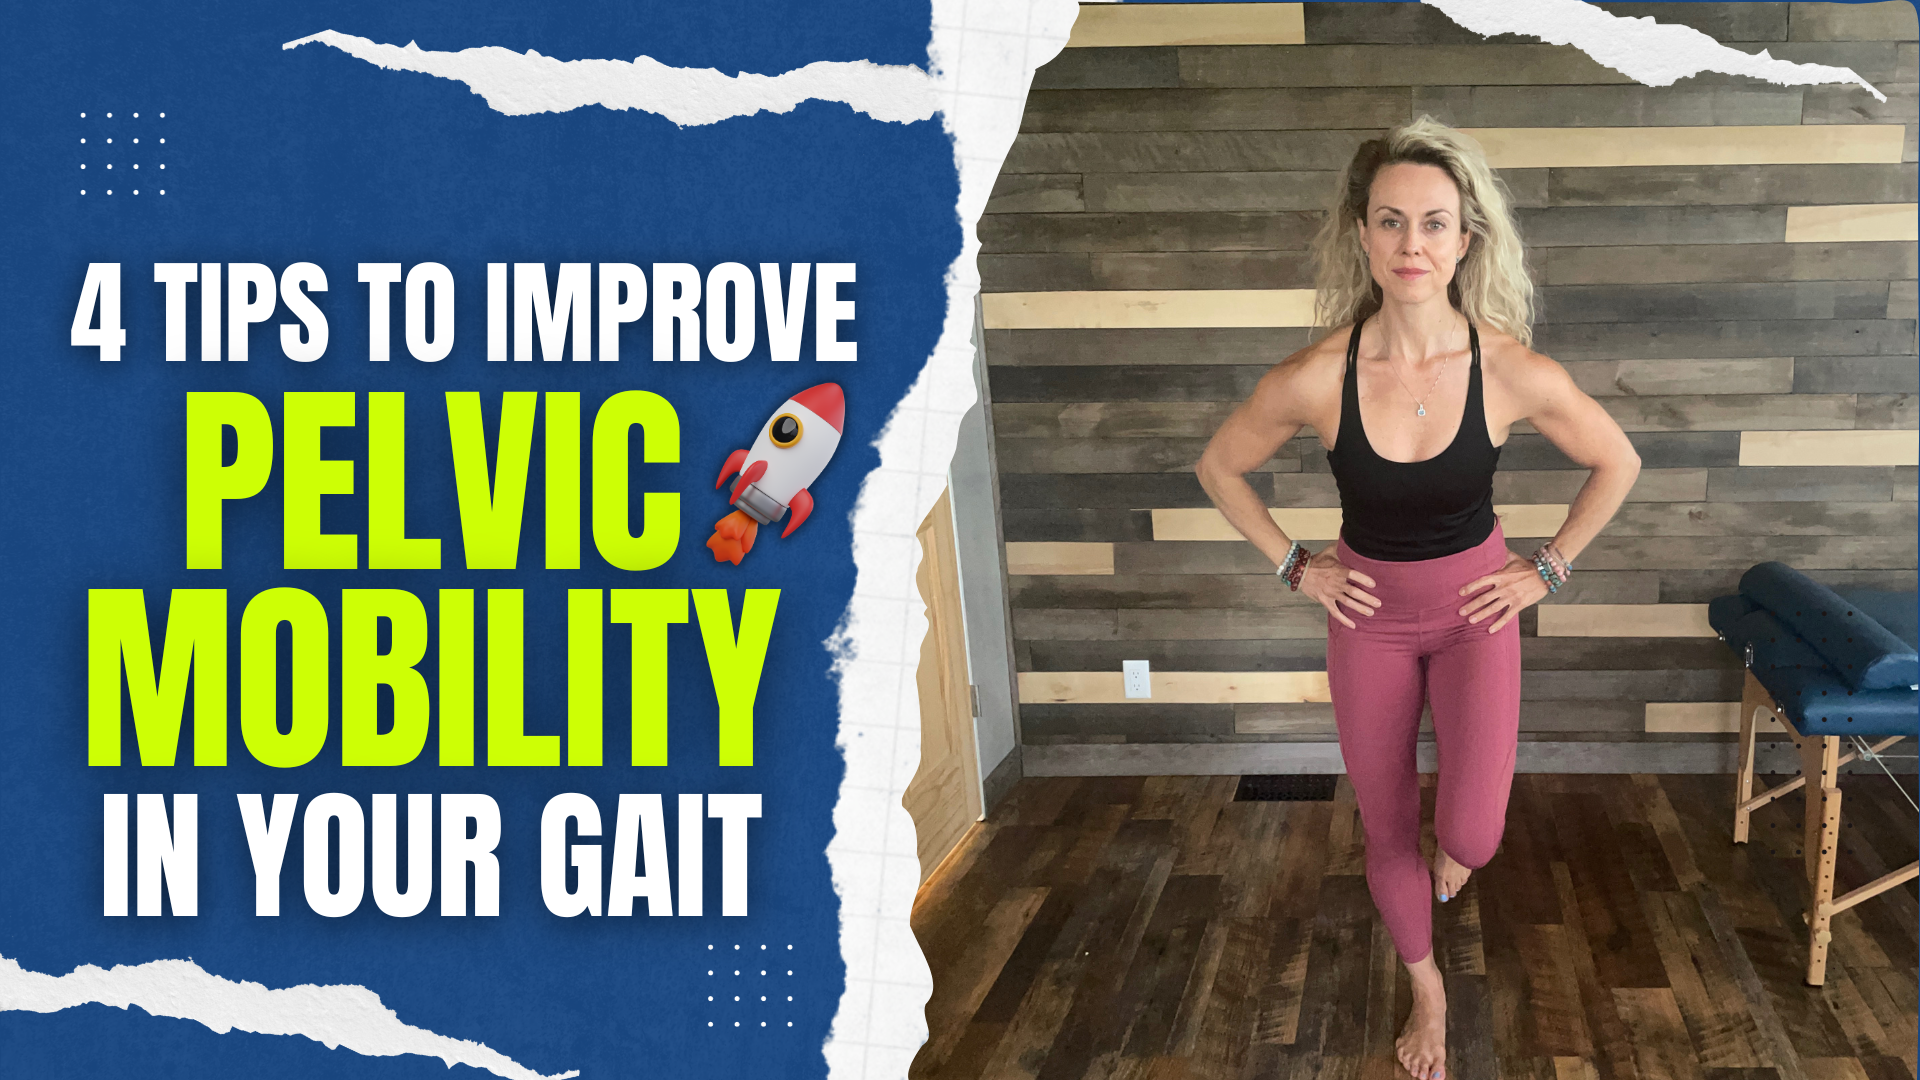
4 ways to improve pelvic mobility in your gait

Are you experiencing hip pain, back pain, or even knee pain when walking or engaging in other dynamic activities such as climbing stairs or running? Do you find yourself constantly searching for the perfect shoe or feeling like something just isn’t quite right? Your gait is one of the most powerful assessments of movement efficiency, revealing how you interact with the ground. The way you absorb impact and utilize it as energy is profound. 

Today, we’re going to delve into the topic of pelvic mobility and how it influences your gait cycle. We’ll also explore some exercises that can help you improve your walking, dynamic movements, and even running if that’s something you’re interested in.

Rather watch or listen? 

What you need to know about pelvic mobility

When walking, we encounter 1.5 times our body weight in force. When running, we encounter up to three to four times our body weight in force. And when we’re jumping, it could be up to eight times our body weight in force. That means that we have to be efficient about how we interact with the ground.

After doing probably thousands of gait assessments at this point, I’ve realized that there are some common themes, and one of them is something that is often ignored: pelvic mobility

We’re always thinking about what we need to stretch or what we need to strengthen. But we also want to consider how the pelvis moves in our gait cycle. We actually need proper rotation of the pelvis, side bending of the pelvis, and forward and backward motion. Any excessive movement or limitations in these aspects can affect our stride length, how we interact with the ground, and the impact force coming through our body.

So, although there are many things to talk about with gait, we’re going to zero in on pelvic mobility today. For example, Kim et al. showed that in chronic stroke patients, an anterior pelvic tilt, which is when your pelvis is forwardly tipped, affects balance and symmetry. These simple factors can have a significant impact on our overall function.

Ways to improve your pelvic mobility

1. Pelvic mobility from the floor

Place your hands on your hips and forward bend, tipping your pelvis forward and arching your back. Then, bend the pelvis backwards, flattening your back to the floor. Repeat this motion a few times, initially assessing if you feel any discomfort, if the motion is smooth, or if there’s any shaking. Notice if it feels limited in one direction more than the other.

Next, move into side bending. From here, bend your hip toward your shoulder, then return to the center. This can serve as both an assessment and an exercise. When using it as an exercise, focus on your breath. Inhale and exhale as you flatten your back in the forward backward bending, and if you’re doing the side bending, inhale deeply with a diaphragmatic breath and exhale as you go into a side bend. Once again, observe if there’s symmetry between the sides or if one side feels painful or crampy. All of these observations are essential.

2. Table position

Come up into a table position, and you’ll perform the same exercises from here. Focus on initiating the movement from the pelvis, not the upper back. As you go into the forward bend, tilt the pelvis forward, and as you go into the backward bend, tilt the pelvis backward. Coordinate this movement with your breath. Inhale as you tilt the pelvis forward, allowing the abdomen to expand. Exhale as you tilt the pelvis backward.

When moving into the side bend, think of it as “wagging the tail.” Breathe in, and then exhale as you perform the side bend. Pay attention to whether there’s symmetry on both sides or if it feels restricted. All of these observations are essential for how you would perform the exercises.

3. Pelvic rotation in table 

From table position, straighten one leg and rotate the pelvis toward the stable leg on the ground. Take a breath in, and then exhale as you drop your pelvis into this hip, and then bringing it back up to neutral. Inhale, and return to neutral. This exercise is really helpful for working on rotating the pelvis into a stable leg.

4. Airplane exercise

This exercise focuses on maintaining a stable hip while moving the pelvis toward the stable leg. Stand on your right leg and position your left leg as a kickstand. You can start with a breath in as you rotate your pelvis into your right leg and exhale as you bring it back to neutral. You can also progress this to single leg (no kickstand). Inhale and exhale as you return to a neutral position. This is a challenging exercise, and I recommend mastering the others first before advancing to this one.

All of these exercises can be powerful in improving your gait and how you interact with the ground. I recommend performing them in order, ensuring you can do the first-level exercises before moving on to the standing ones. Of course, you can integrate these into a comprehensive program that includes strength, stability, and mobility exercises. This can significantly impact your overall gait.  

If you found this information helpful, please like, share, and subscribe to our YouTube channel, The Movement Paradigm®, for weekly tips on mindset, nutrition, and movement. If you want to join our app and join our community, please make sure to check out the Movement Paradigm app on Google or Apple. Get a 7-day FREE trial!

If you’d like to learn more about how we can assist you on your journey, please don’t hesitate to reach out for a discovery session. We look forward to helping you on your path to wellness.

Other things that might interest you:

5 Steps to Addressing SI Joint Pain | the Truth About SI

Do you suffer from sacroiliac (SI) joint pain and you’ve been told that your SI joint is out of place? Maybe you are trying to put it back in or wearing an SI joint belt? Perhaps you just can’t seem to resolve it. Let’s discuss the anatomy of the SI joint and how you can help to address your SI joint pain.

The SI joint comprises the triangular bone, the sacrum, with the two ilium’s, pelvic bones. It is also reinforced with a lot of ligamentous structures. All of these connective tissue structures and the SI joint are primarily responsible for shock absorption between the upper body, and the pelvis and legs.

Rather watch or listen than read?

The sacroiliac joint has very little motion. It has approximately four to six degrees range of motion, so there is a subtle forward bending and back bending even just with our breath alone. However, just as much as it needs to be stable and have proper sequencing and coordination of all the deep stabilizers of the pelvis, it also needs proper mobility. We need the pelvis to be able to move freely in forward bending, backward bending, side bending, and rotation. This is crucial for gait.

Speaking of gait, how we interact with the ground influences our SI joint. Walking is one of the best assessments of movement efficiency. It tells us how well we can load forces and unload forces, and how well we can transfer energy through the body. We do that through our fascial tissue, and we have different fascial lines that are transferring this energy through our body, crossing over the SI joints.

One of the primary subsystems o the SI joint is the deep longitudinal line. This starts at the bottom of the foot comes up the lateral side of the leg, up into our hamstring, or biceps femoris, into our sacrotuberous ligament, which is one of the ligaments of the SI joint, and then right into the SI joint and up along the spine. This is where we’re transferring energy and this line is mainly responsible for shock absorption. When our breathing is compromised, and we’re not able to have proper sequencing and pelvic control of our gait, then we will see SI joint pain and dysfunction.

Now let’s talk about five different things that you should consider with your SI joint. 

1) Breathing

More specifically, diaphragmatic breathing. That means as we’re inhaling through the nose and breathing all the way down to the base of the pelvis. This will assist us to get the proper relaxation of the pelvic floor. As we exhale, we get the proper contraction of the transverse abdominus, our natural weight belt. Our abdominal muscles contract, returning the diaphragm back to its resting position. This will allow for proper sequencing, timing, and coordination of the deep stabilizers of our core. If we’re breathing from the neck, that will not happen. 

2) Pelvic Mobility

As I mentioned, the pelvis needs to be able to move freely in our gait cycle. We have to integrate the breath with this and coordinate into pelvic patterns. We want to be able to forward bend, backward bend, rotate, and side bend the pelvis. Evaluating those movements lying down and standing will be very valuable. Notice where the restrictions are and notice if that reproduces the pain. Remember if the pelvis isn’t moving properly as we are walking, then we are not transferring force efficiently. That is exactly what can contribute to SI joint pain.  

3) Rotational Stability

This can take on lots of different forms, although the bird dog is a great exercise to develop tensioning and coordination in a rotational pattern. This dials into a lot of other fascial lines and connections that all pass through the SI joint. It is important to stabilize basic patterns and then progress them to higher-level patterns.

4.1) Foot to Core Sequencing

Use dynamic patterns such as forward lunging, reverse lunging, side lunging, and rotational lunging. The goal is to perform all of these with proper alignment and connecting the foot to the core with intention. So, you’ll want to use a short foot, rooting the toes into the ground and connecting it to your breath, to be able to maximize how you’re sequencing from the ground up.

4.2) Foot Type

Different foot types will contribute to how we are loading and unloading force. If we have a more everted foot type for example, where the arch is flattened, this can contribute to the stability in our foot and how we transfer energy towards our pelvis. Conversely, if we have a more inverted foot type, which means we are a little higher arched, that can put a lot of stress and force on the SI joint as well. Our goal is to bring our foot back into neutral. Whether we are strengthening the feet and connecting them to our core or creating more mobility in the foot, calf, and lower leg to bring our foot back into neutral, how we load and unload the ground is going to directly impact the SI joint. 

5) Total Rotation

Lastly is addressing your total rotation. If we are in a standing position doing a full rotation, are there asymmetries side to side? Can you focus on specific thoracic spine mobility to create and emphasize more rotation in your gait? Ultimately, we need optimal rotation in our pelvis and thoracic spine for efficient gait. We walk on average 6000 to 8000 steps a day and that is our best assessment of movement efficiency. 

There you have it, a new way to look at your SI joint, and perhaps not seek out muscle energy techniques and ‘put it back into place.’ The SI joint only moves about four degrees so it is likely not out of place. You might have pain and dysfunction, but looking at why that’s happening, looking at it from an integrated perspective of how we are interacting with the ground, and get to the root of the issue is key. 

Reach out for a 15-minute FREE discovery session to see how we can help you on your journey.

For more content, make sure to subscribe to our YouTube channel here.

Other things that may interest you:

Understanding Your Pain

How Sugar Affects Your Pain

What Should You Eat for Chronic Pain?

Why you should stop “stretching” your hip | HIP PAIN

Do you have hip pain that you are continually trying to stretch, roll, or smash, and nothing seems to get better?  Before we get into the role of the psoas, one of your key hip flexors, let’s speak about the local stabilizers and global stabilizers of the body. This is important to understand how you are going to treat your hip flexors and hip pain.

Think of the local stabilizers as being muscles that are close to the joint. They create more of an isometric contraction versus concentric (shortening) or eccentric (lengthening) contraction. They control the joint centration which means keeping the joint centered in its axis. It’s also independent of the activity of motion so if you raise your arm overhead, the deep stabilizers in my spine are going to activate before your arm goes overhead. Essentially these local stabilizers are imperative for stabilization in the body so that we can have proper movement.

Our global stabilizers are equally as important. However, they have a different role, so they have more of an eccentric contraction. They decelerate the range of motion, are continuous with motion, and are farther away from the joint.

Now getting back to the psoas, which is what everyone wants to stretch when they have hip pain.  The posterior or the back of the psoas is a local stabilizer. Think of it as one of our deep core muscles that is helping to stabilize the spine and also prevent the femur, our leg bone, from shifting forward in the hip joint. The anterior or front of the psoas serves as a global stabilizer. So, it is necessary to think of the psoas muscle as a stabilizer. Not only is it a stabilizer but it works in an integrated unit with all of the other muscles, including the pelvic floor, diaphragm, multifidus, the deep five rotators in the hip, and the transverse abdominus. All of these have to work together, and once again in this integrated fashion to be able to stabilize the low back and the pelvis during any kind of movement.

For example, if you performed a chest press with 30 pound in each hand on a bench and then transitioned into doing that on a stability ball, your weight would naturally go down. Why? Because you now have an unstable platform to work from and therefore can not generate as much force.

There are a lot of different hip pathologies that we won’t get into today, but when you have hip pain it typically happens from losing the deep stability of the hip. There are two common muscle imbalances that will exist. One is the TFL(tensor fascia latae) muscle, which is right in the front lateral side of the hip, can get tight, especially with increased sitting. Based on this attachment, it will pull the hip forward, and that will therefore inhibit or shut down the psoas. The other common muscle imbalance is the hamstring muscles, which can get tight for various reasons, inhibiting the glute muscles. The hamstrings can push the femur forward and that also leads us to lose that optimal position on the hip joint. Overtime if we have these muscle imbalances, instead of the hip being centered in the axis, it will start to shift forward and up. This will cause all types of pain issues and pathologies. Whether that’s a labral tear, hip impingement, tendinopathy, bursitis, and so on. So, it is important to get the hip stabilized and centered in the joint in order to decrease pain and ultimately improve function.

You can begin to do this through a four-step process. This is a great way to begin to address your pain, as well as any kind of movement compensation, and most importantly, integrate your foot with your core, in a very integrated manner. First is inhibiting the tissue, in this case we inhibited the TFL muscle that typically pulls the hip joint forward and creates that inhibition of the psoas as a deep stabilizer. Then, mobilize the hip joint to center the hip joint. Remember that when it is not in that center position it’s shifting forward enough so we’re shifting it back to the center position. Next, stabilize it by activating the deep stabilizers, such as our diaphragm, pelvic floor, etc. Then we’re integrating it with the ground. This is super important because the foot is part of the core and they work as an integrated unit. To get those deep stabilizers of the hip firing, short foot, i.e. foot to core sequencing, allows us to do that in a very integrated fashion.

4 Steps

1. Inhibition

For the TFL release, place the ball right on the outside of the hip. When you lie down, you’ll naturally rotate the hip in, which will expose the TFL muscle. With the other leg, anchor it up at a 90-degree angle and come down to your forearms. Holding that position your leg will be nice and long, naturally rotated in, and breathing throughout the exercise trying to relax into it.

2. Mobilization

For the hip mobilization with a band, you’ll place the band high up in the groin. You’ll have it back at a 45-degree angle away from you. You’ll start in a table position rocking forward 15 times, making sure your spine stays nice and long, and you’re breathing. Then rock away from the band, so to the opposite side, once again about 15 times, making sure you’re breathing throughout the exercise.

3. Activation

Now it’s time to activate the deep core, so you can do this by diaphragmatic breathing. Inhale, breathing into the abdomen and into the base of the pelvis allowing the abdomen to expand 360 degrees. Exhaling, letting the abdomen contract and the belly button in towards the spine. Once you feel like you have this established, then on your inhale allow the pelvic floor to relax, so you can exhale and gently lift the pelvic floor about 20% contraction to get a deeper integration. You want to think of this as a rhythmical balance, so nice and fluid. Inhaling to the base of the pelvis and exhaling gently lifting the pelvic floor.

4. Integration

Lastly, it’s time for integration. This is to be done with short foot. Standing on one leg, sitting the hips back, knees slightly bent, taking a breath in, while your foot relaxes then exhale and gently root the tips of the toes into the ground. That will naturally lift the arch and lift the metatarsal heads or ball of the foot.

So whether you have hip pain or hip tightness and are constantly stretching your hips, hopefully, this video will give you a little bit of insight to allow you to think about your hip differently and recognize that it is part of an integrated unit. It is really important to understand how that works as it relates to stabilization and movement

If you’d like to schedule a free 15 minute virtual discovery session, please email drarianne@staging.movementparadigm.flywheelsites.com or text 302-373-2394 to schdule. We’d love to help you get healthy again!

For more content, make sure to subscribe to our YouTube channel here.