WHAT SHOES TO WEAR FOR FOREFOOT PAIN

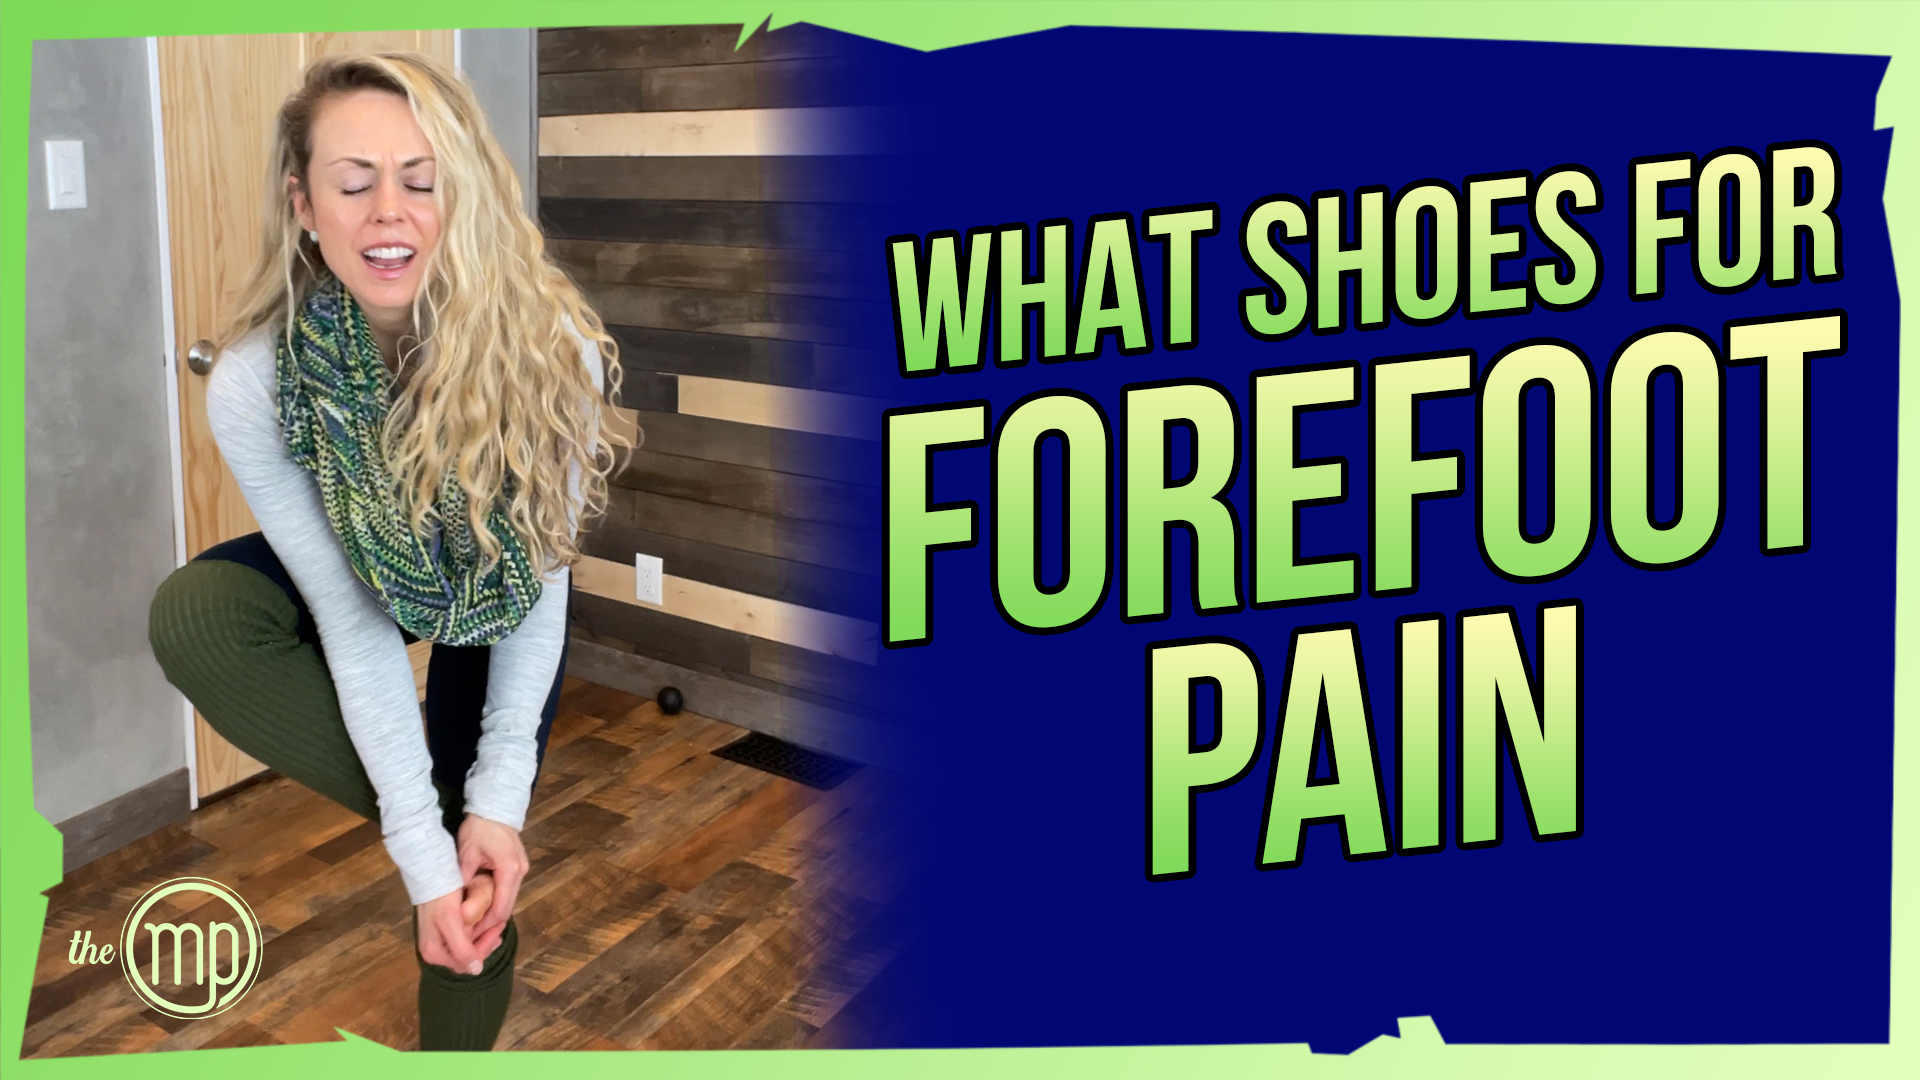
Do you have forefoot pain or pathology and you’re not really sure what shoe you should be wearing? There are numerous foot pathologies that you could have, however we are going just zero in on a few today, such as bunions, first metatarsal joint arthritis, neuromas, and plantar plate tears.

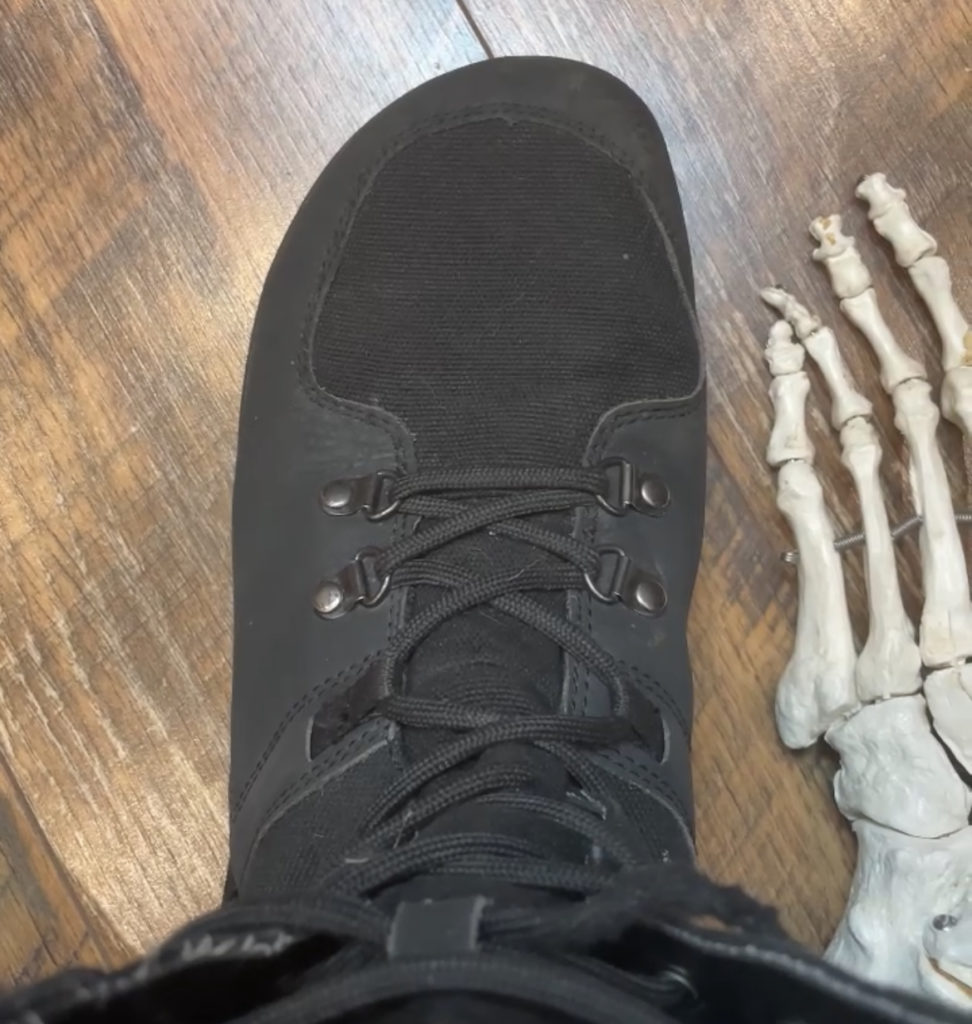
Before we get into details about each, let’s just go over some quick anatomy.  The forefoot includes the phalanges (toes), the five metatarsals, and the connective tissue.

Now, let’s jump right into our foot pathologies and what feature in the shoe you should be looking for to accommodate for your pain.

  1. 1st MPJ arthritis:

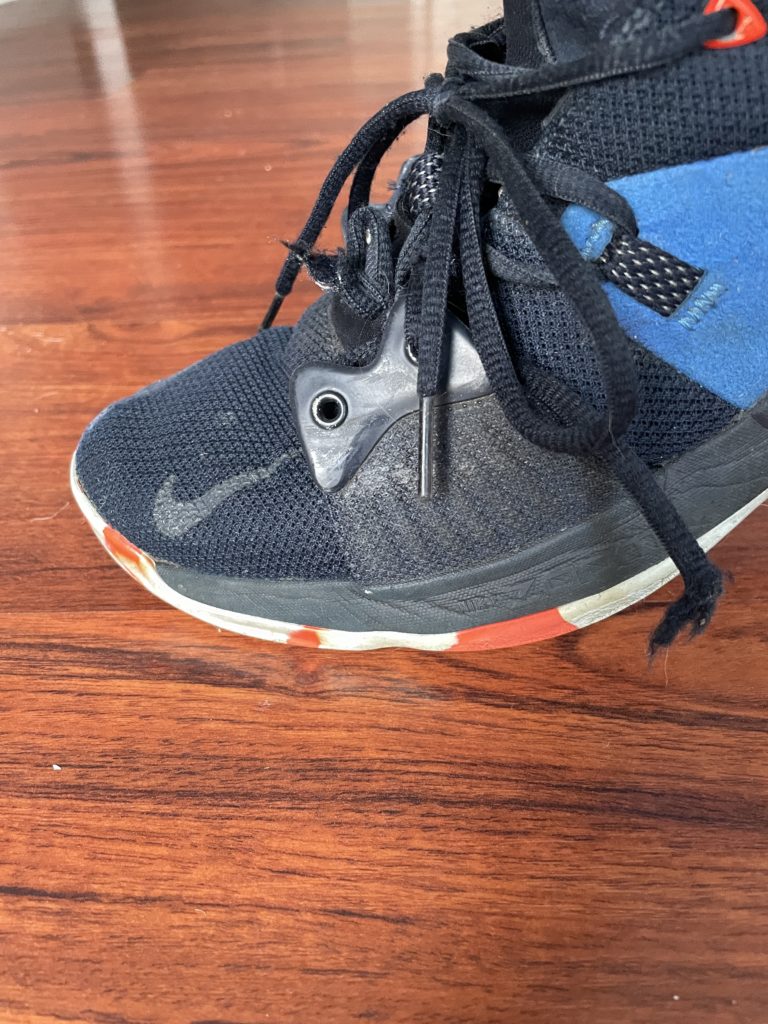
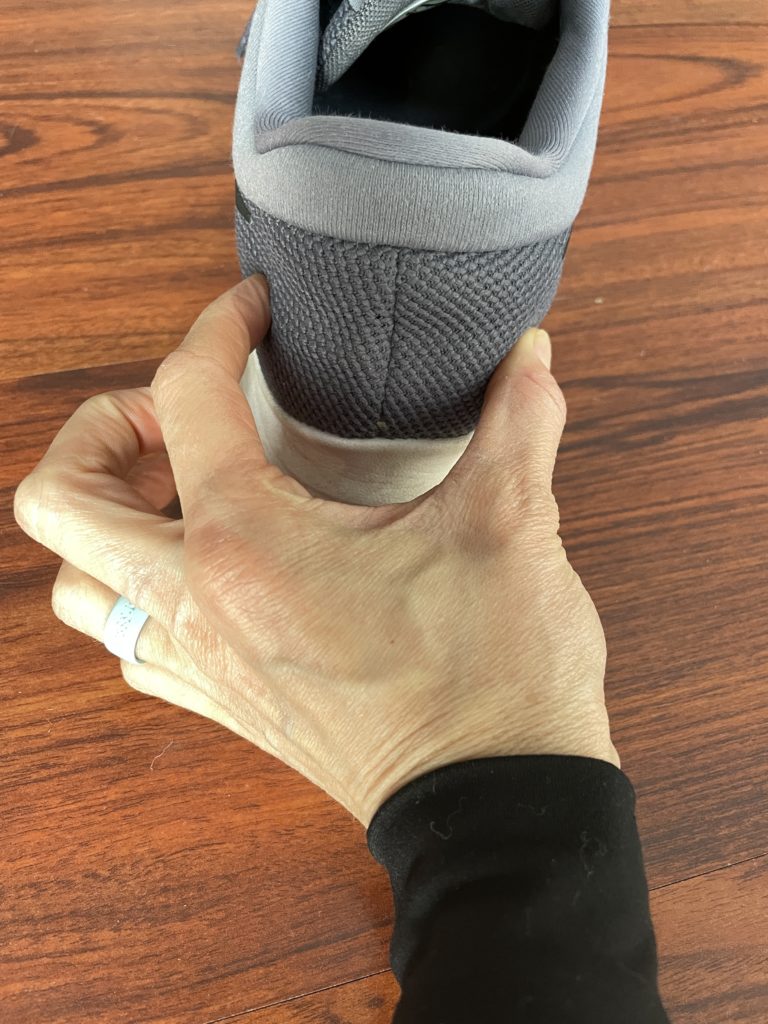
This 1st metatarsal phalangeal joint is also referred to as the great toe. This is caused by the joint jamming too early in the gait cycle or an inflammatory reaction.  If you have arthritis in this toe and it is either painful and or limited in mobility, then the most important feature for your shoe will be a more rigid midsole. Secondly, you’ll want a wide toe box so that you have room for your toes to splay properly.

midsole

2. Bunion:

A bunion occurs when we lose stability in the metatarsal cuneiform joint (first ray). The first metatarsal will swing out and create a valgus position on the great toe. With a bunion, you definitely want a wide toe box. Because a bunion is caused by a lack of stability in the 1st ray, this often indicates that the foot is likely an unstable, everted foot type. In this case, a stiff heel counter in the back of the shoe will help control the foot so that it does not overpronate.

heel counter

3. Neuroma:

A neuroma is a scarred or fibrotic nerve often between the third and the fourth metatarsal. The nerve rubs on the fascial tissue and then becomes fibrotic.  This typically occurs from a loss of stability in the foot and/or compression in footwear, among other things such as injury. What will be most important with acute symptoms of a neuroma will be a stiff midsole. If the midsole is flexible, and you have an active, painful neuroma, you will continually compress the nerves at toe-off in your gait. So when your foot is more irritated, a stiffer midsole with a wide toe box will be most beneficial. 

toe box

4. Plantar plate tear:

The plantar plate is an extension of the plantar fascia that runs horizontally across the joints. A plantar plate tear can be very painful, and you’ll want to immobilize the tissue for a period of time. In this case, once again, you’ll want something more rigid in the midsole. During an acute injury, you will want to immobilize the tissue for a period of time, therefore utilizing the rigid midsole.

In certain circumstances depending on the level of forefoot pain and pathology and how it’s affecting your quality of life, a forefoot rocker is frequently recommended. If someone has advanced great toe arthritis, whether it’s fused itself or a fusion surgery has been performed, a rocker bottom shoe can be very helpful.  It can be added to the shoe or there are actually shoes that you can purchase with this specific feature.

Now for your bonus! The more cushion you have in your shoe, the more impact force you will have through your body. Picture yourself walking outside barefoot. Imagine how you would walk–your pace, your intention, your impact.  Now picture yourself doing the same walk in high cushioned shoes. Think about the difference in how you would interact with the ground. You will strike the ground much harder because you do not have the same sensory input that you would have if you were walking barefoot. 

When you have pain that is affecting your quality of life, shoes can be part of the solution, rather than part of the problem.

If you’d like to schedule a free 15-minute virtual discovery session, please email drarianne@staging.movementparadigm.flywheelsites.com or text 302-373-2394 to schedule. We’d love to help you get healthy again!

Make sure to subscribe to our YouTube channel for weekly tips on mindset, nutrition, and movement, and share with anyone you think may need this.

HOW TO TEST YOUR VAGUS NERVE | Polyvagal Theory

Did you know that you can test your vagal nerve function, and not only can you test it, but you can begin to tap into the healing power of the vagus nerve? Your vagus nerve is responsible for the regulation of internal organs such as digestion, heart rate, respiratory rate and impacts certain reflex actions like coughing, sneezing, and swallowing. It is critical to optimal health and you can tap into it-but first, find out what state you’re in.

The Polyvagal Theory

Before we jump into how you can assess the vagal nerve, let’s talk a little bit about the autonomic nervous system. We used to think of the autonomic nervous system as simply fight or flight or rest and digest. However, Dr. Steven Porges’s work shows us that there’s much more to it and there are actually three circuits of our autonomic nervous system. This is referred to as the polyvagal theory.

Essentially we have our fight or flight state, which is also considered our sympathetic spinal activation. We also have our dorsal vagal state, referring to the most primitive vagal nerve, and indicates we are in a freeze state. This means we are shut down and feel hopeless. We are disassociated from ourselves and other people.

Lastly, we have the ventral vagal circuit, which means we are in a state of social engagement-a state of safety. This means we are connected to the greater world. We’re connected to ourselves. We are joyful and mindful. All three of these are critical and during the day we go through all of these different circuits, but most often we don’t even recognize that we do because we go through them so quickly. However, we can get stuck in these. We can get stuck in a fight or flight stress response where we’re constantly worried, anxious, frustrated, or irritated. It’s also easy to remain in a shut-down mode. We of course could be mindful and joyful. We’re constantly fluctuating.

polyvygal chart
Adapted by Ruby Jo Walker

Check out our previous blog on “How to Map your Nervous System” here.

Breaking that down a little further, let’s speak about the ventral vagal nerve. This originates from the brainstem just as the dorsal vagal nerve does. This innervates most of the muscles of the throat, such as the larynx, pharynx, uvular muscles as well as the levator palatini muscles in the back of the throat. Whereas our dorsal vagal nerve, which is more subdiaphragmatic, innervates the muscles of the stomach, liver, and digestive system. It also does innervate the muscles of the heart and lungs. Just a reminder, the dorsal vagal nerve is impacting that freeze state, shutdown mode, whereas the ventral vagal is eliciting that sense of inner calm and relaxation and is associated with our state of safety or state of social engagement.

Testing Ventral Vagal Function

You may need a partner for this. This is a really powerful technique that can have a profound impact on how you address your body. Remembering where all the powerful neural innervations are, one of the innervations of the ventral vagus nerve is the throat.

  • Grab a partner and a flashlight.
  • Have your partner look at the inside of the mouth at the back of the throat at the uvula that drops down right in the center.
  • Now, perform an “ah, ah, ah” sound.
  • When you open your mouth, you can use a tongue depressor or your fingers to push down your tongue so the uvula and soft palate can be more visible.
  • The examiner is going to look at the uvula to see if there is a deviation to one side.  
three mouths anatomy
Adapted from Stanley Rosenberg’s Healing Power of the Vagus Nerve

What you’re looking for, specifically, is if there’s any deviation from one side to the other. If the uvula pulls over to one side, then that is indicative of ventral vagal nerve dysfunction. If it moves up symmetrically, then that means that you are in that state of social engagement. So, if you have the soft palate moving up on one side, let’s say it’s moving up on the left side, and not moving up on the right side, then that would be indicative of a dysfunction of the pharyngeal branch of the ventral vagal nerve.

Now, that you’ve tested let’s move into how to stimulate the vagus nerve.

Vagus Nerve stimulation: The basic exercise

If your test indicated that you had a ventral vagal nerve dysfunction, perform the basic exercise for vagus nerve stimulation.

  • Lie on your back on the ground.
  • Interlace your fingers and bring them behind your head- right at the base of the skull
  • Look with your eyes to the right until you sigh, swallow, or yawn, and then repeat on the other side.
  • You may blink during the exercise.

Now that you’ve stimulated it, retest your vagal nerve and see if there was a change.

This is just one way to measure your autonomic nervous system function. This is also just one way out of many to stimulate your vagus nerve. However, recognize there are so many ways to become more aware, more in tune, and map your nervous system. You are completely in control of what’s happening in your life.

I want to give a huge thank you to Dr. Steven Porges for all of his amazing work in this area, as well as Stanley Rosenberg, for their contributions to this area of life-changing research. Make sure to check out the book, Accessing the Healing Power of the Vagus Nerve, by Stanley Rosenberg.

If you’d like to schedule a free 15-minute virtual discovery session, please email drarianne@staging.movementparadigm.flywheelsites.com or text 302-373-2394 to schedule. We’d love to help you get healthy again!

For more content, make sure to subscribe to our YouTube channel here.

Why you should stop “stretching” your hip | HIP PAIN

Do you have hip pain that you are continually trying to stretch, roll, or smash, and nothing seems to get better?  Before we get into the role of the psoas, one of your key hip flexors, let’s speak about the local stabilizers and global stabilizers of the body. This is important to understand how you are going to treat your hip flexors and hip pain.

Think of the local stabilizers as being muscles that are close to the joint. They create more of an isometric contraction versus concentric (shortening) or eccentric (lengthening) contraction. They control the joint centration which means keeping the joint centered in its axis. It’s also independent of the activity of motion so if you raise your arm overhead, the deep stabilizers in my spine are going to activate before your arm goes overhead. Essentially these local stabilizers are imperative for stabilization in the body so that we can have proper movement.

Our global stabilizers are equally as important. However, they have a different role, so they have more of an eccentric contraction. They decelerate the range of motion, are continuous with motion, and are farther away from the joint.

Now getting back to the psoas, which is what everyone wants to stretch when they have hip pain.  The posterior or the back of the psoas is a local stabilizer. Think of it as one of our deep core muscles that is helping to stabilize the spine and also prevent the femur, our leg bone, from shifting forward in the hip joint. The anterior or front of the psoas serves as a global stabilizer. So, it is necessary to think of the psoas muscle as a stabilizer. Not only is it a stabilizer but it works in an integrated unit with all of the other muscles, including the pelvic floor, diaphragm, multifidus, the deep five rotators in the hip, and the transverse abdominus. All of these have to work together, and once again in this integrated fashion to be able to stabilize the low back and the pelvis during any kind of movement.

For example, if you performed a chest press with 30 pound in each hand on a bench and then transitioned into doing that on a stability ball, your weight would naturally go down. Why? Because you now have an unstable platform to work from and therefore can not generate as much force.

There are a lot of different hip pathologies that we won’t get into today, but when you have hip pain it typically happens from losing the deep stability of the hip. There are two common muscle imbalances that will exist. One is the TFL(tensor fascia latae) muscle, which is right in the front lateral side of the hip, can get tight, especially with increased sitting. Based on this attachment, it will pull the hip forward, and that will therefore inhibit or shut down the psoas. The other common muscle imbalance is the hamstring muscles, which can get tight for various reasons, inhibiting the glute muscles. The hamstrings can push the femur forward and that also leads us to lose that optimal position on the hip joint. Overtime if we have these muscle imbalances, instead of the hip being centered in the axis, it will start to shift forward and up. This will cause all types of pain issues and pathologies. Whether that’s a labral tear, hip impingement, tendinopathy, bursitis, and so on. So, it is important to get the hip stabilized and centered in the joint in order to decrease pain and ultimately improve function.

You can begin to do this through a four-step process. This is a great way to begin to address your pain, as well as any kind of movement compensation, and most importantly, integrate your foot with your core, in a very integrated manner. First is inhibiting the tissue, in this case we inhibited the TFL muscle that typically pulls the hip joint forward and creates that inhibition of the psoas as a deep stabilizer. Then, mobilize the hip joint to center the hip joint. Remember that when it is not in that center position it’s shifting forward enough so we’re shifting it back to the center position. Next, stabilize it by activating the deep stabilizers, such as our diaphragm, pelvic floor, etc. Then we’re integrating it with the ground. This is super important because the foot is part of the core and they work as an integrated unit. To get those deep stabilizers of the hip firing, short foot, i.e. foot to core sequencing, allows us to do that in a very integrated fashion.

4 Steps

1. Inhibition

For the TFL release, place the ball right on the outside of the hip. When you lie down, you’ll naturally rotate the hip in, which will expose the TFL muscle. With the other leg, anchor it up at a 90-degree angle and come down to your forearms. Holding that position your leg will be nice and long, naturally rotated in, and breathing throughout the exercise trying to relax into it.

2. Mobilization

For the hip mobilization with a band, you’ll place the band high up in the groin. You’ll have it back at a 45-degree angle away from you. You’ll start in a table position rocking forward 15 times, making sure your spine stays nice and long, and you’re breathing. Then rock away from the band, so to the opposite side, once again about 15 times, making sure you’re breathing throughout the exercise.

3. Activation

Now it’s time to activate the deep core, so you can do this by diaphragmatic breathing. Inhale, breathing into the abdomen and into the base of the pelvis allowing the abdomen to expand 360 degrees. Exhaling, letting the abdomen contract and the belly button in towards the spine. Once you feel like you have this established, then on your inhale allow the pelvic floor to relax, so you can exhale and gently lift the pelvic floor about 20% contraction to get a deeper integration. You want to think of this as a rhythmical balance, so nice and fluid. Inhaling to the base of the pelvis and exhaling gently lifting the pelvic floor.

4. Integration

Lastly, it’s time for integration. This is to be done with short foot. Standing on one leg, sitting the hips back, knees slightly bent, taking a breath in, while your foot relaxes then exhale and gently root the tips of the toes into the ground. That will naturally lift the arch and lift the metatarsal heads or ball of the foot.

So whether you have hip pain or hip tightness and are constantly stretching your hips, hopefully, this video will give you a little bit of insight to allow you to think about your hip differently and recognize that it is part of an integrated unit. It is really important to understand how that works as it relates to stabilization and movement

If you’d like to schedule a free 15 minute virtual discovery session, please email drarianne@staging.movementparadigm.flywheelsites.com or text 302-373-2394 to schdule. We’d love to help you get healthy again!

For more content, make sure to subscribe to our YouTube channel here.

How to train your core without crunches

Did you know that you do not have to do crunches and sit-ups to train your core? In fact, crunches, sit-ups, and many other similar core exercises can negatively impact your core, especially if they’re not done properly. How can you train your core without doing crunches?

Rather watch or listen?

What comprises our core?

Let’s break the core down. We have our local stabilizers, global stabilizers, and global mobilizers.

Our local stabilizers include our pelvic floor (base of our core), diaphragm (breathing muscle), multifidus (along the spine), transverse abdominals (like a corset), deep posterior psoas (hip flexor), and the deep hip stabilizers (deep five). These muscles are close to the joint and isometrically contract to create stability and control the joint positioning. This improves what we refer to as joint centration, maintaining our joint on its center axis.

Next, we have our global stabilizers. This includes our glute medius, obliques, spinalis muscles in the back, and quadratus lumborum. These muscles are also geared toward stabilizing, but they create more of an eccentric range of motion. They decelerate motion.

Lastly, is our global mobilizers. This includes rectus abdominis, latissimus dorsi, and quadriceps, and so on. These muscles produce force. They initiate force and movement. All of these are equally important. However, one has to come first, and that is the local stabilization. We have to be able to stabilize our joints to be able to produce force and power from a stable foundation. If you don’t have a stable foundation to operate from, an injury will occur.

Why is it important?

When we refer to the deep core and how it is intimately connected with your feet, and the rest of your body, I like to use the reference of the deep front fascial line. This connects from the bottom of the foot fascially all the way up through the inner thigh, pelvic floor, deep stabilizers, diaphragm, and even the neck. The beautiful representation of this fascial tensegrity is a great visual of how our body is connected, and how our feet are actually part of our core.

Another great way to appreciate this deep local stabilization and the importance of the local stabilization before the global stabilization is a hernia.

Whether you or someone you know has had an umbilical hernia, inguinal hernia, abdominal hernia, or sports hernia, this is a perfect example of where the deep core was not stabilizing efficiently. There was so much stress on the outer core musculature and poor pressurization in the abdomen that it caused a tear in the abdominal wall, or in the case of a sports hernia in the fascial tissue.

In the case of a sports hernia, which is very common but often much overlooked and misdiagnosed, the fascial tissue most often affected connects the rectus abdominus and the adductor. The adductor muscle will have a mechanical advantage so when there is a loss of deep stability, it will create a tear in the fascia in the rectus sheath. You cannot rehab this since you’ve lost the integrity in this force transmission system.  It can only be surgically repaired.

Now, back to the deep stabilizers. It is important to train the deep inner local system before the deep outer global system to prevent things like hernias, back pain, hip pain, and neck pain You can have an optimal foundation to work from to generate force with power and be able to do the things that you want to do. If you are doing crunches, sit-ups, or leg lowers without a proper foundation, read on.

What exercises can you incorporate in your routine?

Here are five different exercises that you can incorporate into your routine or refine if you’re already doing them so that you do not need to do crunches and sit-ups, but you can do these exercises to maximize the potential of your core.

1) Diaphragmatic breathing with pelvic floor contraction

As you inhale lengthen the public floor, relax, and then as you exhale gently lift the pelvic floor about 20 percent contraction in the direction of your head. Repeat this for eight to ten breaths working on the coordination and rhythm of the breath with the pelvic floor contraction.

2) Step by step hollow

Take a breath in and flatten your back as you exhale. Next, take a breath in, exhale, and lift your head and shoulders, reaching through your fingertips. Take another breath in, exhale, and pull your hamstring in towards your body, and then repeat with the other side. If that feels appropriate there stay in that position for a couple of breaths. If you’d like to progress, take a breath in, exhale, and raise your arms overhead keeping the hollow position and the tension. Then reach with the other arm. If you’d like to go to the full progression if that feels appropriate to you, then you would extend one leg, and then extend the other leg.

3) Beast

The beast position is in a stable position with your index finger parallel and spreading your fingers wide. Then corkscrew your shoulders, tuck your toes under, and lift your knees approximately two inches or so above the ground. Use your breath as your repetition. You can do this for as many breaths as you can hold. You can also progress into a crawling motion.

4) Side plank

This helps with lateral stability. The first progression is with your elbows underneath the shoulder, the bottom knee bent, and the top leg straight. If you’d like to progress this you can go into a staggered stance or even a stacked posture.

5) Foot to core sequence

Standing on one leg in an athletic position, take a breath in, as you relax your foot relax your pelvic floor, exhaling rooting the toes into the ground. Repeat that for five to eight breath cycles. As you do that you’re rooting the tips of the digits into the ground. You can then move into a bowler or any other type of dynamic motion, inhaling back and exhaling short footing, and coming back to the standing position.

There you have it—five different ways you can begin to shift your core training to focus on local stabilization before moving to global stabilization and movement. You can use these as ideas. There are endless exercises that can fit into this category but this is just to get you thinking a little bit differently about how to train your core the best way possible so that you can improve your performance, decrease your injury prevention, and feel your best.

Reach out for a 15-minute FREE discovery session to see how we can help you on your journey.

For more content, make sure to subscribe to our YouTube channel here.

Other things that may interest you:

Vagus Nerve Hack | Sphinx

Vagus Nerve Hack | Hand Reflexology

Top 5 Vagus Nerve Hacks to Help You Relax and Restore

DO YOU HAVE A SOCIAL DILEMMA?

Do you have a social dilemma? Do you love to stay connected to your friends, family on Facebook or Instagram, but do you feel like you just scroll aimlessly checking out what everyone else is doing for hours. Do you feel addicted to the “like” button? Anytime you post, can you hardly wait to see who’s responded to it? If you answered yes to any of those questions, then you are just like most Americans and people all over the world. We are seeking “social” approval. We are constantly posting and potentially comparing ourselves to what everyone else is doing. Meanwhile, all of the social media platforms have algorithms that know exactly what we’re doing at all times. They know what we’re thinking, what type of personality we have, and what our interests are. Hence, all of the specific ads targeted us. They are watching every move we make and are therefore manipulating our decisions and actions.

According to the American Journal of Epidemiology, there was a 5,000 person study that showed that a significant increase in social media uses correlated with higher mental and physical health issues as well as decreased life satisfaction. Sixty-four percent of the people that have joined extremist groups on Facebook have done so because the algorithms have directed them there. The list goes on. If you have children or teenagers, I’m sure you’re well aware of how it affects communication, their interests, and how they play and interact. We used to go out and play, but now children want to play on the computer, YouTube, Instagram, or any other game or social media platform. We see in our practice every day how it can impact body image and confidence issues in women AND men.

Let’s not forget all of the amazing things about social media. It’s great for businesses marketing. It’s powerful to be able to connect with people you haven’t seen for years, and how to be able to stay abreast of all the things that are happening in your family and friends’ lives.  There are so many wonderful things about social media too, hence the social dilemma.

What can you do to get control of your social media to use so that it’s benefiting you, your life, your family, your friends, and everyone around you, as opposed to negatively impacting your mental, physical, and emotional health?

1) Setting aside time every day to look at social media. Block time so that you are limiting yourself to a certain amount so that there will be less aimless scrolling and more intentional use. Then, stick to it!

2) Delete all notifications on your phone. That means Facebook, Instagram, email, etc. notifications. Delete them all, so that way you can choose what and when you are going to look at these different platforms and you are not being dictated by the algorithms.

3) Aim to follow organizations and people that you believe in, you trust, you respect, and admire so that when you open your feed it is not filled with things that do not make your life better.

4) Watch the social dilemma. If you haven’t already, it is an outstanding movie that will change the way that you think. It has shifted my thinking, and how I’ve organized my time and planning for looking at social media. I hope that it will have the same impact on you and your family.

Reach out for a 15-minute FREE discovery session to see how we can help you on your journey.

Other things that may interest you:

6 ways to improve your sleep

Leaky Gut: The Root of Chronic Disease

Jaw-Emotion Link

Which foot type are you?

Did you ever wonder what your foot type is? And if so, do you know the impact of your foot type on your movement, gait, and injury risk? How can you address your foot type so that you are maximizing your foundation, i.e your feet. You’ll want to connect your foundation with your core and integrate into your dynamic movement to stay injury-free.

We have three primary foot types;

  1. Everted foot type
  2. Neutral foot type
  3. Inverted foot type

None of these foot types are bad in and of themselves. However, it is important to understand the impact that it can have on function, as well as potential injuries.

On the left is the everted foot type which is associated with being unlocked and unstable. This foot type is typically classified as the flatter foot type or the more pronated foot.  The neutral foot type is in the middle, which is the optimal foot position. On the right is the inverted foot type which is associated with being locked, rigid, and stable. This foot type is commonly viewed as the high arched foot type.

Each foot type has different implications on movement and overall function. Therefore they should be addressed in an individualized manner. For example, if you have more of an everted foot type, a flatter, unstable foot, then the lateral structures of the lower legs will likely be tight. The outside of the lower leg and calf would need to be mobilized, and then the foot needs to be strengthened. In an inverted foot type, a locked, rigid foot type, it is important to mobilize the muscles on the inside of the calf and improve active ankle mobility to bring the foot into neutral. All of them will require some type of integration with your core and into dynamic movement.

There are exceptions to every rule, however, and there are different pathologies that you or someone you know may present with that need to be factored in. In addition to performing the appropriate exercises to balance your foot, you’ll also want your footwear to enhance your natural foot function, rather than replace it.  Your foot type, injury history, movement, and pathologies will determine which shoe would be best for you.

If you would like to understand what foot type you are and what to do about it please reach out for a 15-minute discovery session so that we can guide you on how we can help you on your journey.

If you need help on your journey to better health, contact drarianne@staging.movementparadigm.flywheelsites.com to schedule a FREE 15 minute virtual consultation.

For more content, make sure to subscribe to our YouTube channel here.