5 Ways to Improve your Mobility

Wondering how you can improve your mobility? If you feel tight or restricted in your day-to-day activities or exercise movements, then this is for you. Let’s start by defining mobility.

Mobility is essentially being able to move a body segment in a pain-free, non-restricted range. This is important because we want to not just focus on the muscle and fascia, but also the joint and ligamentous structures. All of these tissues are going to allow for a non-restricted pain-free range of motion.

Please check out my other article on the science of stretching, because today we’re going to focus on five ways that you can improve your mobility. 

Rather watch or listen? 

1. Own Your Movement

You want to own your movement, not rent it. For example, if I was looking at your shoulder mobility while you bring your arms overhead, your elbows bend or your back starts to arch. This means that you don’t have a full range of shoulder mobility. Rather there are compensations throughout the kinetic chain.

When we’re thinking about mobility, we want to create tension in the body and isolate whatever aspect we’re working on, in this case, let’s say the shoulder. We want to create stability where the body needs stiffness and create mobility where we actually need it.

It is important to make sure that as you’re working on different mobility exercises that you are focusing on the quality of the motion, and the true articular motion of the joint of that particular body segment without any compensation.

2. Load Your Body in a New Range

In order to make gains in our mobility, we have to challenge it in a new range that we don’t necessarily have. Even improving your range of motion by a degree or two is significant because that can change how you move through the world. We can use the example of your ankle.

If we can change your ankle mobility two to three degrees, that’s going to change how you walk, go up and downstairs, squat, run, move, play, and perform any dynamic activity. Those small gains in a new range can make a huge difference. 

3. Breathing in That New Position

When you are challenging your body in this new range, your nervous system may feel that it is in a vulnerable position. We have to teach our nervous system how to be safe in this new position.

To do that, we have to breathe optimally to calm the nervous system down and create that parasympathetic response in the new range. This will allow us to communicate to our brain and nervous system to say this is safe.

4. Create Strength in Your New Range

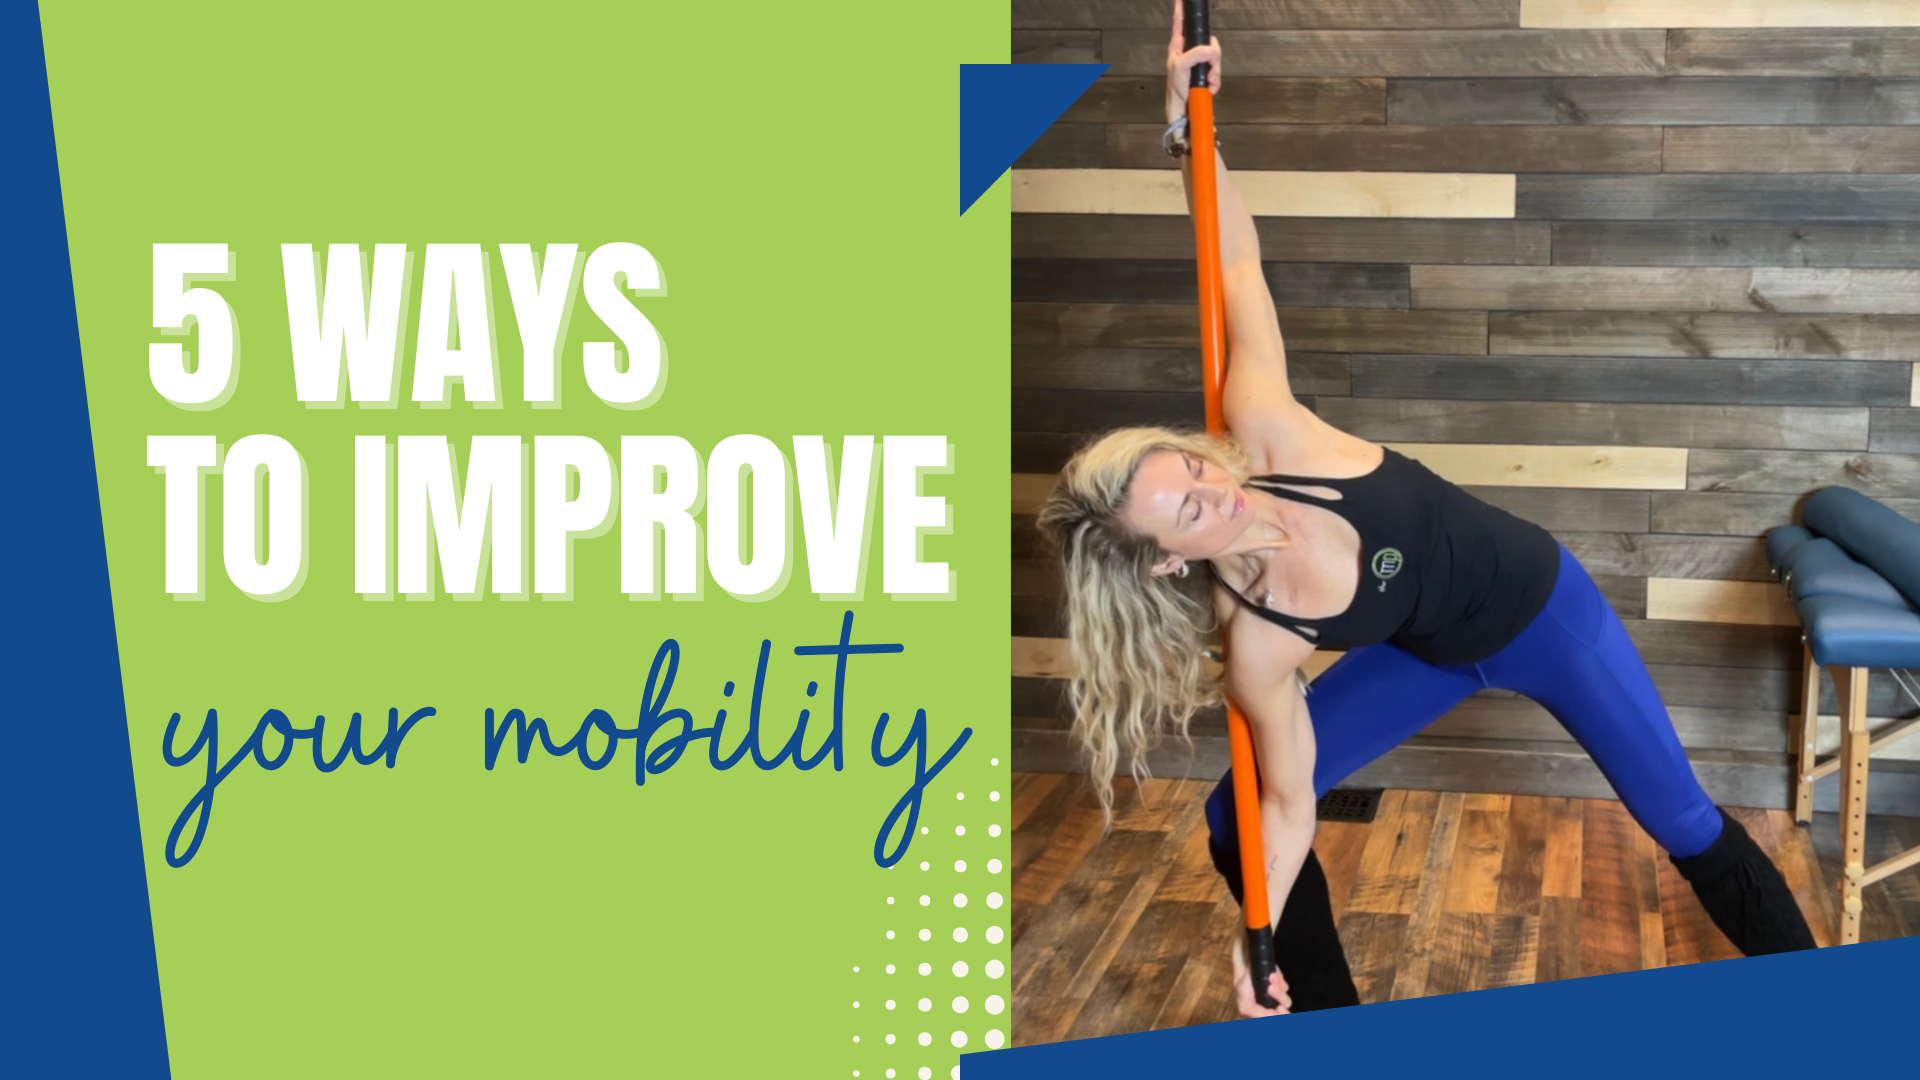
Going back to the shoulder example, if we are trying to create a new range of motion, we can use something like a dowel, a golf club, or a broom to reach overhead to push our shoulder into that new range.

We want to use our breath, core, and total body tension to get our shoulders in that new range when we lift overhead. When you get to the top of the motion, you can press or pull into it to create strength in the new range that you didn’t have before. I like to think of it as you’re creating strength in mobility. 

5. Self-Myofascial Release

Self-myofascial release is not breaking up adhesions or getting rid of knots in the muscle. What we are doing is creating a neurophysiological response. We’re creating an inhibition of the tissue to allow for a relaxation of tissue.

We can do this best by using an example such as the pin and hold technique. You can perform this technique with a tennis or lacrosse ball. If you were working on the tissue in your quad, you would place the ball closer to the origin or insertion of the muscle because that’s where we have our GTOs, Golgi tendon organs, which are nerve endings that give our brain feedback. We are creating an inhibition of the tissue to then allow us to move that tissue in a new range.

Unfortunately, we tend to have a lot of movement compensations. That can be from injuries, surgeries, just poor movement in general, or lack of movement. Due to this, our tissue isn’t always as elastic as it should be. 

When you think about going into your movement preparation routine before your workout, this is an optimal time to work on things like this. Focus your attention on specific body parts that you need work on. 

For example, you might need to work on ankle mobility for a month or two, and then transition to shoulder mobility. If you could do all of it at the same time, awesome, but be realistic and give yourself a little grace to do the best you can.
Reach out for a 15-minute FREE discovery session to see how we can help you on your journey.

For more content, make sure to subscribe to our YouTube channel here.

Other things that may interest you:

10 Best Health Hacks for the New Year

Interoception

Chronic Constipation

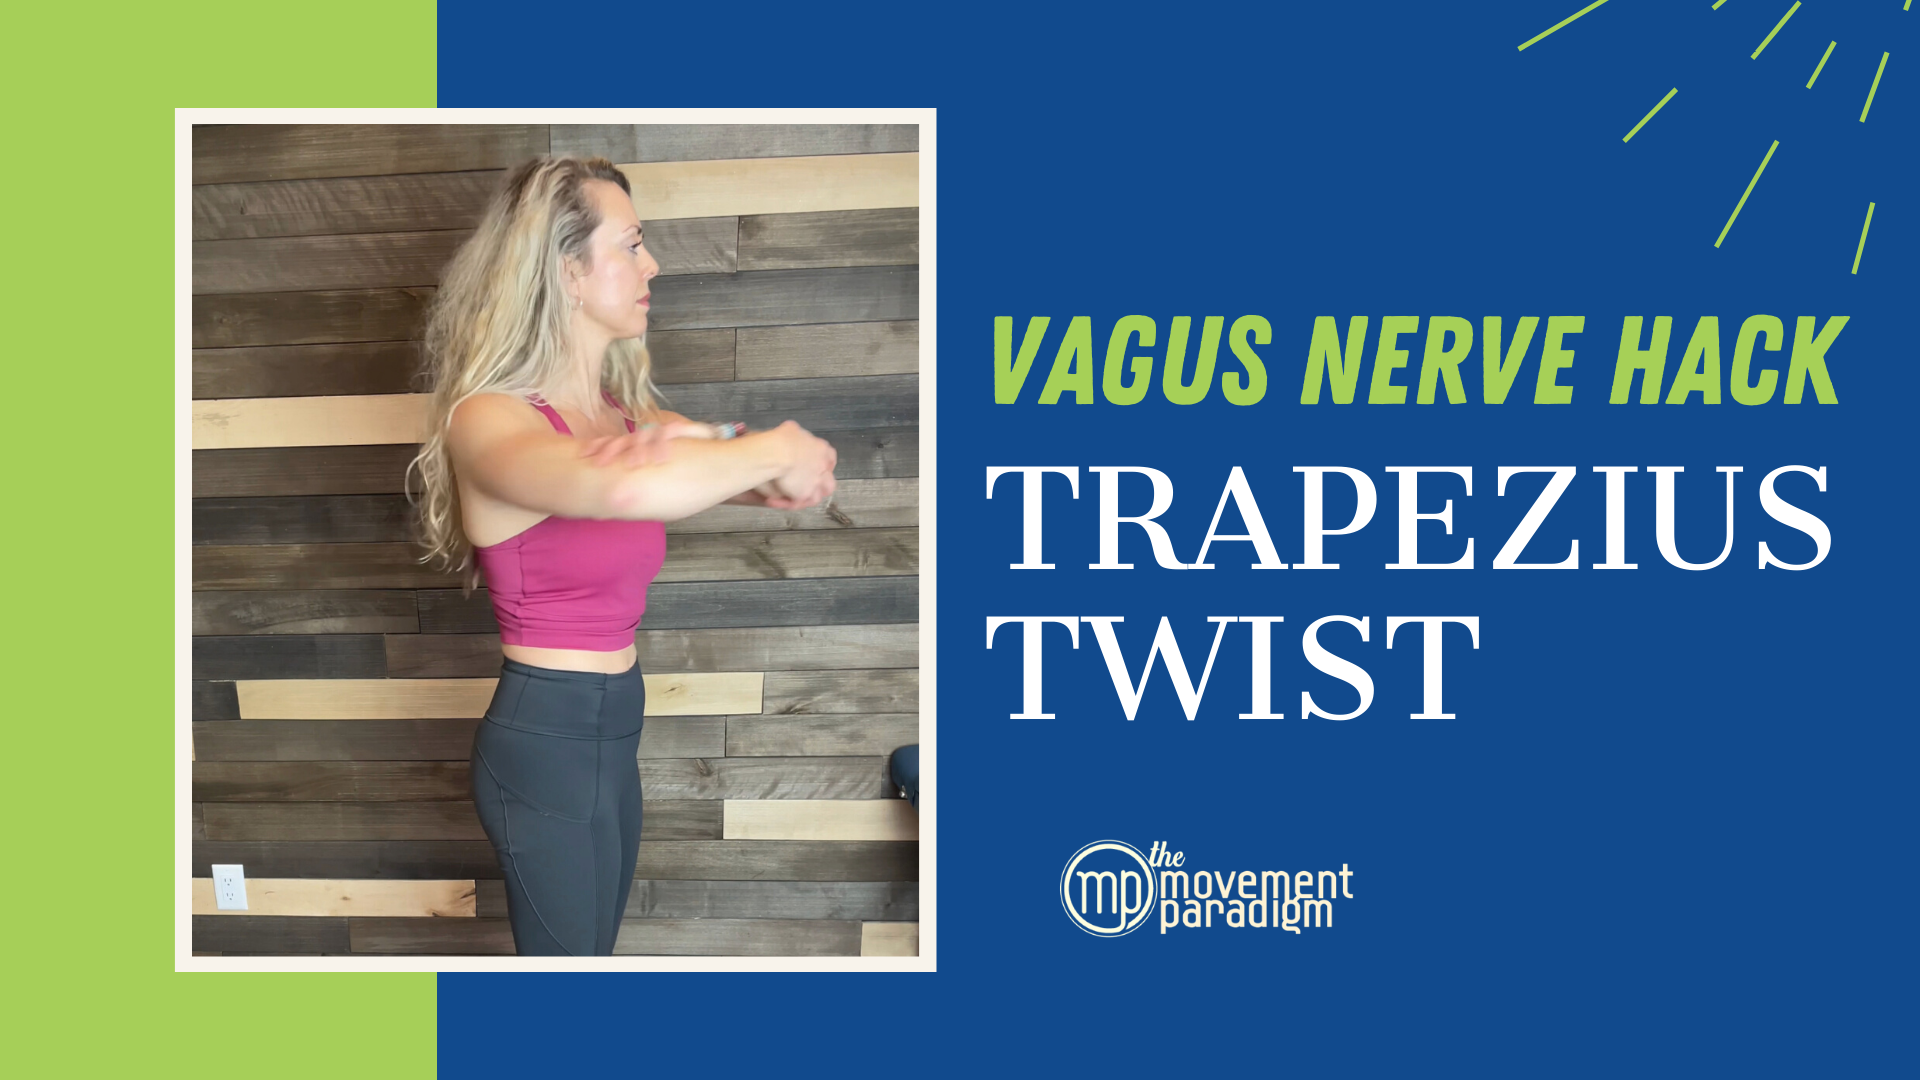
Vagus Nerve Hack | Trapezius Twist

Do you have forward head posture or know someone who does? Or maybe you are sitting at your desk all day and you are constantly feeling restricted? Well, if so, this vagus nerve hack is for you. We have Stanley Rosenberg to thank for the ever so simple, trapezius twist.

Rather watch or listen than reading?

Why do you have forward head posture?

Let’s talk about the neurology and physiology of why you might have forward head posture. Here are three key things that can contribute to it.

1. Airway Dysfunction

The decreased tone of the trapezius muscle and increased tone in the SCM muscle is often related to some type of airway dysfunction. This could be just from poor awareness of diaphragmatic breathing throughout the day or it can be related to structural abnormalities. This could be things like a deviated septum, small nasal valves, TMJ or other jaw issues, enlarged tonsils, and more. It can also have inflammation in the airway preventing you to be able to breathe optimally.

2. State of the Nervous System

Posture is your story. It is how you present yourself to the world. It is ultimately a reflection of your past experiences, thoughts, beliefs, emotions, and activities of daily living. There are so many things that affect it. If you are in a constant fight/flight or freeze state, that will be reflected in your posture.

For example, if you are in a fight or flight state, you might feel a constant tension in your neck muscles. This means that you are over-breathing in that state and using a lot of your neck muscles to do so. Conversely, if you think of the frozen state where we are shut down, hopeless, and numb, this might lead to more of a rounded posture.

3. Scars

No matter where your scars are in your body, they can directly impact the function of your cranial nerves, autonomic nervous system, emotions, and stabilizing muscles in your neck. Scars can have profound effects even far from where the actual scar is.

In healthy tissue, collagen fibers are normally parallel, but when scar tissue forms the collagen fibers are now perpendicular. The tissue is stronger, but it is not as elastic so it will impede the surrounding or distant muscles.

When To Do Trapezius Twist

Now for the fun part. The trapezius twist is a fantastic exercise to do right after you are sitting for a period of time. If you feel like your head is just leaning forward or you are having a hard time holding your posture, the trapezius twist will activate the trapezius muscles. It is a neural activation that is waking muscles up. You can check your forward head before and after you perform the exercise to see the difference.

How To Perform The Exercise

To perform the exercise, grasp your elbows and twist side to side at waist level for about five seconds. Then move to the chest line for five seconds. Lastly, move above the shoulders for five seconds. Recheck your forward head posture after you finish.

If you found this vagus nerve hack to be helpful, make sure to give it a share. Also, check out all our other vagus nerve hacks and make sure to subscribe to our YouTube channel, The Movement Paradigm for weekly tips on mindset, nutrition, and movement. If you are interested in setting up a virtual or in-person consultation, please reach out to staging.movementparadigm.flywheelsites.com. We would love to help.

Reach out for a 15-minute FREE discovery session to see how we can help you on your journey.

For more content, make sure to subscribe to our YouTube channel here.

Other things that may interest you:

Vagus Nerve Hack | Sphinx

Vagus Nerve Hack | Hand Reflexology

Top 5 Vagus Nerve Hacks to Help You Relax and Restore

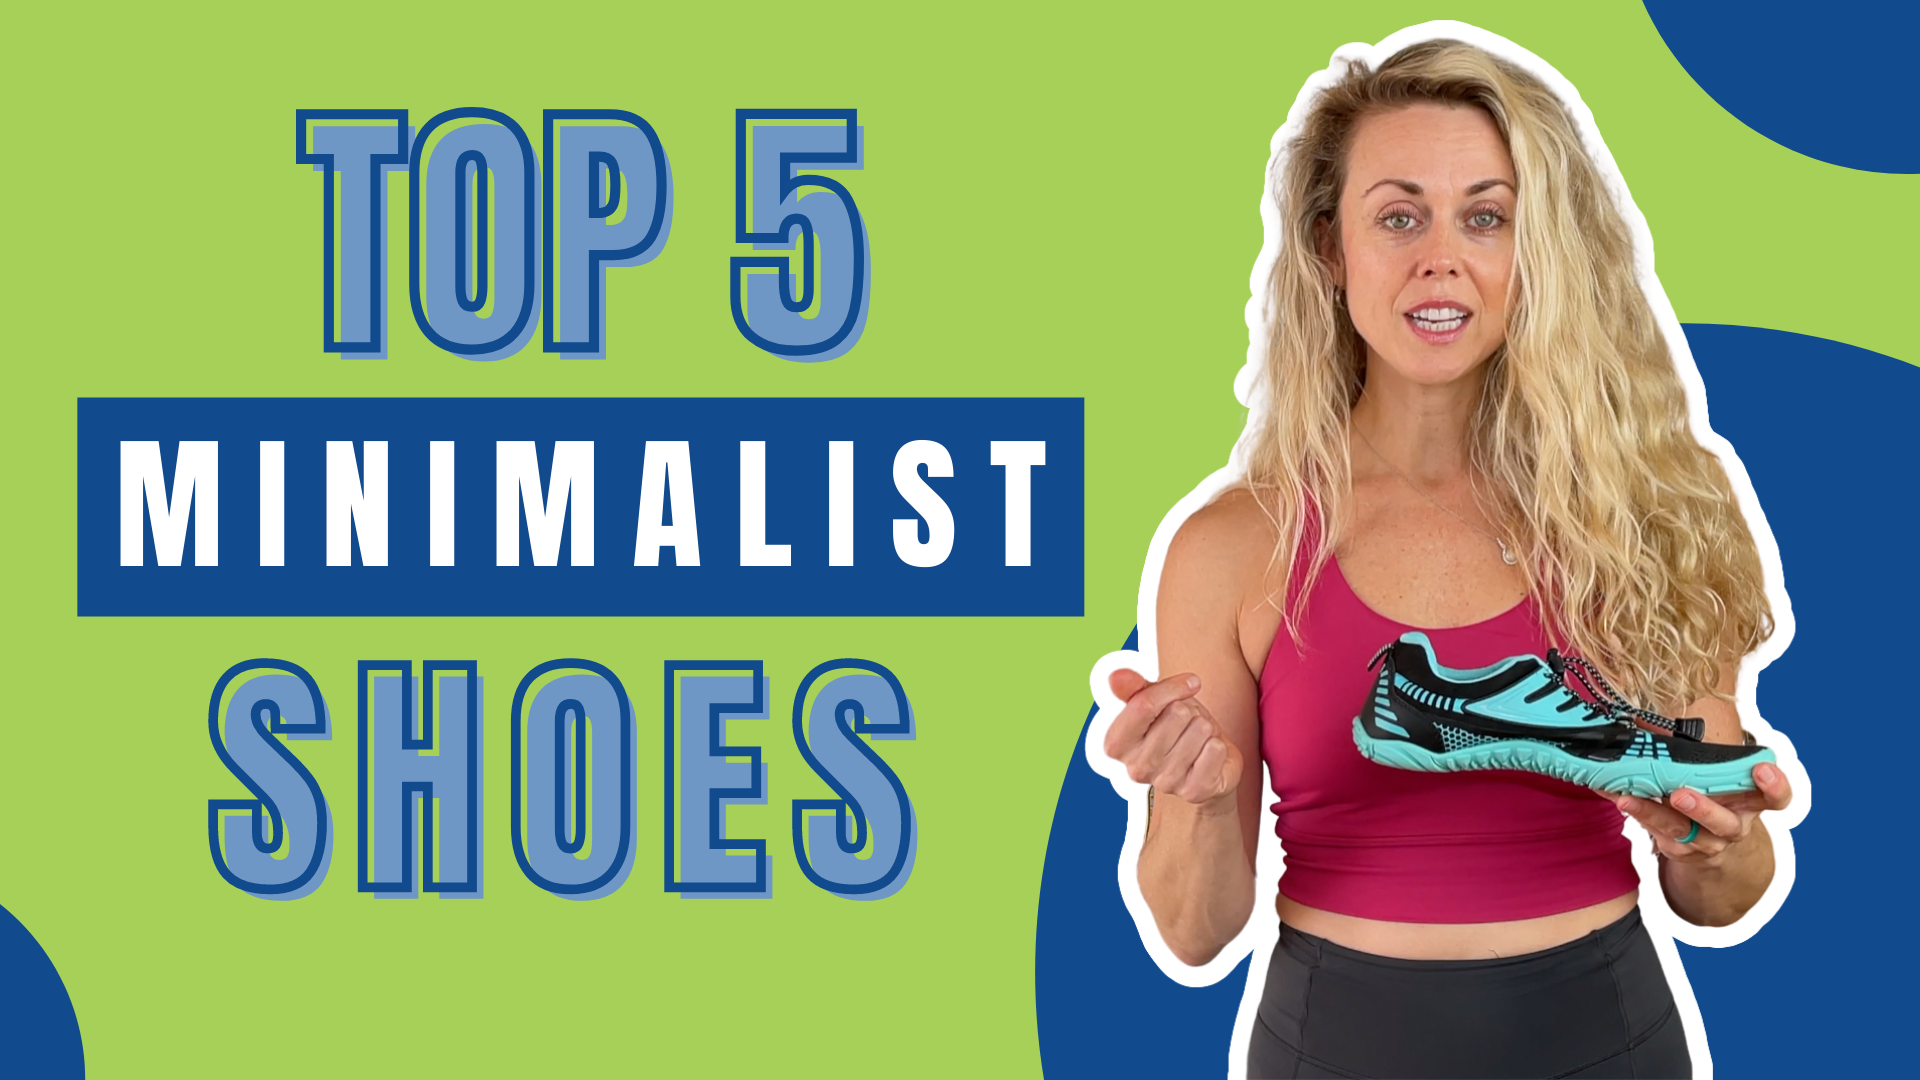
Top 5 Minimalist Shoes

Hopefully, you know by now that we love talking about movement from the ground up and barefoot science, so today I am going to give you my top five minimalist shoe choices. First, let’s identify what you want to look for in your shoes.

Rather watch or listen than read?

What To Look For In A Minimalist Shoe

1. Minimal Cushion

The first thing that we want to look at is how much cushion is present. A true minimal shoe is going to fall into a zero cushion shoe. You can see how much cushion the shoe has by looking at the side of the shoe

2. Zero Drop

The second is that it should be a zero drop shoe, which technically means zero to four millimeters heel-to-toe drop. Most traditional shoes have a 10 to 14-millimeter heel-to-toe drop which looks like a high heel. 

3. Wide Toe Box

The next thing is we want to have a wide toe box. This is important for the ability of the foot to splay as you push off in your gait cycle. Men have five millimeters of splay women have three when they toe-off in their gait cycle, so a wide toe box is necessary.  

4. Flexible Midsole

We also want to have a flexible midsole. That means that the shoe is able to bend at the midsole just like our foot would at toe-off in our gait cycle, rather than a stiff midsole.

5. Torsion

Next, we want to have torsion in the shoe. You want to be able to ring it out like a towel. Our foot is meant to spiral with each step of our gait cycle and during dynamic movements. 

6. Flexible Heel Counter

Last but not least, we want a flexible heel counter. A stiff heel counter can be good for a flatter foot. In a minimalist shoe, we want to be able to bend the heel counter to enhance the natural foot function.

What to know before transitioning to minimalist shoes

Minimalist shoes are NOT for everyone and it is very important to know your foot type, your injury history, and what is appropriate for you. For example, you do not want to transition from a traditional high cushion sneaker to a minimalist shoe overnight. This should be a very long transition of allowing yourself to acclimate and adapt to this new change and how you are interacting with the ground coupled with intentional barefoot work.  Now let’s discuss my top five minimalist shoe picks. 

Top 5 Minimalist Shoes

1. Vivobarefoot

This is hands down one of the best shoes to optimize natural foot function. It feels like you are barefoot and includes all the top features mentioned above.

2. Xero

Xero Shoes are awesome and provide lots of different options, such as sandals with Naboso technology, which is a small neuro proprioceptive surface. They also have great winter boots.

3. Merrell Vapor Glove

They also have a variation of trail shoes for kids. This is a shoe where you truly feel like you are walking on the ground. I’ve worn this shoe for years off and on and loved every second of it. 

4. Lems

They have great casual shoes and boots. They have a slightly thicker sole as compared to the Vapor Glove or Vivo. However, they are great comfortable, casual shoes.

5. Topo

This is a shoe that I use a lot for patients with different pathologies, for example, forefoot pain or big toe arthritis, or stiffness. They also have an Ultra Fly Lite 3, which is more of a minimalist shoe. It has a super light cushion, so it is a really good transitional shoe from a high cushion sneaker to a minimalist shoe. 

Why is this so important?

Our shoes are meant to enhance our natural foot function, not replace it. Our amazing feet are meant to move, spiral, and transfer energy through the body.

When we have a high cushion shoe, impact forces are increased as they enter the body. We are not able to detect what’s happening, so we strike the ground even harder. Although it might feel good on your feet, it is not good for your movement efficiency, gait, or balance, which are important for movement longevity. The closer that we can get to the ground, the better. The more you can take your shoes and socks off, and stimulate the small nerves in your feet, the better.

If you are not sure where to start, please reach out for a virtual or live consultation so we can figure out exactly what your foot type is and what you need. 

Reach out for a 15-minute FREE discovery session to see how we can help you on your journey.

For more content, make sure to subscribe to our YouTube channel here.

Other things that may interest you:

WHAT SHOES TO WEAR FOR FOREFOOT PAIN

Which foot type are you?

The benefits of GROUNDING | Earthing

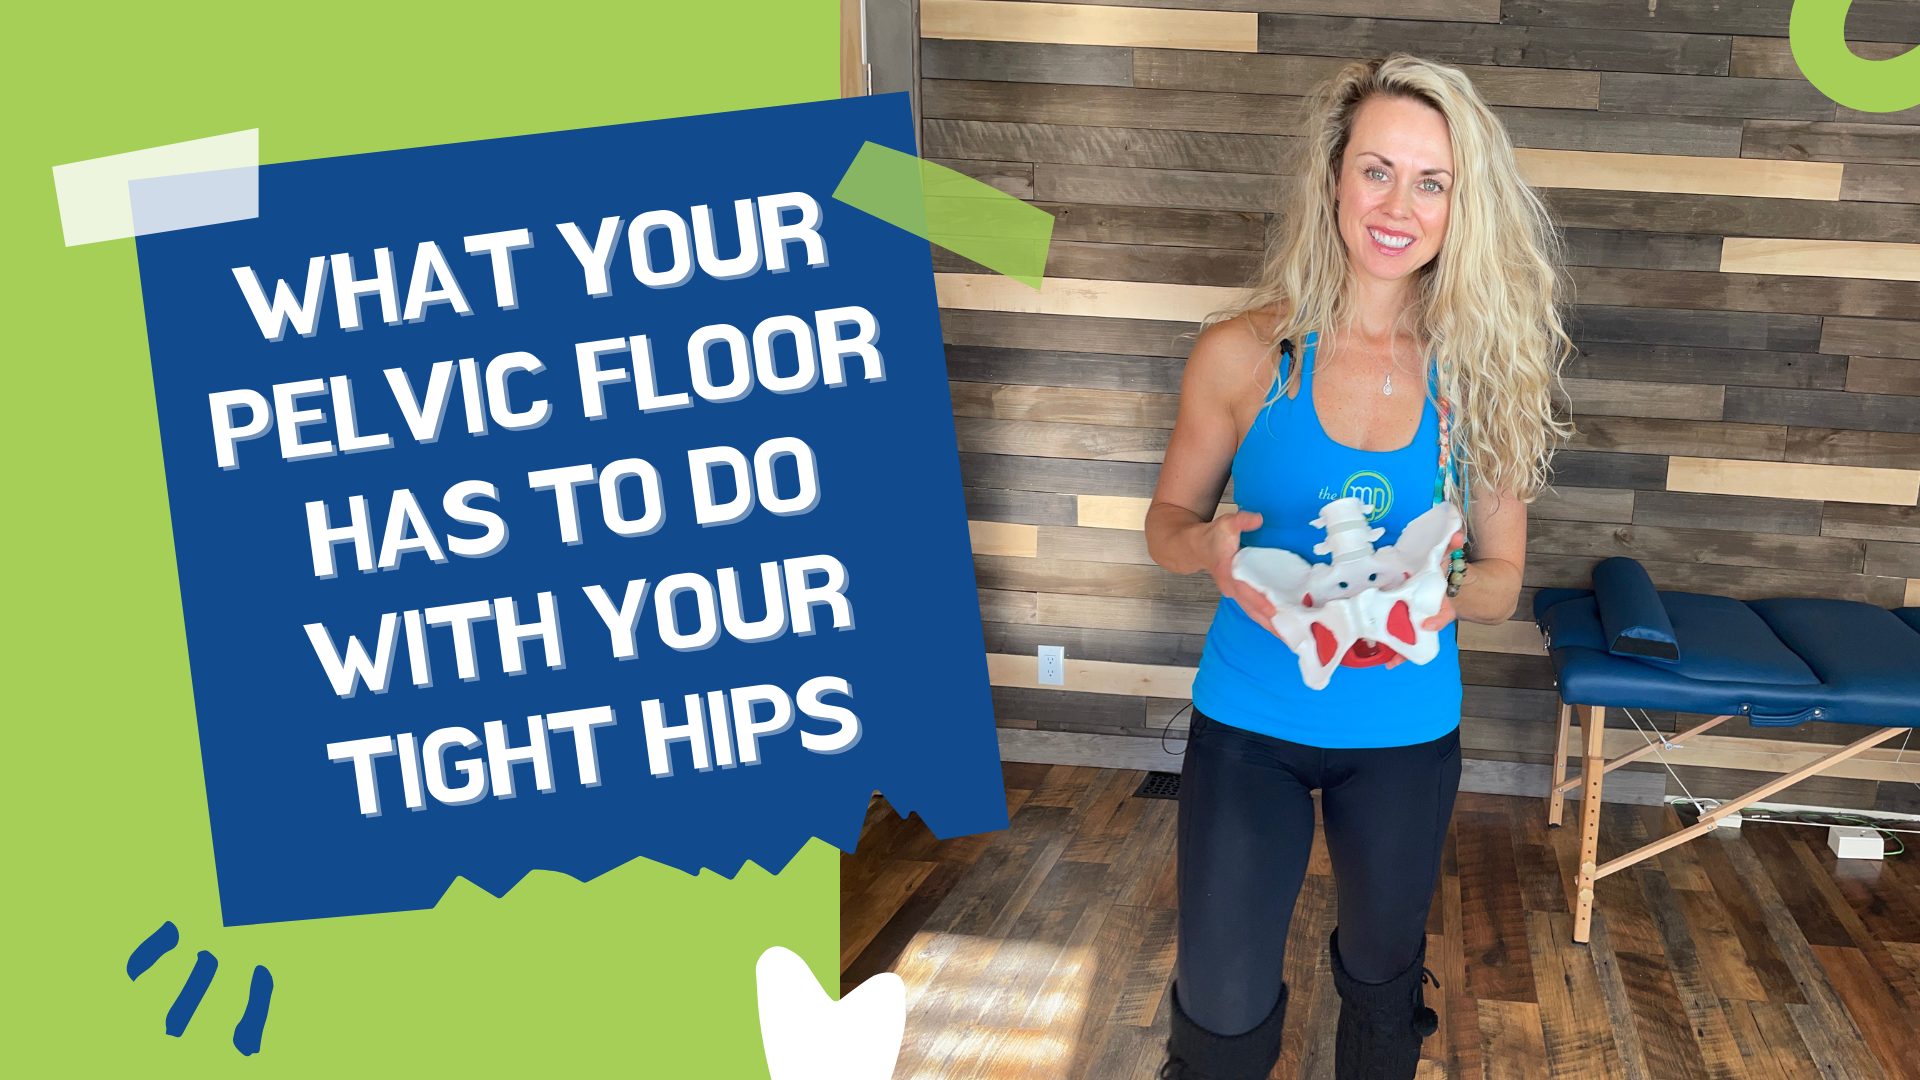
What your pelvic floor has to do with your tight hips

Let’s discuss the pelvic floor’s role in our hip mobility and function.

We’ll cover functional anatomy, root causes of poor hip mobility, and of course, how the pelvic floor can influence this.

Rather watch or listen than read?

The Pelvis

The intrinsic stabilizers of the core are foundational. When we’re looking at the pelvis, the top of the intrinsic unit of our core is the diaphragm, while the bottom is the pelvic floor. These two things have to work together in a very fluid, rhythmical fashion for everything to have the proper sequencing, timing, and coordination. This is essentially what we refer to as motor control.

Once again, at the bottom of the pelvis, we have the pelvic floor. The pelvic floor is actually feeding into the deep hip stabilizers via the fascial tissue. This is what keeps the hip in its socket—think of it as a suction cup similar to the rotator cuff. This integration also occurs with our hip flexors or deep psoas.

Our psoas is also a deep stabilizer that prevents the hip from shifting forward, so it’s very important. It’s also deeply connected with the pelvic floor which integrates with the transverse abdominis—think of that as our natural weight belt. Drawing the belly button in is a way to feel this muscle. However, functionally, this will contract on our exhalation.

This ultimately connects to our diaphragm. These deep stabilizers have to work reflexively. If they don’t, we begin to see pain, injury, and mobility issues. The body will start to find stiffness where it needs it; it will create stiffness if there is a lack of stability.

To take it one step further, what you can do is try this exercise.

Breathing Exercise (with pelvic floor integration)

As you take an inhale through the nose, the tongue resting at the roof of your mouth touching the back of your teeth, allowing the pressure in the abdomen to go all the way down to the base of the pelvis, our pelvic floor will be in a lengthened position. Then as we exhale, our diaphragm goes back up to its resting position. The pelvic floor is gently contracting and lifting, and then that pressure is decreasing, of course. As the diaphragm goes back up, our abdominals are contracting to create that corset, and thereby we have a full diaphragmatic breath. This diaphragmatic breathing is critical to having an optimal hip function.

So why might you have tight hips?

Some of the several reasons include:

1. Sitting

This is the most common reason as to why you might have tight hips. Increased sitting decreases joint mobility and decreases the elasticity in your muscle and your fascia, creating ongoing stiffness.

2. Poor Breathing

Another thing that you might not think about is breathing. If we are not diaphragmatic breathing, as I just mentioned with proper sequencing and coordination, that can cause tight hips.

3. Pelvic Floor Tightness

Squeezing or clenching the pelvic floor is common as this is where we tend to hold a lot of emotions.

4. Stress

Because we hold our emotions here, stress is a big driver of tight hips and pelvic mobility.

5. Poor Hip Stability

If you are not sequencing properly from that stabilization perspective, you can not create force through the glutes. This is necessary to move the hip to its full range. This can lead to tightness and compensation. Your body will always figure out the path of least resistance, so if you don’t have stability somewhere, it will find stability by tightening things up.

How to Address this Issue

One of the simplest ways to begin to address this is to begin to work on your breath.

You can do this lying down with your knees back. It’s a great starting point. Stacking your rib cage over your pelvis is really important. We want the ribcage stacked right over the top so the diaphragm so it can communicate effectively with the pelvic floor. Inhaling, breathing 360 degrees of pressure into the abdomen, exhaling, contracting the abdomen—think of it like a corset or weight belt.

Now, begin to integrate it into everything you do: your day-to-day activities, exercise, stress management, and so on. Adopt this breathing pattern as your normal healthy breathing pattern which is exactly what it is. We breathe 25 000 times a day, so this is really how you want to think about breathing all right.

This can help you improve your hip function, hip mobility, and core function and give you a new perspective on why you might have tight hips.

Reach out for a 15-minute FREE discovery session to see how we can help you on your journey.

For more content, make sure to subscribe to our YouTube channel here.

Other things that may interest you:

Vagus Nerve Hack | Pelvic Floor Relaxation

Stop Stretching Your Hamstrings

Why You Shouldn’t R.I.C.E.

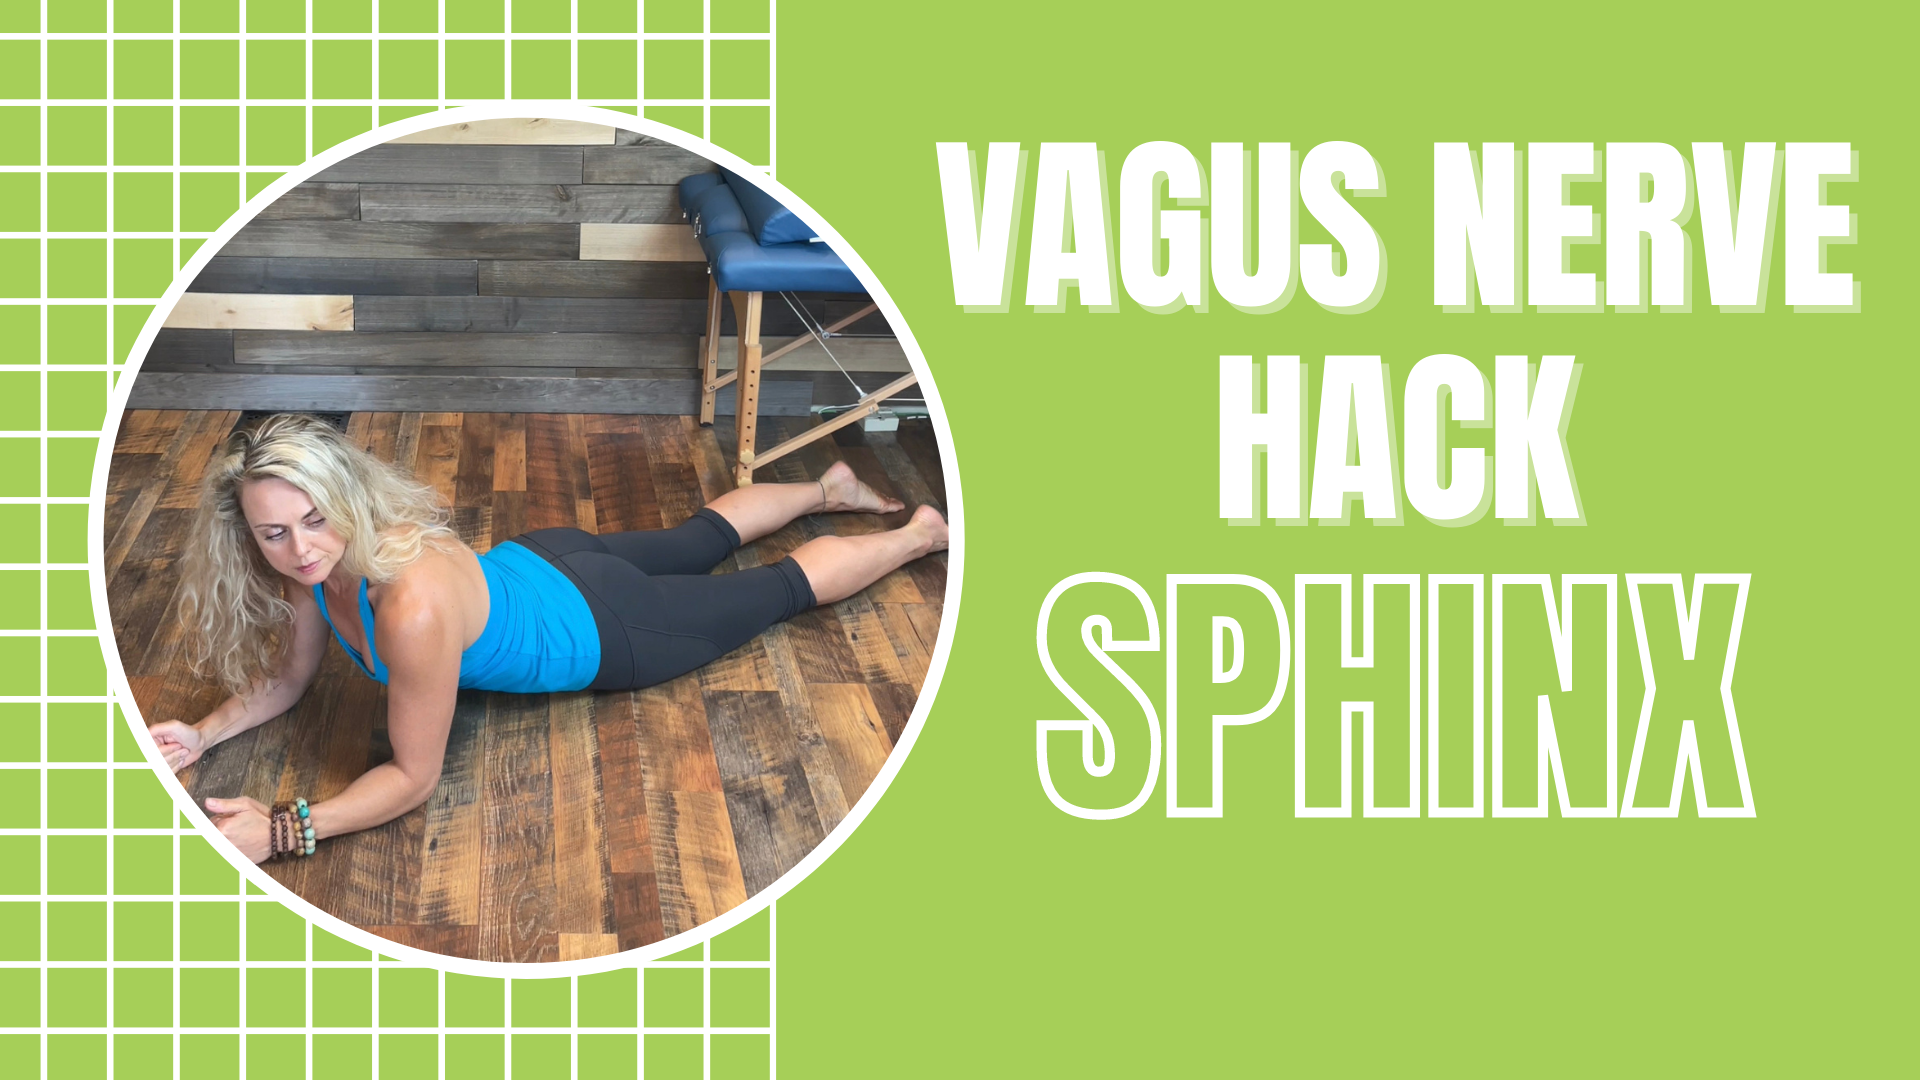
Vagus Nerve Hack | Sphinx

The sphinx, another powerful vagus nerve hack, can improve your cervical range of motion, thereby increasing blood flow to the brainstem and stimulating the vagus nerve. Let’s briefly review the anatomy, how to perform the exercise, and the implications that it will have for you. Please make sure to check out some of our other vagus nerve hack videos on YouTube so you can explore what works best for you.

Rather watch or listen than read?

Anatomy

In the meantime, let’s review the vagus nerve. Remember, it is the 10th cranial nerve and it is a paired nerve. It originates from the brainstem, exits anteriorly, and innervates muscles of the throat, heart, digestive tract, and is involved in all of our autonomic functions.

If we have forward head posture and limited cervical range of motion, our cranial nerves are going to be impacted since they exit from the brainstem. We need optimal cranial nerve function so that we can be in a state of social engagement. This means that we are connected, joyful, mindful, and/or grounded. It involves muscles of the face or facial expressions. Again, if our range of motion is limited, then that can impact the functionality of these nerves and thereby how we interact with the world.

Before you begin the exercise I would recommend checking your range of motion. You can start by keeping your head in a stacked position over your body and look all the way to the right and left. How does it feel? Is there pain and/or restriction?

You should be able to get your nose over towards your shoulder while keeping your eyes level, so make sure not to side bend when you perform this.

How To Perform

To perform this exercise, start by lying on your stomach and then prop yourself up to your elbows. From here starting with your head centered, lift your pubic bone off the ground, lift your head gently, and then slowly rotate to the left, holding that position for 30 seconds. Next, come back to the center, and then move to the right and hold that for 30 seconds.

Now that you’ve performed the exercise, you can reassess your range of motion to see how that feels. If it feels better, then that exercise was meant to relax or stimulate cranial nerve XI, the accessory nerve. This will relax your SCM muscle as well as your trapezius muscles. If it didn’t, then that means that there is another problem in another one of the cranial nerves. Just know that there are other exercises that may be more appropriate for you.

This is a developmental position, something we did as babies. When we prop up onto our forearms, it ignites a postural reflex. It is also optimal for reflexive stability. This is a great position, movement, and posture to work from, and even exercise from. If you have a stiff neck, or you experience migraines on a regular basis, then this is a powerful exercise to perform. Make sure to do it as often as you need to help with your symptoms.

Reach out for a 15-minute FREE discovery session to see how we can help you on your journey.

For more content, make sure to subscribe to our YouTube channel here.

Other things that may interest you:

How To Assess and Treat Your Scars

Vagus Nerve Hack | Breathing Before Eating

Vagus Nerve Hack | Hand Reflexology

How To Assess and Treat Your Scars

Did you know that your scars, whether from surgeries, falls, or even tattoos, can provide significant psychological and functional consequences? The great thing is that scars are a normal part of healing, but what happens is our collagen fibers that are normally aligned in a parallel fashion, lay down in a haphazard direction. Because of this, the myofascial tissue is much stronger, however, it is not as elastic and typically not as functional.

Rather watch or listen than read?

Our fascial tissue is considered our ectoskeleton—the glue that holds us together. It surrounds all of our muscles and organs. It has seven times more sensory nerves than our muscles do. Therefore, these scars are very sensory driven so they can disrupt the information coming from our tissue to our brain. Ultimately that can change different types of movement patterns that might be happening in the body, contributing to pain or even injury.

For example, if you have had a C-section or other type of abdominal surgery, the scars and adhesions from that can affect how the deep core is stabilizing as an integrated unit. This will affect the transverse abdominous, diaphragm, pelvic floor, and so on.

If you’ve had back surgery and you have scars in the back that can attribute to how the tissues around the spine are stabilizing and firing. If you’ve had a chemo port scar, that can attribute to the way that your shoulder is firing. The list goes on. You want to just recognize that scars are a very integral part of a movement and it’s something that can be assessed and addressed.

What To Look For When Assessing Your Scars

Here are some things to look for when assessing your scars:

1) Color – Red or white?

2) Scar height – What is the thickness?

3) Pliability – How extensible is the tissue? You can move your scar in different directions to see which direction is more restricted.

4) Surface texture – How does the scar feel overall as you glide over the tissue?

5) Sensitivity

6) What is the story that it tells? 

After you’ve assessed your scar, the next step would be to begin to treat it. You want to think of this as a very gentle, yet intentional approach.

How To Treat Your Scars

Here is how to treat your scars:

1) Desensitization

You can use a washcloth and just gently rub it over the scar. That is to desensitize any type of hypersensitive scar if you found it to be painful. 

2) Feathering and Gliding

This is used as a great general technique to warm up and relax the tissue.

3) Smudging Technique

After you’ve done that, if needed, then you can begin by a basic smudging technique where you put pressure with your hand into the skin and you’re moving the skin over the tissue. You are moving the skin gently in the direction where it felt more restricted and hold that for a period of time.

4) Circles

Then you could do gentle circles on the scar as well as around the scar to make sure you improve the elasticity of the scar.

5) Long Holds

Lastly, long holds can be used when there are noted restrictions in the elasticity of the tissue.

6) Rocktape

You can also use rock tape.

Remember when working on scars we are not breaking up the tissue. Forces over 2,000 pounds per square inch are needed in order to actually break up the tissue.  What you are doing is helping to make the tissue more elastic and pliable. You are also helping to reorganize those collagen fibers so that they are aligned properly as opposed to that haphazard direction. This can help improve how the tissue is moving in that general vicinity and beyond. 

7) Integration 

The last step is integration. You want to integrate whatever type of scar work you did into healthy mindful intentional movement. For example, if you were doing some type of scar work on the abdomen, you would want to do breathwork perhaps pelvic floor activation, and then some type of integration into an actual movement where you can put all those things together. This could be something like a dead bug exercise, bird dog exercise, or some kind of basic stabilization exercise. 

Now you know how to assess your scar, as well as treat it.

Reach out for a 15-minute FREE discovery session to see how we can help you on your journey.

For more content, make sure to subscribe to our YouTube channel here.

Other things that may interest you:

Chew Your Food To Heal Your Gut

What do your gut bacteria do? | 10 Functions of Gut Bacteria | Microbiome

Vagus Nerve Hack | Hand Reflexology

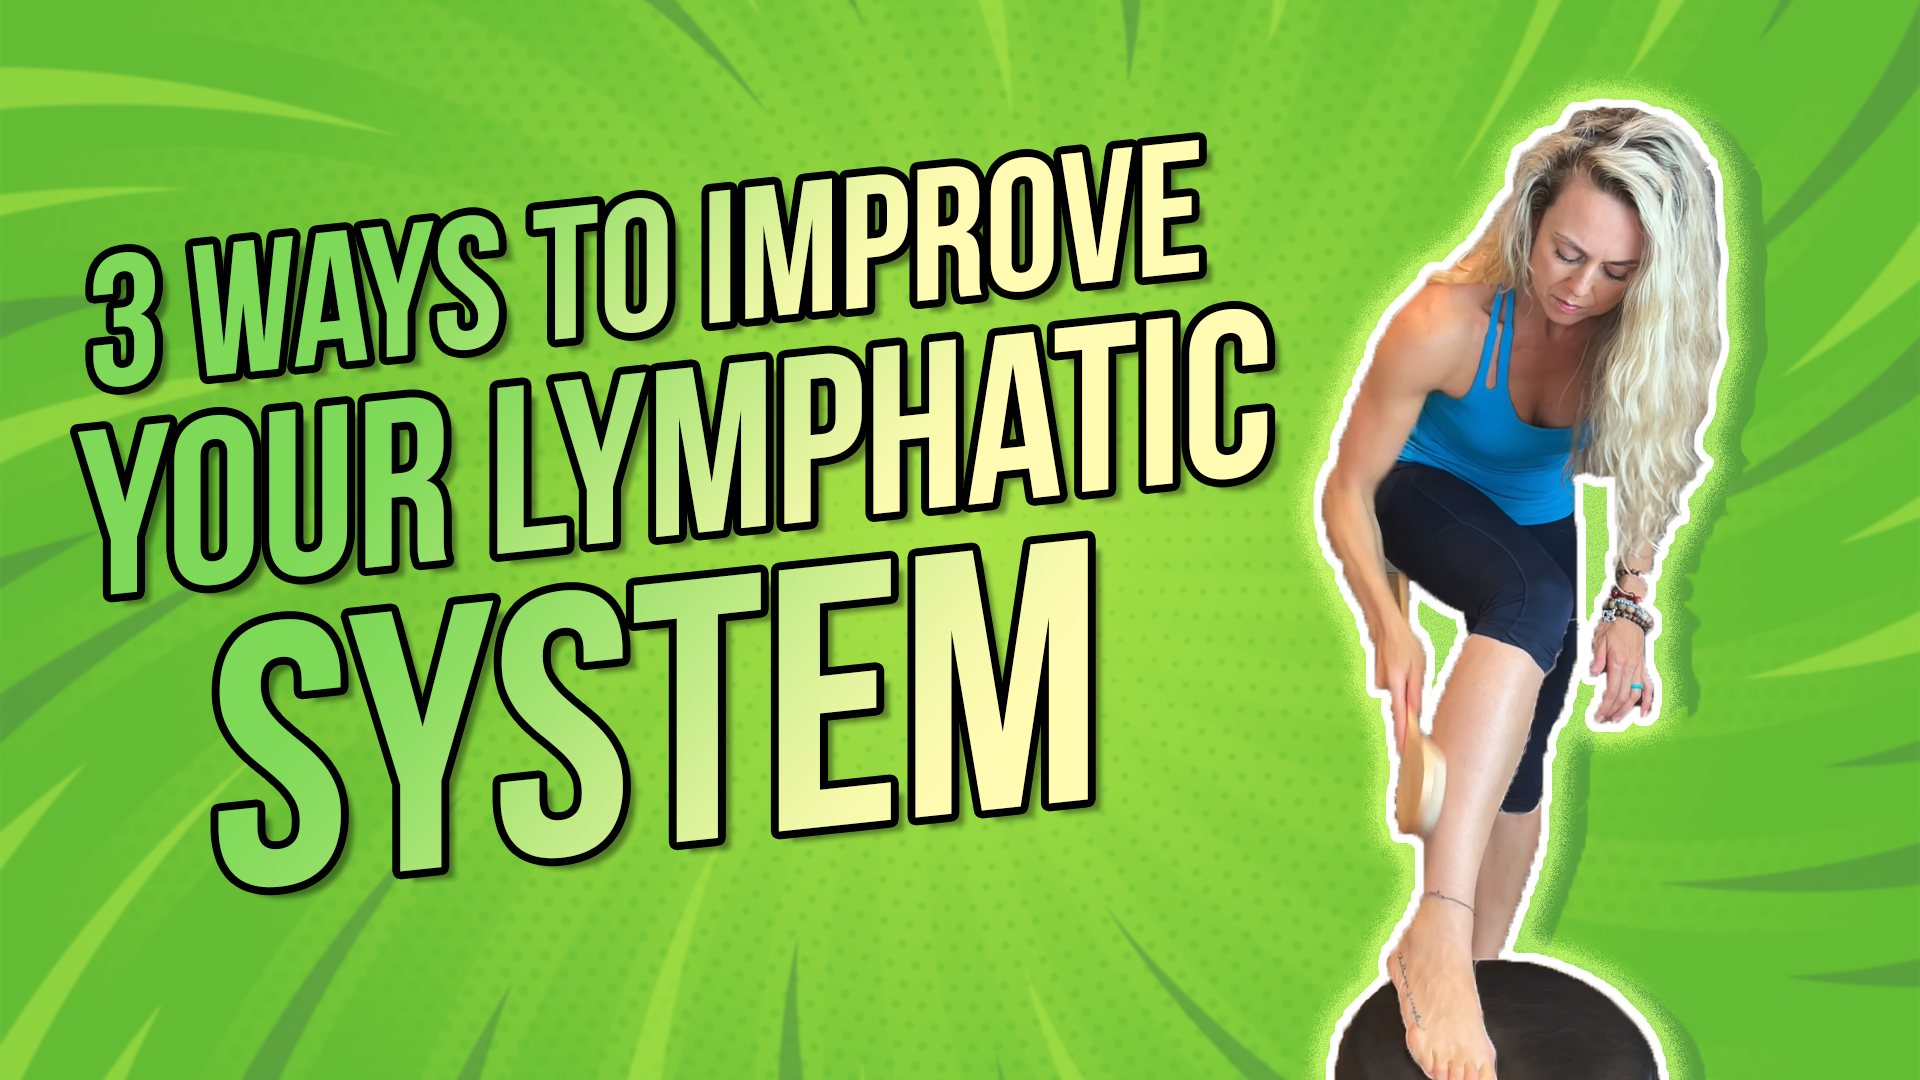
3 Ways To Improve Your Lymphatic System

Did you know that the lymphatic system is one of the most powerful, yet neglected systems in the body, and it is crucial to our immune health?

As we already know 90% of all chronic disease is linked to excessive or persistent inflammation. How do we get rid of inflammation? Primarily through our lymphatic system, as well as our other detoxification organs. These can include things like our liver, kidney, lungs, tongue, fat, skin, and more. 

Rather watch or listen than read?

Now let’s compare our lymphatic system to an aquarium. All of our bones, ligaments, joints, muscles, and organs are bathing inside of this lymph tissue. Let’s say that our lymph is the aquarium and if this aquarium happens to be unfiltered, toxic, and full of pathogens, then, unfortunately, all of those things within the lymph tissue are also going to be negatively affected. This means that we’re not getting the proper nutrients to our cells. That’s when we can have cell death and inflammation. This is what contributes to chronic disease.

So how is our lymph system negatively affected? First and foremost, our food and agricultural industry has changed dramatically since post-World War II. We have more GMOs, toxins, herbicides, pesticides, and we are constantly being bombarded with these things on a regular basis. That, in combination with the choices that we make and our lifestyle factors, such as eating a standard American diet, not exercising, and not getting enough sleep. All of these things can impact our lymphatic system. 

3 Ways To Improve Your Lymphatic System

Now let’s discuss three ways to improve your lymphatic system.

1) Diaphragmatic Breathing

 As we are diaphragmatically breathing, the diaphragm acts as a respiratory pump that pumps the lymph to the cisterna chyli, which is one of our major lymphatic ducts and drainage locations. This is located at the center of our abdomen. Breathing diaphragmatically 20,000 to 25,000 times a day is ideal. If you’re breathing more from your neck and shoulders, you can begin to slowly change your breathing pattern by starting with taking three nice slow diaphragmatic breaths every hour and building up to more.

2) Movement 

Movement is one of the key things that move our lymph. Sedentary lifestyles will be correlated with stagnant lymph. Think about every hour trying to get up, take a walk, move around, do some squats or push-ups, any type of mobility or stability work, or just any type of movement that you can do consistently. This is not sitting all day and then exercising for one hour. Instead, think of moving most hours of each day. 

3) Lymphatic Drainage

This can be a very powerful way to stimulate your lymphatic system. You’ll want to tiptoe the system and not go too fast too soon. You want to go slow with your lymphatic drainage and make sure you let your body adjust so that hopefully you can continue to progress.

How To Perform Lymphatic Drainage

To begin the lymph drainage, you will start by using a feather-light technique for five seconds, then faster deeper for five seconds, then tapping for three, and then pull in the direction of your heart for three. You want to start right above the left collarbone and then move to the right collarbone. Next, proceed to the following areas: pecs and axilla, abdomen, the inguinal area, inside the groin, behind the knee, and then inside the ankle. Make sure to always pull in the direction of your heart, and to always perform on both sides starting on the left side.

Face Lymph Drainage

The next progression is the face lymph drainage, which you will use a toothbrush. You will start with the left collarbone with the same technique of feather-light for five, faster deeper for five, tapping for three, and then pulling in the direction of the heart for three. Make sure to always start on the left side and perform on each side. After performing this above each collarbone, move to under the jaw, then lateral jaw, then next to the nasolabial lines, then the temple area, and then lastly the occipital area (you can just use your hands for this area). 

Dry Brushing Technique

The next progression is a dry brushing technique. You’ll start by clearing the left supraclavicular area. You can do this just by tapping. Then you’ll start with your feet and lower leg, brushing in long, slow strokes up towards the direction of your heart. Make sure to get behind the knee in that popliteal area and then move to the other leg. Once again, several strokes in each area.

Next move to the inguinal area moving up toward the direction of your heart. Then move to the abdomen, you can just do circles around your belly button. Next, move to the glutes and then to the low back. Next, move to the arms starting from the fingertips, and make sure you go through the axilla and pec area. Lastly, moving to the upper back. Once again make sure to perform on each side. You can do this right before your shower. 

Reach out for a 15-minute FREE discovery session to see how we can help you on your journey.

For more content, make sure to subscribe to our YouTube channel here.

Other things that may interest you:

Chew Your Food To Heal Your Gut

What do your gut bacteria do? | 10 Functions of Gut Bacteria | Microbiome

Vagus Nerve Hack | Hand Reflexology

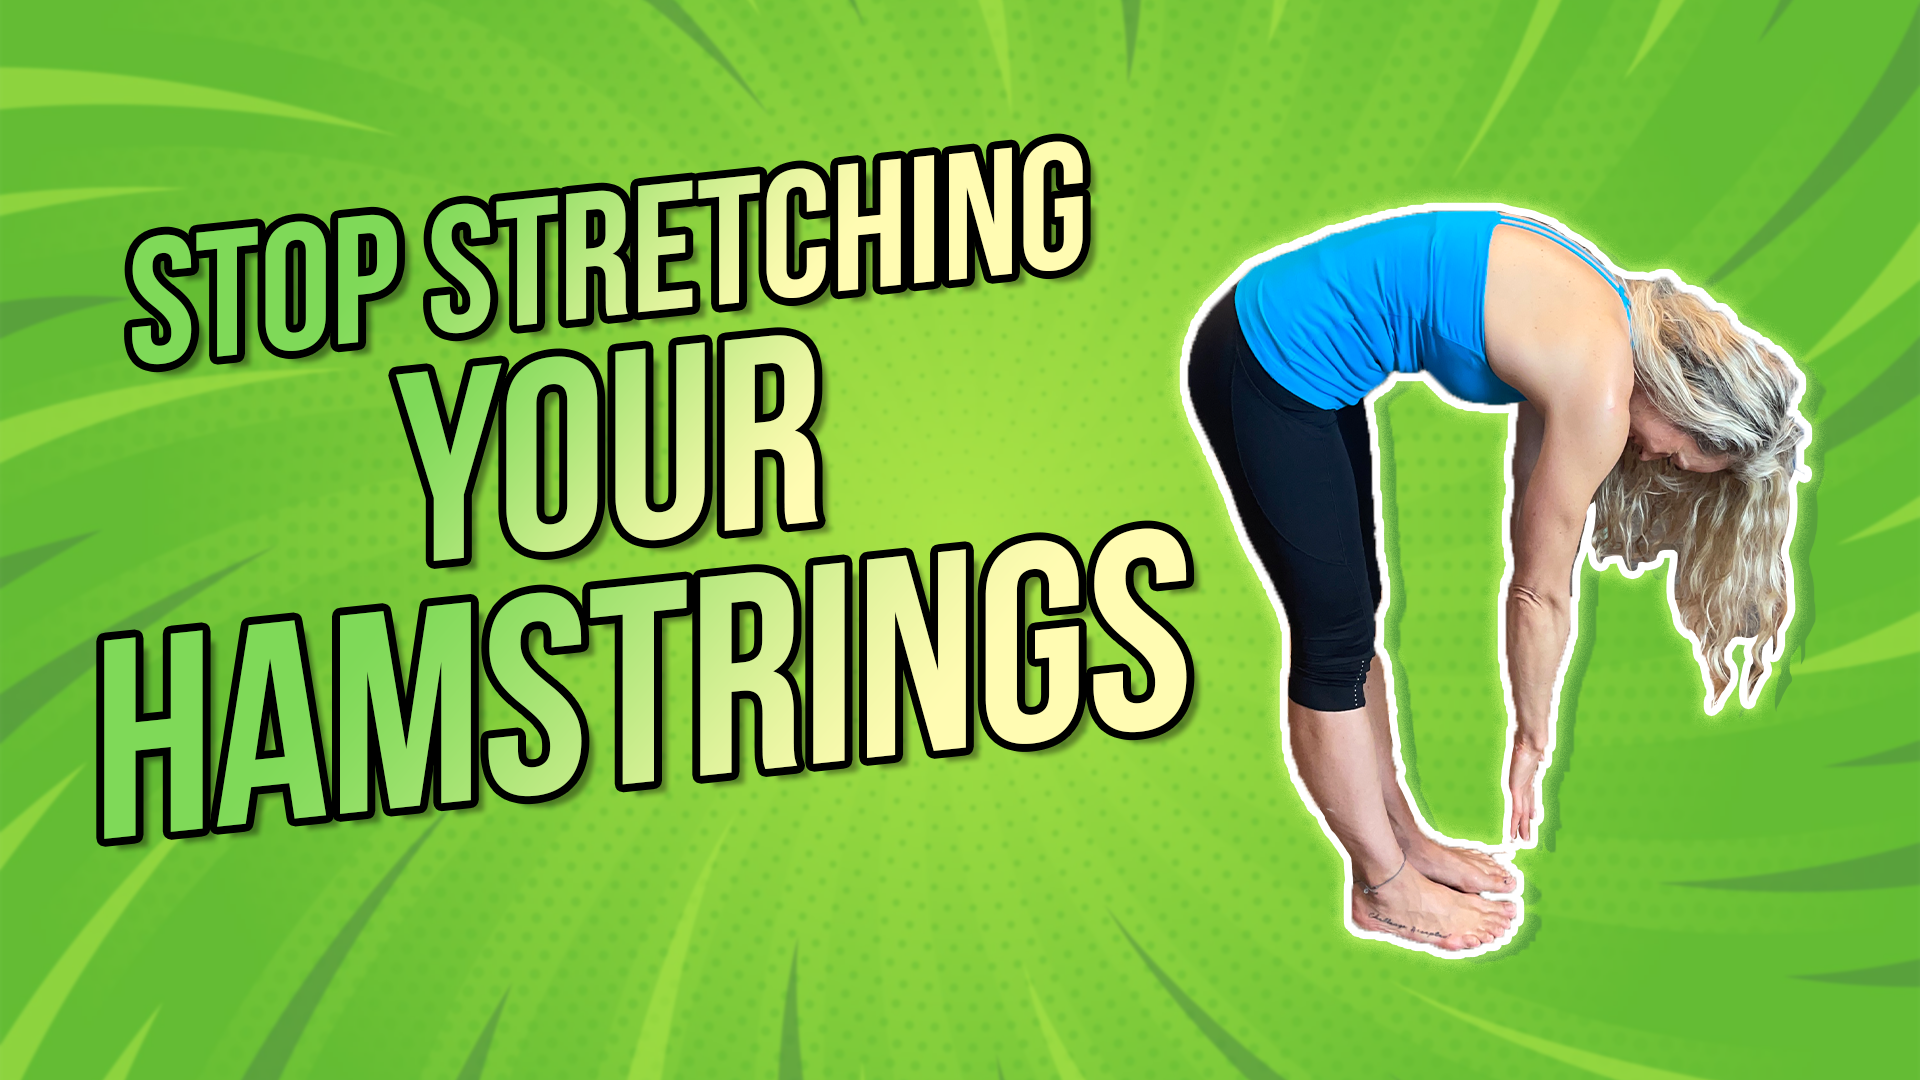
Stop Stretching Your Hamstrings

Have you been stretching the heck out of your hamstrings for years with no improvement?

Most people think that when we are stretching, we are lengthening the muscle. Unfortunately, that is not true. What we are doing is creating the neurophysiological response to convince our nervous system that we are safe in a new range.

Rather watch or listen than read?

What is actually happening when you stretch?

When we are stretching too far, especially in the case of hamstrings, you have proprioceptors in the muscle fibers that signal to the brain to tell it, “Hey, this is a vulnerable position.”

We also have a stretch reflex that functions as a protective mechanism that you’re going too far. So when you begin to have this pain, irritation, or a sense of discomfort when you’re stretching, that means that you are not making a change. We have to think about changing our nervous system, so let’s get into how to do that.

Let’s use the classic toe touch test as our example. When we are touching our toes and reaching down, what ideally happens is that the pelvis shifts backward which allows for a uniform curve in our spine.

Most people that can’t touch their toes will see all of their motion is coming from their spine and there is no motion coming from the pelvis. That means that they’re not getting a natural sequencing in flexion, or forward bending, pattern. To change that pattern, we have to think about how is the pelvis and trunk sequencing with the rest of the body.

One of the most basic things from a biomechanical standpoint is to look at the position of the pelvis. Ideally, in a neutral position, we have our rib cage stacked over top of our pelvis. If our pelvis is tilted forward, an anterior pelvic tilt, or it’s tilted backward a posterior tilt, this changes the length of our hamstrings.

Our hamstrings, just like any other muscles, contract, relax and lengthen. When they are in the lengthened position, it might present as a tightness but doesn’t mean they are tight, and in fact, might need to be strengthened.

Essentially when we have one of these pelvic positions, then that means that our deep intrinsic stabilizing system, our pelvic floor, diaphragm, and our deep stabilizers of our core are not sequencing well.

If they’re not doing their job, including the deep stabilizers of the hip, then our glutes can never really produce the appropriate amount of force. We have to have enough stability to be able to generate force through our glutes.

So what happens if we’re not using our glute and we’re not using our core properly? Then, the hamstrings present as tight because we’re having a global tightness or facilitation from our nervous system. Our nervous system is saying “Hey, I have to tighten up something to create some stiffness somewhere.”

So what can you do?

Reestablish your breathing and pelvic position. Using a diaphragmatic breath, breathing into the base of the abdomen, all the way into the pelvic floor, and getting that ribcage stacked over the pelvis. It is important to do this in a variety of different movements and patterns. Everything from standing, sitting, quadruped, and lying on the ground; establishing this and integrating it into all of your movements and activities.

Here are a few things that you could do, most importantly reestablishing new movement patterns, especially a posterior weight shift of the pelvis. Allowing for proper sequencing in the pelvis reinforces that your nervous system isn’t in protective mode all the time, using hamstring stiffness as a way to protect your body.

3 Exercises To Establish New Movement Pattern

Here are some exercises you can perform to help you establish this new movement pattern.

1. Rock on Forearms

To perform this exercise, place your elbows and knees wide on the ground. Inhale as you rock back, only bending from the hips and keeping the spine straight. Exhale as you return slightly over your shoulders.

2. Hip Hinge

For the hip hinge, place a dowel behind your back touching your pelvis, middle of your shoulder blades, and your head. Inhale as you go down, hinging in your hips backward and allowing the knees to bend softly. Exhale as you come up.

3. Toe Touch Progression

For the toe touch progression place a block between your thighs and start with your toes elevated. Inhale as you reach up, and exhale as you reach down to touch your toes. Then you’ll reverse the direction by putting your heels up on the board and toes down, and performing the same thing. This creates a natural posterior weight shift in the pelvis and activates the deep core.

Reach out for a 15-minute FREE discovery session to see how we can help you on your journey.

For more content, make sure to subscribe to our YouTube channel here.

Other things that may interest you:

5 Steps to Addressing SI Joint Pain | the Truth About SI

Why You Shouldn’t R.I.C.E

8 causes of LOW BACK PAIN that isn’t a weak core

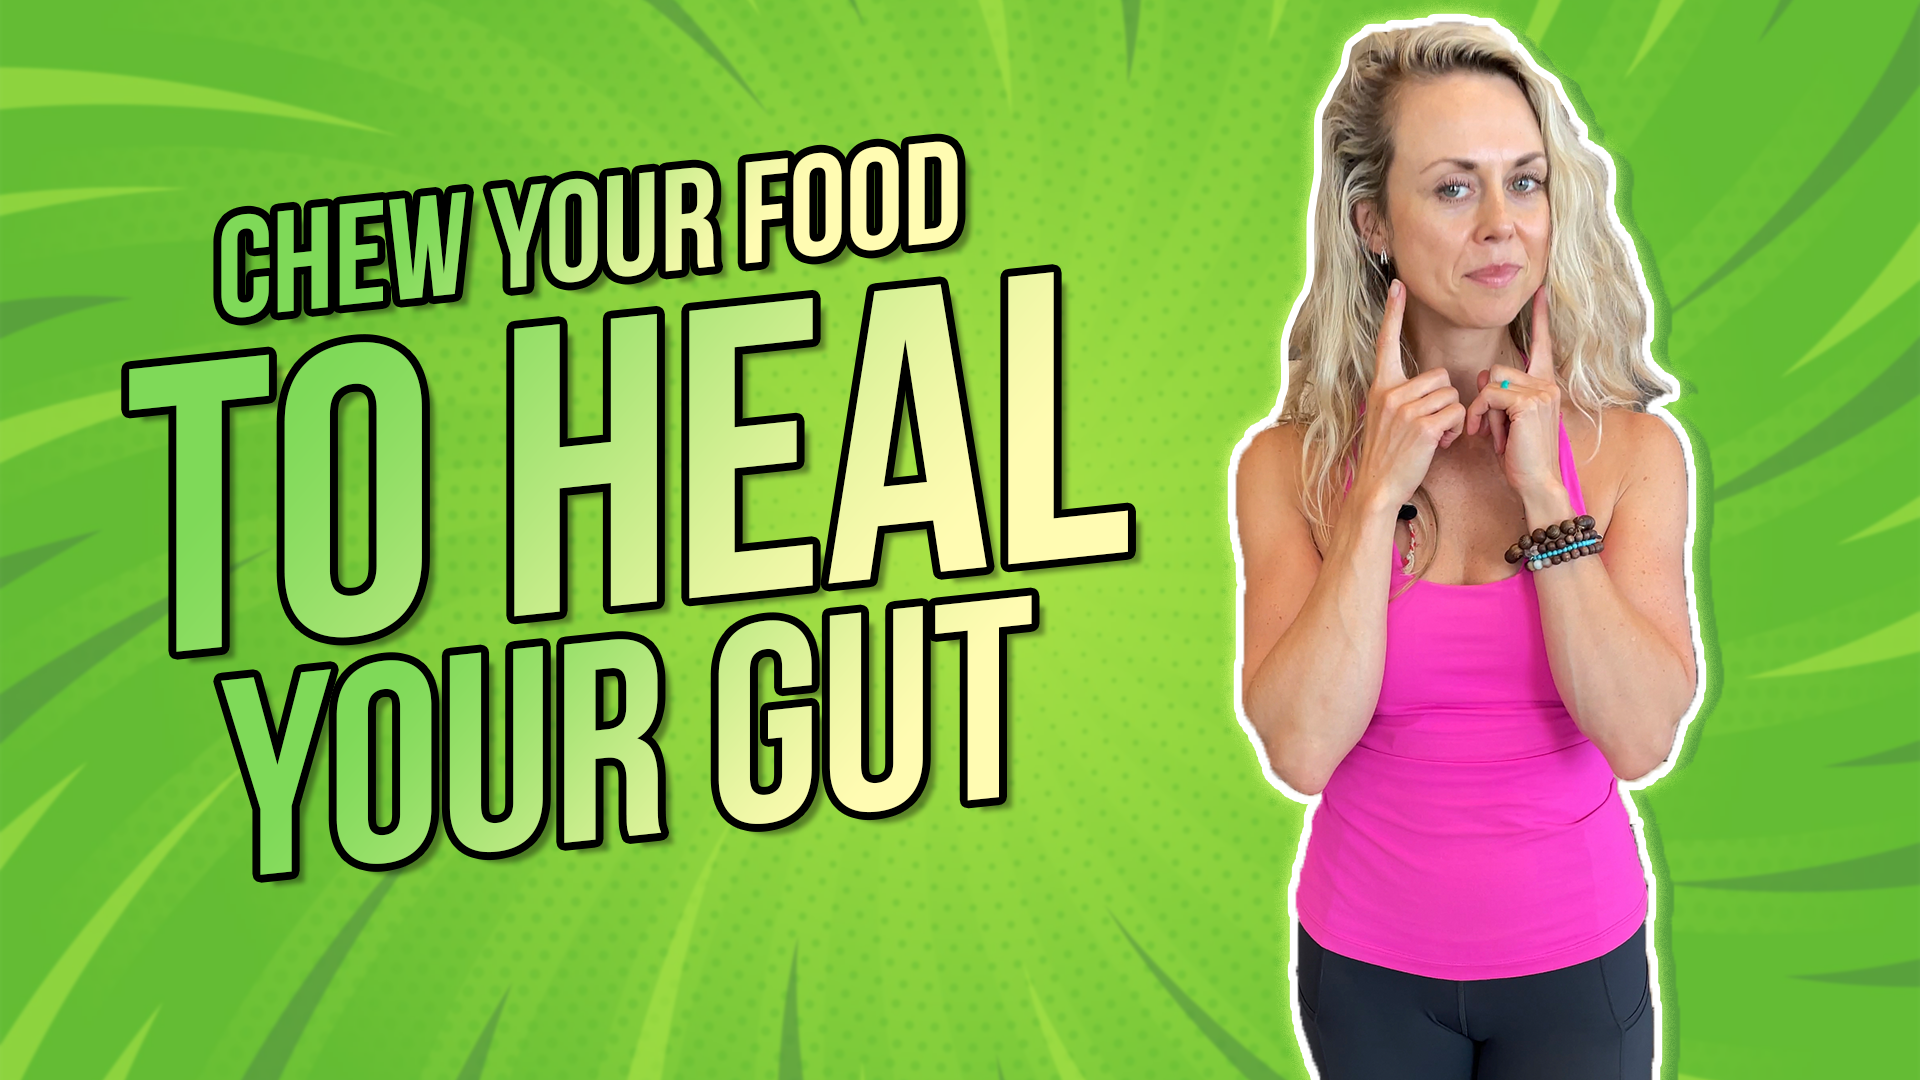
Chew Your Food To Heal Your Gut

Do you experience bloating, digestive issues, constipation, diarrhea, and/or just don’t feel right after a meal? Did you know how important chewing is in your digestive process and how it could help heal your gut?

In order for us to have proper digestion, we have to be in a parasympathetic state; think rest and digest. If we are in a fight or flight mode, for example, our blood flow is moving away from our digestive system.

Rather watch or listen than read?

Chewing is one of the things that actually helps calm the nervous system. That is one important aspect of why we want to chew our food very well before digesting it. The saliva that is produced in the salivary glands produces digestive enzymes, and these enzymes help break down the food in the mouth, and as it moves into the esophagus.

The first enzyme is called lingual lipase which helps break down our fats. The second is amylase which helps break down our starches. And the third is called lysozyme, which is an antibacterial enzyme. This is important for preventing dental cavities and other infections in the gums.

The more chewing that we do, the more salivary enzymes are released. This influences not only our autonomic nervous system because we need these specific cranial nerves for chewing and swallowing, but it’s also influencing the enteric nervous system, which is our gut. That is, in fact, its own nervous system.

So when this is happening, we’re getting an increase in smooth muscle contraction, intestinal secretions, the release of some of these enteric hormones, and dilation of blood vessels. It is very powerful when we begin the process of chewing thoroughly. 

5 Things You Can Do To Maximize Chewing

What are five different things you can do to maximize your chewing, and digestive process?

1) Breathe

Before you sit down to eat, try taking at least three diaphragmatic breaths. You want to think of calming your nervous system, bringing blood flow to this area, and bringing yourself to this parasympathetic state so that you can enhance your digestive process. 

2) Allow for at Least 30 Minutes of Meal Time

Give yourself plenty of time to be able to sit down, eat your meal, and enjoy the experience rather than rushing your meal. This will also prevent you from overeating because you’re giving your body enough time to tell the brain that you are full. 

3) Non-judgement

This is a mindfulness practice, but it’s also important for digestion. When we’re judging ourselves, our food, and the environment, unfortunately, we are typically not totally present, and we’re not being mindful of our food. That often takes us out of that parasympathetic state. So, encouraging a positive eating experience lends itself to optimal digestion. 

4) Avoid Water Before Meals

Drinking water before meals can dilute the stomach acids, so it optimizes our natural enzymatic activity. 

5) Chew 20-30 Times

Chew your food at least 20 to 30 times. In our Ayurvedic medicine, chewing at least 30 times has been extremely beneficial.

 If you’re thinking about healing your gut, start with chewing your food.

Reach out for a 15-minute FREE discovery session to see how we can help you on your journey.

For more content, make sure to subscribe to our YouTube channel here.

Other things that may interest you:

Is your anxiety or depression coming from your gut?

Why You Shouldn’t R.I.C.E

THE TRUTH ABOUT COLLAGEN | What does the research say?

Vagus Nerve Hack | Hand Reflexology

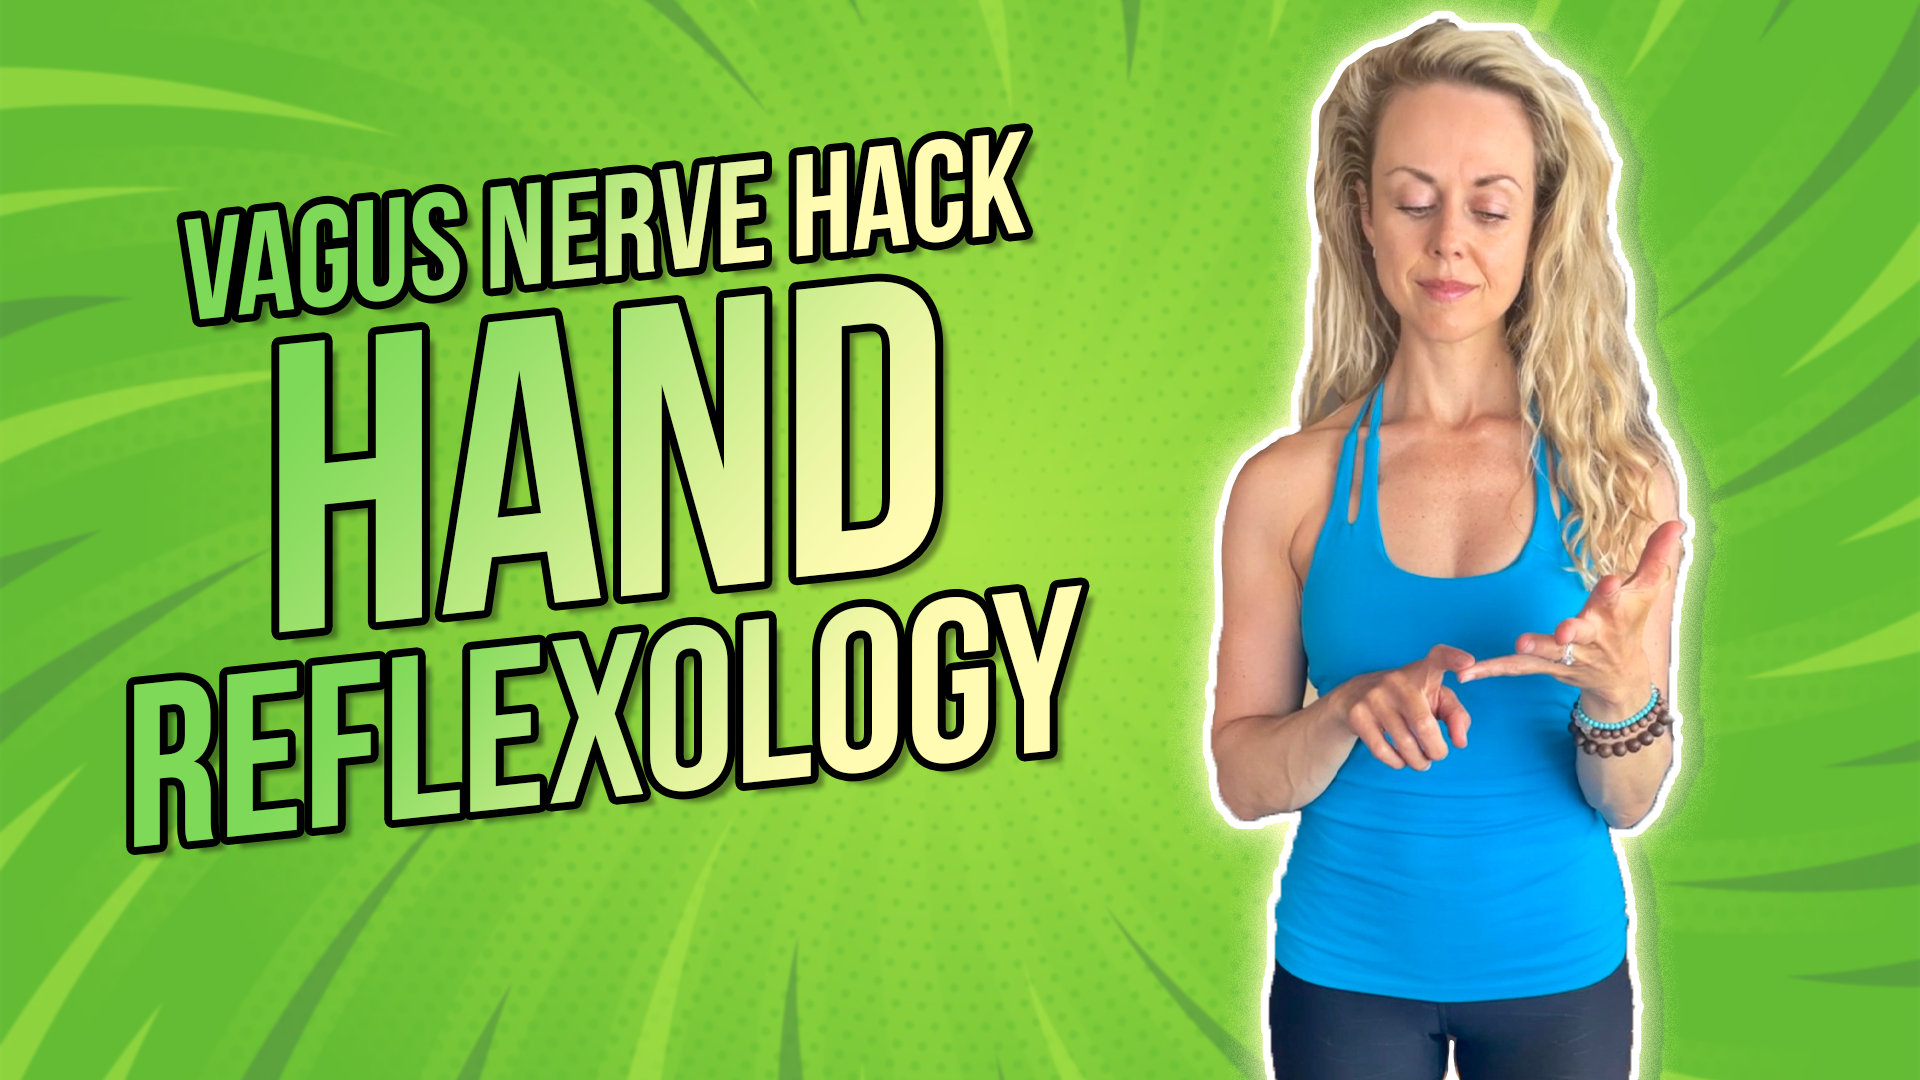
Research has shown that reflexology directly stimulates the parasympathetic nervous system. Eighty percent of our parasympathetic nervous system is our vagus nerve, so it can help with heart rate, digestion, and overall relaxation.

Reflexology is based on the Chinese medicine belief in Qi which is our vital energy. Qi flows through our bodies differently, but when we are stressed, it tends to be blocked, and it can be blocked in certain areas of the body.

In Chinese medicine, different parts of our body correlate with different specific reflexology or pressure points. The vagus nerve point for your hand is right inside of the pinky, for example. This is great because it’s so accessible during the course of your day.

Rather watch or listen than read?

How can you stimulate the vagus nerve via this hand reflexology point?

Place pressure on the inside of your 5th finger, your pinky. Start with a sustained pressure for approximately 30 to 60 seconds.

After that, make small circles in that area, while keeping pressure on the skin.

Lastly, you can use feather-light strokes back and forth. You can perform this for 30 to 60 seconds.

You might notice that as you’re doing this, you may experience some form of relaxation. This could be a yawn, sigh, swallow, or simply a sense of calmness.

Just like all of the other hacks that we have spoken about thus far, this is yet another simple way for you to regulate your nervous system during the day. Anytime you’re feeling stressed, you can easily do one of these three techniques, or all of them, to create a relaxation response. If this was helpful, please make sure to incorporate it into your lifestyle.

Reach out for a 15-minute FREE discovery session to see how we can help you on your journey.

For more content, make sure to subscribe to our YouTube channel here.

Other things that may interest you:

Why You Shouldn’t R.I.C.E

Vagus Nerve Hack | Pelvic Floor Release

Vagus Nerve Hack | Valsava Maneuver