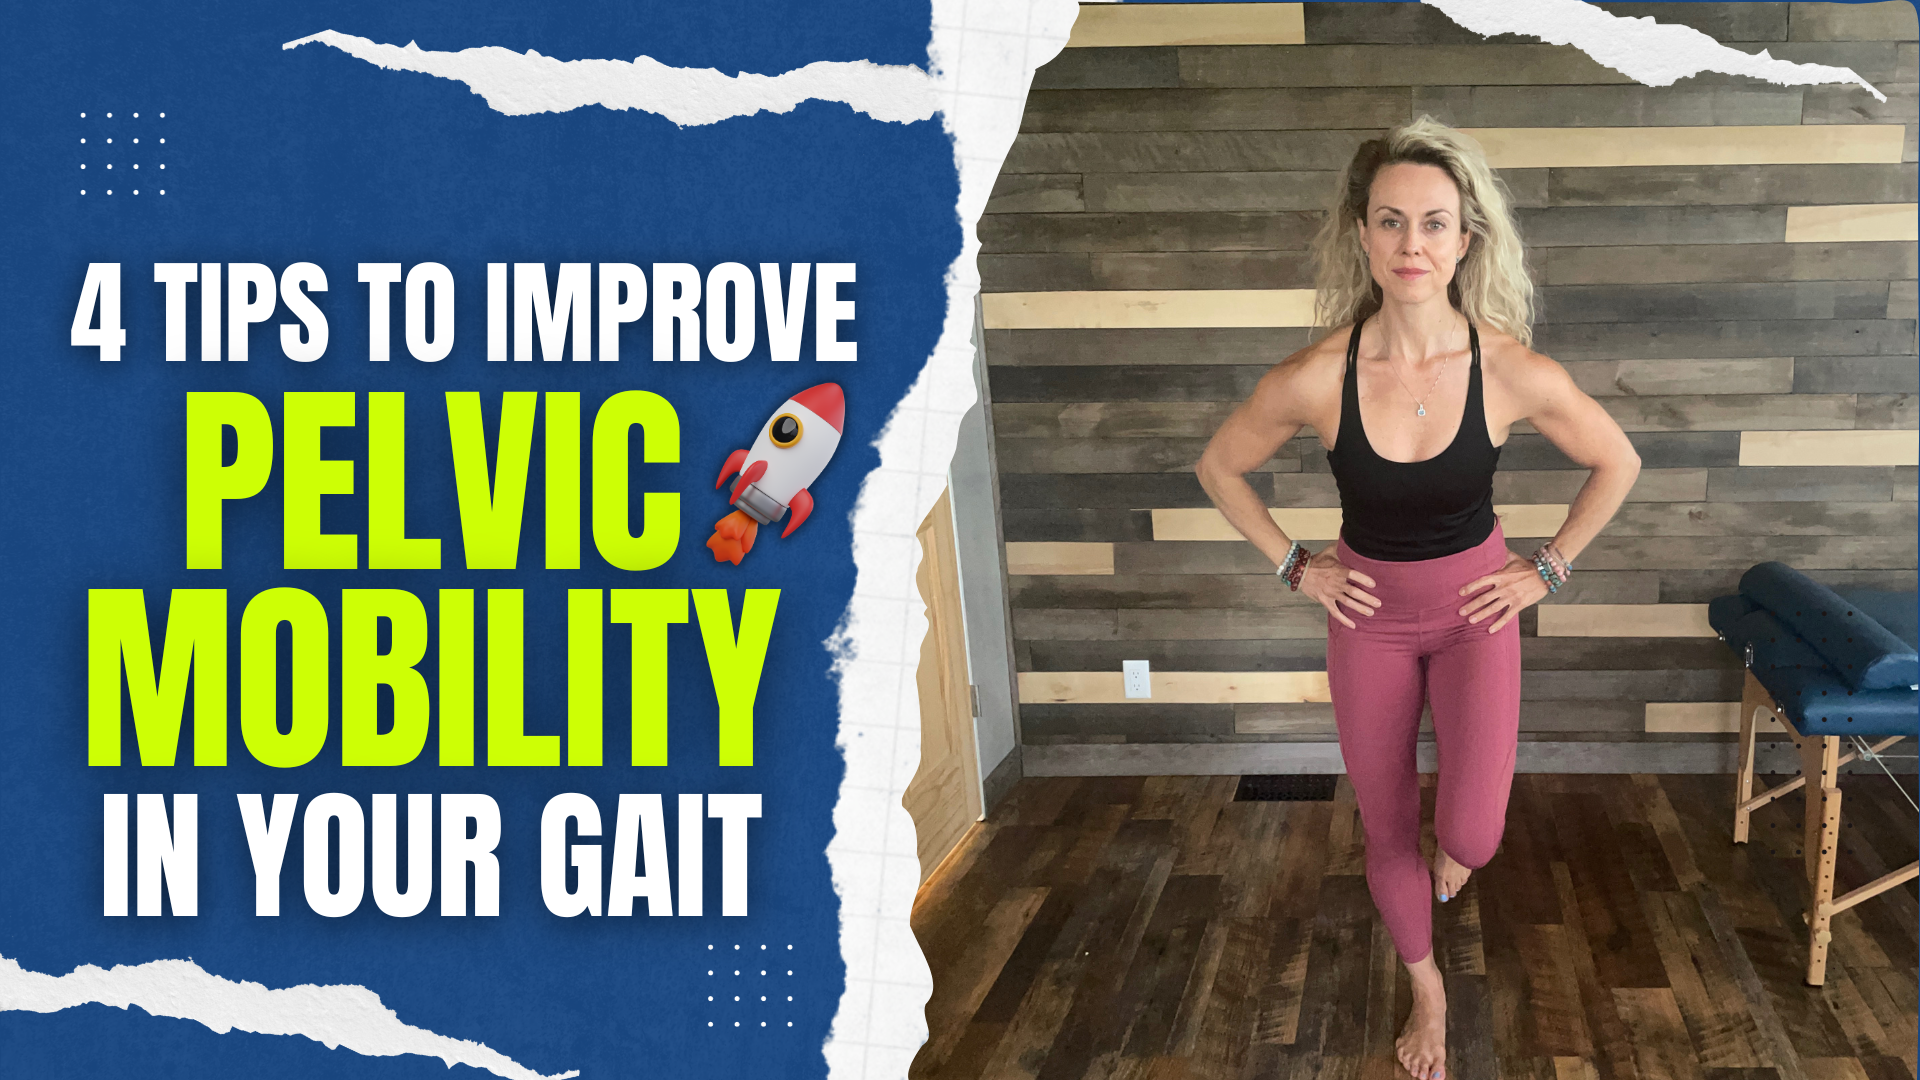
4 ways to improve pelvic mobility in your gait

Are you experiencing hip pain, back pain, or even knee pain when walking or engaging in other dynamic activities such as climbing stairs or running? Do you find yourself constantly searching for the perfect shoe or feeling like something just isn’t quite right? Your gait is one of the most powerful assessments of movement efficiency, revealing how you interact with the ground. The way you absorb impact and utilize it as energy is profound. 

Today, we’re going to delve into the topic of pelvic mobility and how it influences your gait cycle. We’ll also explore some exercises that can help you improve your walking, dynamic movements, and even running if that’s something you’re interested in.

Rather watch or listen? 

What you need to know about pelvic mobility

When walking, we encounter 1.5 times our body weight in force. When running, we encounter up to three to four times our body weight in force. And when we’re jumping, it could be up to eight times our body weight in force. That means that we have to be efficient about how we interact with the ground.

After doing probably thousands of gait assessments at this point, I’ve realized that there are some common themes, and one of them is something that is often ignored: pelvic mobility

We’re always thinking about what we need to stretch or what we need to strengthen. But we also want to consider how the pelvis moves in our gait cycle. We actually need proper rotation of the pelvis, side bending of the pelvis, and forward and backward motion. Any excessive movement or limitations in these aspects can affect our stride length, how we interact with the ground, and the impact force coming through our body.

So, although there are many things to talk about with gait, we’re going to zero in on pelvic mobility today. For example, Kim et al. showed that in chronic stroke patients, an anterior pelvic tilt, which is when your pelvis is forwardly tipped, affects balance and symmetry. These simple factors can have a significant impact on our overall function.

Ways to improve your pelvic mobility

1. Pelvic mobility from the floor

Place your hands on your hips and forward bend, tipping your pelvis forward and arching your back. Then, bend the pelvis backwards, flattening your back to the floor. Repeat this motion a few times, initially assessing if you feel any discomfort, if the motion is smooth, or if there’s any shaking. Notice if it feels limited in one direction more than the other.

Next, move into side bending. From here, bend your hip toward your shoulder, then return to the center. This can serve as both an assessment and an exercise. When using it as an exercise, focus on your breath. Inhale and exhale as you flatten your back in the forward backward bending, and if you’re doing the side bending, inhale deeply with a diaphragmatic breath and exhale as you go into a side bend. Once again, observe if there’s symmetry between the sides or if one side feels painful or crampy. All of these observations are essential.

2. Table position

Come up into a table position, and you’ll perform the same exercises from here. Focus on initiating the movement from the pelvis, not the upper back. As you go into the forward bend, tilt the pelvis forward, and as you go into the backward bend, tilt the pelvis backward. Coordinate this movement with your breath. Inhale as you tilt the pelvis forward, allowing the abdomen to expand. Exhale as you tilt the pelvis backward.

When moving into the side bend, think of it as “wagging the tail.” Breathe in, and then exhale as you perform the side bend. Pay attention to whether there’s symmetry on both sides or if it feels restricted. All of these observations are essential for how you would perform the exercises.

3. Pelvic rotation in table 

From table position, straighten one leg and rotate the pelvis toward the stable leg on the ground. Take a breath in, and then exhale as you drop your pelvis into this hip, and then bringing it back up to neutral. Inhale, and return to neutral. This exercise is really helpful for working on rotating the pelvis into a stable leg.

4. Airplane exercise

This exercise focuses on maintaining a stable hip while moving the pelvis toward the stable leg. Stand on your right leg and position your left leg as a kickstand. You can start with a breath in as you rotate your pelvis into your right leg and exhale as you bring it back to neutral. You can also progress this to single leg (no kickstand). Inhale and exhale as you return to a neutral position. This is a challenging exercise, and I recommend mastering the others first before advancing to this one.

All of these exercises can be powerful in improving your gait and how you interact with the ground. I recommend performing them in order, ensuring you can do the first-level exercises before moving on to the standing ones. Of course, you can integrate these into a comprehensive program that includes strength, stability, and mobility exercises. This can significantly impact your overall gait.  

If you found this information helpful, please like, share, and subscribe to our YouTube channel, The Movement Paradigm®, for weekly tips on mindset, nutrition, and movement. If you want to join our app and join our community, please make sure to check out the Movement Paradigm app on Google or Apple. Get a 7-day FREE trial!

If you’d like to learn more about how we can assist you on your journey, please don’t hesitate to reach out for a discovery session. We look forward to helping you on your path to wellness.

Other things that might interest you:
3 Stages of Stress

Ever wondered why stress affects us the way it does? Dive into the intriguing world of the three stages of stress, where we unravel the science of your body’s HPA Axis and sympathetic nervous system activation. Discover these stages, learn how to identify them, and equip yourself with the tools to treat stress effectively.

Rather watch or listen? 

How Stress Affects Our Body

Let’s start by discussing how stress affects our body. Stress can be categorized as both good and bad. Good stress, known as eustress, can be related to physical exercise or the excitement of an upcoming event, for example. Eustress plays a vital role in our performance, but today, we will focus on the three stages of stress and how acute stress can transform into chronic stress, impacting our bodies.

The HPA axis, short for the hypothalamic-pituitary-adrenal axis, is the body’s stress pathway. When we encounter a psychological or physical stressor, our limbic system, the brain’s emotional center, detects a potential threat. This sets off a series of events, with signals sent from the limbic system to the pituitary gland in the brain, which, in turn, signals the hypothalamus. The hypothalamus then prompts the pituitary gland to communicate with the adrenal glands.

The adrenal glands respond by releasing cortisol. If this stress continues for an extended period, it can lead to a persistent activation of the HPA axis. It’s crucial to understand that when the HPA axis is activated, it triggers the sympathetic nervous system, putting us in a fight-or-flight mode for survival.

When the sympathetic nervous system is upregulated, or the parasympathetic nervous system is downregulated, it’s like having the gas pedal pressed down continuously. The longer the HPA axis remains activated, the more our sympathetic nervous system stays in overdrive.

In 1963, Hans Selye pioneered understanding physiological responses to stress, a concept known as General Adaptation Syndrome.

Stages of Stress

Stage 1 – Arousal

Let’s examine a typical cortisol rhythm. Around 6 a.m. to 8 a.m., we experience the highest peak of cortisol, which gradually decreases as the day progresses, particularly as bedtime approaches when melatonin takes over.

In a stage one arousal state of stress, both cortisol and DHEA levels are elevated. DHEA is a crucial hormone associated with vitality, often called the “anti-aging hormone.” Initially, this response is entirely normal, resulting in episodic increases in both hormones followed by a return to baseline. Typically, in this state, you may not experience any symptoms, but you are stimulated, and there is a rapid release of catecholamines. This is essentially a natural and expected response.

This scenario applies when we encounter episodic stress throughout our day or life. The HPA axis and sympathetic nervous system become activated temporarily, but we ultimately return to our resilient baseline state. Everything remains well within the normal range.

Stage 2 – Adaptation

Now, this is where we are adapting to a higher cortisol point. This can manifest as elevated cortisol points at various times throughout the day or even persistently high cortisol levels, particularly in the morning. It’s not uncommon to wake up at two or three o’clock in the morning due to cortisol peaking prematurely.

In this situation, cortisol remains chronically elevated while DHEA levels start to decrease. This is when you might experience stress-related symptoms such as panic attacks, anxiety, depression, or feeling both tired and wired simultaneously. Instead of winding down for sleep at night, you find yourself with the energy to keep reading, cleaning, or tackling various tasks despite feeling tired.

Stage 3 – Exhaustion

So, think of it this way: if your adrenals have been pumping out cortisol for so long, then at some point, your body’s natural homeostasis is affected. At this point, cortisol is now low, and DHEA is low.

Various things typically occur in this stage, but you are likely to experience significant chronic fatigue. You’ll also notice more depression than anxiety, although anxiety can still be a significant part of it. Low blood sugar and glucose dysregulation are common patterns here.

When looking at a cortisol graph, there will be at least two to four points that are low on the cortisol rhythm. Normally, it starts up around 6:00 a.m. and gradually decreases throughout the day. However, in this case, multiple points are low. This can lead to symptoms such as fibromyalgia, dizziness, brain fog, inflammation, allergies, and even early menopause, which is another sign of stage three stress.

Other common symptoms are cravings for salty food, dizziness, and easy bruising.

Understanding the Stage of Stress You Are In

So, as you can see, each stage is very unique in its presentation. Some individuals may present with signs of stage two or stage three, which is common. However, I believe the first step I recommend is to try to better understand where you are. Simply identifying your stage is an excellent starting point for healing your body, and knowing that you can do it is important.

Your body is designed to heal itself, so when you start providing it with the things it needs and desires, you can significantly impact your health.

Tips for Overcoming Stress

Here are a few important tips, regardless of your stage. What stage are you in right now? Simply identifying it and understanding stress a little more is a great starting point. 

Tip #1 – Focus on Your Nutrition

Focus on your nutrition! Especially if you are in stage three of stress, where you’re experiencing a lot of blood sugar dysregulation and low blood sugar in general, this is an area that you can really begin to eat every three to four hours. I would not recommend fasting in this situation. Instead, concentrate on balanced meals that include protein, healthy fats, and fiber sources, and consistently consume whole foods throughout the day. 

Even if you find yourself in a slight caloric surplus, it’s important to note that most people I encounter are actually in a caloric deficit, which can contribute to more stress on the body.

So, keep in mind that the focus here is on whole foods and consistently eating high-quality nutrients. This approach aligns with my next suggestion: to ensure you’re replenishing nutrients. If you’re consuming very few calories or fasting, all of these practices can deplete your body with the essential nutrients needed for a healthy nervous system and stress mitigation, making you more resilient.

Therefore, emphasizing the intake of optimal nutrients and whole meals is a crucial step in managing stress.

Tip #2 – Nervous System Regulation

If you’ve read any of my blogs, you can see lots of different examples of this, but this can start with simply moving your body. This can be any type of breath work, movement, authentic movement, somatics, and vagus nerve exercises I have provided you. It could be anything to consistently regulate your nervous system in a healthy way. What are your triggers, and what things really are fulfilling you?

Tip #3 – Optimizing Sleep

I’ve written a few blogs on sleep, but here are some ideas: First, you want to think about down-regulating your nervous system to be able to go to sleep. Have a ritual before you go to bed. Wear blue light blockers if you’re using your phone, TV, or tablet because, in this case, it’s actually signaling to the receptors in your retina that it is morning time. 

When you wake up, your ritual is even more important. You want to ideally try to get morning sunlight within the first 20 minutes of waking up. If that’s not possible, you can use a SAD light. It’s not as good as the sun, but it is a good backup plan so that there’s at least something in place that will help to increase your natural cortisol in the morning, and it will also help with the evening melatonin production. 

So, consider everything you can do to optimize sleep.

Tip #4 – Supplementation

With this, the biggest take-home that I want to give you here is within each stage of stress, there are many different options. This will depend on your medical history, the stage of stress you’re in, and the types of things you are sensitive to—have you tried herbs, botanicals, or adaptogens? Have you had an issue with them in the past? There are so many variables. The first step is nutraceuticals, i.e., getting the nutrients that you are not getting through food.

Beyond that, you can get more specific in looking at different adaptogens that might be appropriate for your level of stress. For example, Ashwagandha is appropriate for all three levels of stress. That may not necessarily be the right thing for you, however. You do want to check with your doctor, functional medicine provider, or dietitian to ensure it is. 

There are so many things you can do to begin to pave the way for a more resilient nervous system, a healthy body, and a healthy mind.

If you found this information helpful, please like, share, and subscribe to our YouTube channel, The Movement Paradigm®, for weekly tips on mindset, nutrition, and movement. If you want to join our app and join our community, please make sure to check out the Movement Paradigm app on Google or Apple.

To learn more about how we can assist you on your journey, please don’t hesitate to reach out for a discovery session. We look forward to helping you on your path to wellness.

Other things that might interest you:
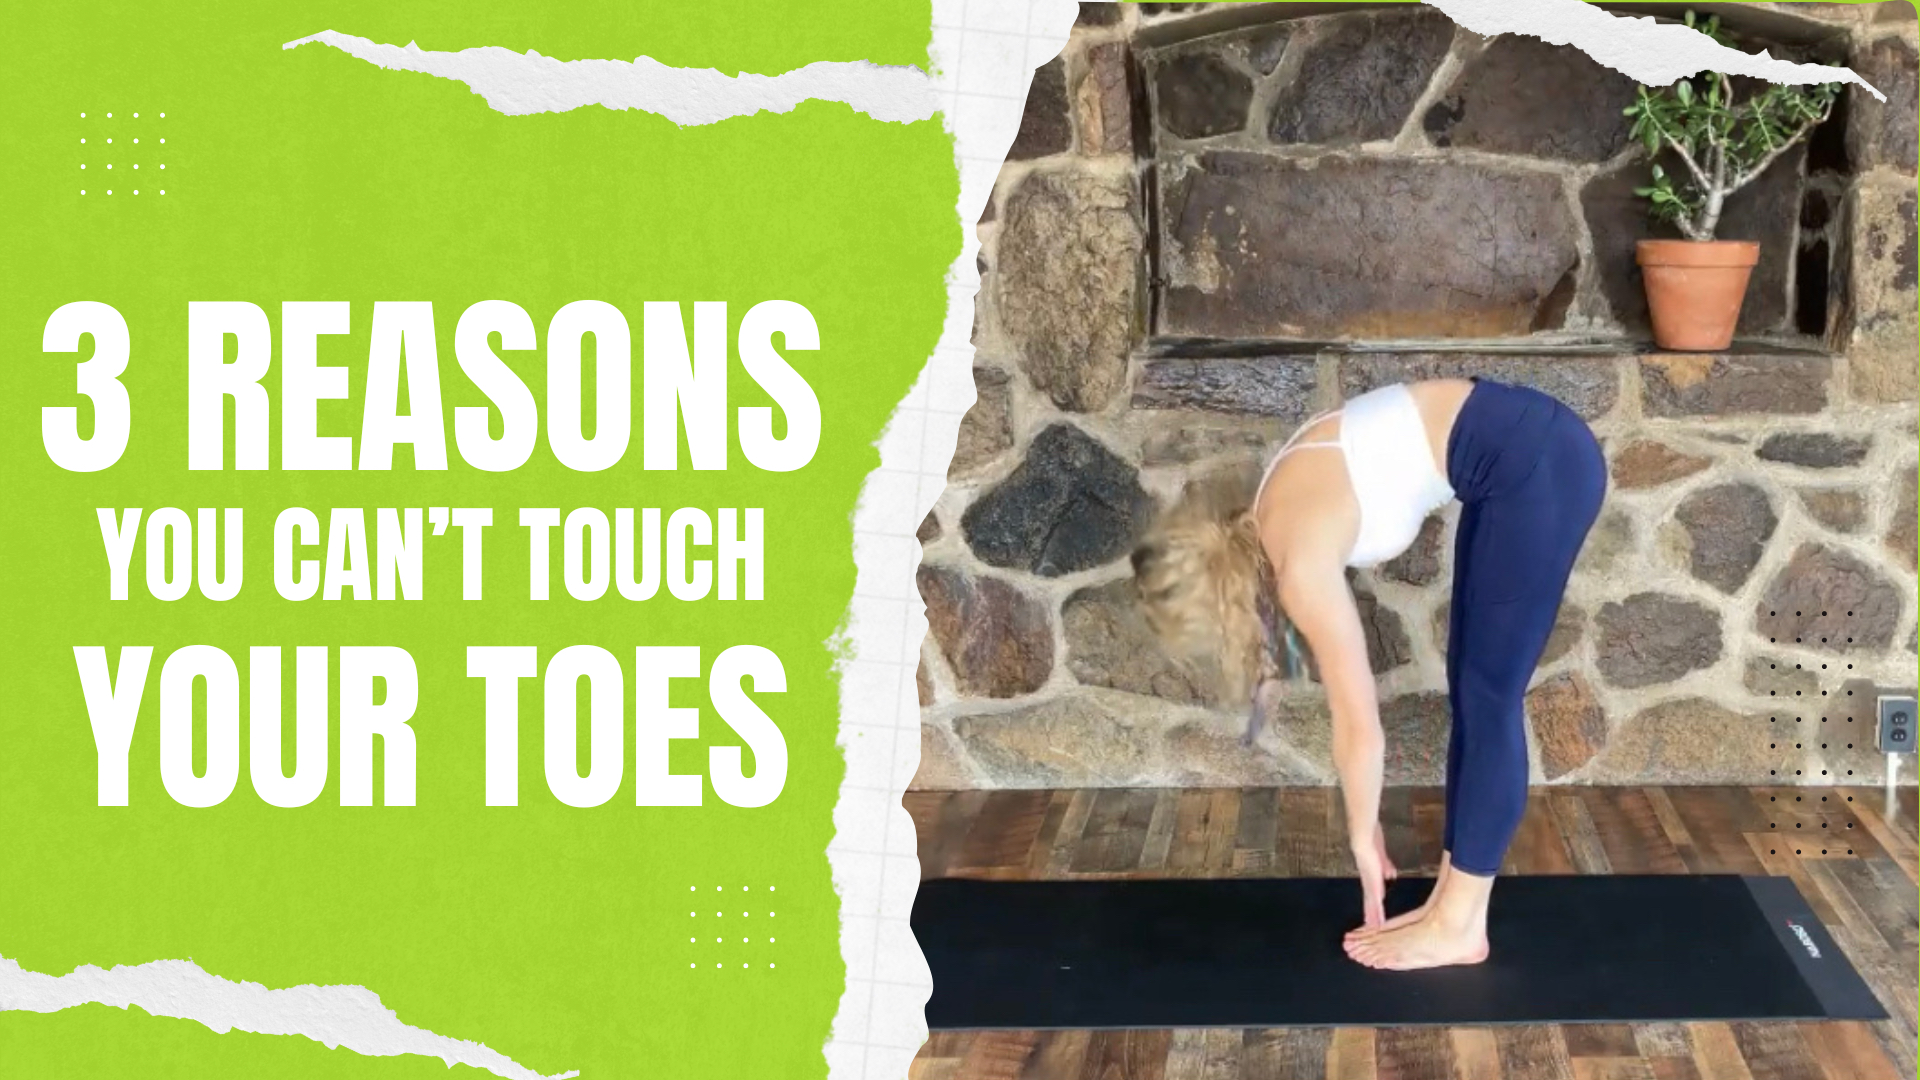
3 Reasons You Have Tight Hamstrings

Today, we are going to discuss three different reasons why you might have tight hamstrings. Whether it’s you or someone you know, tight hamstrings are a common issue. I’ve worked with many patients and clients over the decades, and it’s essential to understand the underlying causes.

Rather watch or listen? 

At this point, I’ve encountered numerous cases of tight hamstrings. However, the reasons behind tight hamstrings can vary significantly from one person to another. The three key factors we’ll explore are:

3 Reasons You Might Have Tight Hamstrings

1. Mechanical Tension

When we think of mechanical tension, imagine our body’s tissues as elastic, like a spring. 

Our fascial tissue, which envelops our muscles and organs, is responsible for maintaining elasticity and tension. However, various factors such as muscle imbalances, compensations, injuries, or conditions like torn hamstrings and tendinopathies can disrupt this tissue’s integrity. This disruption can lead to mechanical tension, including fibrosis, where the tissue loses its elasticity due to change. Emotional trauma can also have its impact on this over time. 

To address this, consider techniques like self-myofascial release, using balls or foam rolls to enhance tissue elasticity.

2. Neurological Tightness

Neurological tightness involves an increased neural drive to the hamstrings or the body’s posterior chain, back of the body. This can manifest as shaking when attempting movements like touching your toes or pulling your hamstring back. In such cases, the neural “volume” is dialed up, and we need to focus on inhibiting it, essentially turning down the volume. 

Neurological tightness can also be related to nerve tension, often stemming from conditions like sciatica. Reprogramming this requires specific exercises, such as leg lifts against a wall, gradually reducing the feeling of increased pulling behind the knee while promoting a comfortable stretch. Then, engaging the core and creating tension in the body further aids in reprogramming the nervous system while actively pulling the leg away from the wall. 

3. Stability Motor Control Dysfunction

Stability motor control dysfunction occurs when there’s a lack of coordination, timing, or sequencing in the core and pelvis, making it challenging to perform certain movements, like touching your toes. Even if there’s no significant tissue tightness, this dysfunction can mimic the symptoms of neurological tightness or even mechanical tension.

An effective remedy is to introduce stability and improved sequencing. For instance, try placing a block between your knees and elevating or lowering your toes while reaching down to touch them. This simple adjustment changes weight distribution and core activation, often leading to quick improvements.

Key Takeaways

It may be challenging to self-assess these issues, but consider your history, any past injuries or trauma to your legs, and how your hamstring tissue feels overall. Additionally, assess how quickly you can change your movement pattern when activating your core, as this might indicate a stability motor control issue. If you experience increased shaking and poor control, it could be related to neurological tightness.

In conclusion, not all tight toe touches are the same. Each case should be addressed uniquely, as optimizing this fundamental movement pattern is crucial for overall function and performance in daily life.

If you found this information helpful, please like, share, and subscribe to our YouTube channel, The Movement Paradigm®, for weekly tips on mindset, nutrition, and movement. Explore our other resources for in-depth insights into core function, hip mobility, pelvic floor health, and more to better understand your body and how to optimize it.

If you’d like to learn more about how we can assist you on your journey, please don’t hesitate to reach out for a discovery session. We look forward to helping you on your path to wellness.

Other things that might interest you:
Recipe for success: 7 ways to improve your gut and mental well being

Are you ready to embark on a transformative journey towards optimal well-being? If you’re eager to feel your absolute best, you’re in the right place! In this blog post, we’re about to unveil seven incredibly effective strategies to improve your gut and mental well-being.

From dietary advice to physical activities, consider this your comprehensive guide to achieving a healthier, happier you! So, let’s dive right in and explore the recipe for success when it comes to nurturing your gut and your mind.

Rather watch or listen? 

The gut-brain connection

Now, many of you have heard me speak about this before, which is how powerful the gut-brain connection really is. What we are fueling our body with, what we’re putting in day in and day out, is directly affecting our brain, thoughts, emotions, and the ability to regulate our nervous system. It is directly affecting our gut. 

This beautiful relationship is something that we can optimize through some of our daily habits, our choices, and recognizing what are the things that are going to help our overall emotional, mental, and physical well-being.

7 ways to improve your gut and mental well being

1. Optimizing digestion

Consider taking three diaphragmatic breaths right before you eat. This is because when we bring blood flow to the autonomic nervous system and the digestive tract during our meals, we optimize our digestive capabilities.

If you’re multitasking, like looking at your computer, checking our phone, or while eating, this increases cortisol levels and diverts blood flow away from the digestive tract, slowing down our digestive process. So, if we can take at least three breaths before we eat, or even more, we bring ourselves to a parasympathetic state, promoting ‘rest and digest.’

In addition to that, chewing your food 20 to 30 times can significantly help with the mechanical breakdown of food. This process begins in our mouth, where our saliva releases enzymes to break down the food. 

Chewing also signals the body to prepare for digestion, optimizing the production of bile, pancreatic enzymes, and hydrochloric acid. This way, we can break down the food into very fine particles before it reaches the small intestine. 

2. Balancing your nervous system

There are so many ways to balance your nervous system, and if you follow any of our videos and our content, you’ll realize that there are endless possibilities. So much of it is about finding what most resonates with you. It could be anything from diaphragmatic breathing, walking, getting out into nature, doing specific vagus nerve exercises, dancing, engaging in authentic movement, or somatic movement where you can freely express your emotions. It could even be as simple as talking to a friend.

There are lots of ways to balance your nervous system, but it starts with recognizing which nervous system state you’re in. Are you in a state of safety and connection, are you in fight or flight, or are you in a freeze state? Once you can identify your current state, you can then choose what you can do to become more resilient and bring yourself back to that state of safety and connection, allowing you to better navigate life’s challenges.

3. Movement and exercise 

This can actually help with the diversity in our microbiome, which can ultimately be very protective against conditions like colon cancer and gastrointestinal diseases. Making movement a priority in your life is crucial. This could mean walking, lifting, or running, but it’s important to think about exercise and movement in a specific way.

In my world, they’re a little different because we want to think about moving all day long. Our bodies crave movement, and that’s what we need for a healthy nervous system and a healthy gut. If we can view movement as a gift that we’re nourishing and appreciating, and exercise as a way to push our bodies outside of their comfort zones, taking them a bit past what they’re used to so they can adapt, change, grow, and evolve.

4. Probiotic and prebiotic-rich foods

The way to think of this is that if you are relatively healthy, without any obvious digestive issues, it’s likely easy for you to incorporate probiotic-rich foods. These include items like kefir, kimchi, sauerkraut, and foods with active live cultures, and perhaps even a probiotic supplement.

Now, if you have gut issues and you’re not sure what they are, it can be especially beneficial to consider a stool test to identify the specific issues. Many people with gut problems find that probiotics are not well tolerated, especially if there’s something going on in the small intestine like SIBO (Small Intestinal Bacterial Overgrowth). In such cases, probiotics might not be the first step to take.

However, when we think about general health and well-being, including mental health, probiotic-rich foods are great. When considering psychobiotics, which are specific strains related to mental health, lactobacillus and bifidobacterium are the two most common strains you’ll find in a probiotic supplement. These strains can be particularly beneficial for mental health, and there has been a lot of promising research on them.

Additionally, we want to think about prebiotic foods, such as bananas, garlic, and onions. These foods can be thought of as the fiber sources that probiotics feed on.

5. Anti-inflammatory foods

We should also consider factors like Omega-3s, increasing our intake through fatty fish, as well as foods like walnuts and flax seeds. Simultaneously, it might be beneficial to decrease some of our Omega-6s, which can be found in higher-fat foods, such as seed oils that are often present in packaged foods. The goal here is to optimize our intake of anti-inflammatory nutrients.

Anti-inflammatory nutrients can be thought of as Omega-3s, but also include phytonutrient-rich foods. A great way to approach this is to incorporate a variety of colorful foods into your diet. Think of all the different colors – reds, blues, yellows, etc. Each color provides different nutrients that can help support our biochemistry and promote overall health.

6. Fiber-rich environment

Fiber is incredibly important for maintaining a healthy microbiome. We should aim for at least 25 to 35 grams of fiber per day, although the specific amount can depend on your diet and individual needs. What’s crucial is obtaining fiber from various sources. In this context, diversity in fiber sources is more important than simply meeting a daily fiber goal. It’s this diversity that helps beneficial bacteria thrive in your gut.

7. Specific nutrients

To get a bit more specific about certain nutrients, we can aim for foods rich in tryptophan, which is a precursor for serotonin, often referred to as our “happiness hormone.” These foods can include items like turkey and eggs.

Additionally, we can focus on tyrosine, a precursor for dopamine, which can be found in foods like meat or almonds. It’s important to recognize that specific nutrients like these play essential roles in neurotransmitter production, including serotonin, dopamine, and GABA. Proteins serve as the building blocks for these neurotransmitters, making a protein-rich diet a crucial aspect of maintaining their balance and functionality.

The Bottom Line

These are just seven of many strategies, but I hope they give you a good sense of the various possibilities we have to optimize the relationship between the gut and the brain.

If you found this information helpful, please like, share, and subscribe to our YouTube channel, The Movement Paradigm, for weekly tips on mindset, nutrition, and movement. If you’d like to learn more about how we can assist you on your journey, please don’t hesitate to reach out for a discovery session. We look forward to helping you on your path to wellness.

Other things that might interest you:
3 Somatic Exercises to Get You Out of Your Head Into Your Body

Discover a transformative journey as we guide you through three powerful somatic exercises designed to help you break free from mental chatter and reconnect with your body’s wisdom. Whether you’re seeking stress relief, mindfulness, or simply a deeper sense of presence, these exercises are your gateway. 

Join us as we explore gentle movements, breath awareness, and mindful stretches that will anchor you to the present moment.

Rather watch or listen? 

What You Need To Know About Somatic Experiencing

As you may have observed in some of my other videos, when we talk about somatic experiencing or somatic therapy, we’re considering a bodily approach to emotional and mental health. In the realm of mental health, we often tend to think of a top-down approach, such as cognitive-based methods that involve trying to rationalize or talk ourselves out of our emotions. However, what our bodies are very accustomed to evolutionarily is non-verbal communication – about 93% of our communication is non-verbal. Therefore, using movement to address mental health can be incredibly potent. Today, I want to discuss three of my personal favorites.

3 Somatic Exercises

1. Butterfly Hug

If you’re experiencing sadness or feeling down and you’re seeking comfort or soothing, this technique is perfect for you. Begin by interlacing your thumbs, then bring your hands across your chest and let your fingers reach toward your shoulders. Remember, there’s no definitive right or wrong way to do this. Start by allowing yourself to settle in, feeling the comfort and soothing sensation in your arms. When you’re prepared, gently alternate tapping your hands in a rhythmic motion that feels comfortable for you. Do this for as long as you desire.

It’s important to note that this practice can lead to a significant emotional release. If you find yourself becoming emotional or on the verge of tears, that’s perfectly okay and welcome. Allow yourself to embrace those feelings and offer yourself some grace. On the other hand, if the technique simply feels soothing without evoking strong emotions, continue for as long as you find it beneficial.

2. Wipe Away

If you’re feeling a little frustrated and annoyed and just need to vent some emotions, there are a couple of options to consider. One option is to find a comfortable position that suits your body and then imagine wiping away the frustrations. Bend over and ensure your posture is comfortable. As you wipe away, allow any frustrations you’re experiencing to flow through your body. You can increase the intensity of this movement as you become more at ease.

Shaking

Simultaneously, another technique you can try is a simple activity called “shaking.” This idea is reminiscent of how animals in the wild deal with fight-or-flight responses. They literally shake off the stress and return to a state of homeostasis swiftly.

So, if you’re feeling frustrated and want to release some pent-up energy, try shaking your body. Shake as needed, and then give yourself a moment to settle down. Take a moment to connect with yourself and observe the sensations in your body.

3. Goddess

The third one, which is one of my favorites, is the goddess. If you’re male, you can refer to this as something different, but it can be very empowering. Turn your feet out and bring your hands – let’s say, to heart center if you’re into yoga. Inhale as you come down, letting your knees go out, and then exhale, letting your arms go up to the ceiling. Do this at a pace that feels good for you. This is a great technique if you feel like you want to evoke a sense of happiness and empowerment.

We hope you can appreciate these three simple strategies. They show how we can shift our emotions and thoughts by moving and getting into our body physically, feeling our body. 

These are just a few examples out of many of how to do that. If you’d like to learn more, please make sure to reach out to us. We would love to help, and as always, thank you so much for joining. Make sure to subscribe to our YouTube channel, The Movement Paradigm, for weekly tips on mindset, nutrition, and movement.

Check out our app, the Movement Paradigm app, for lots of programs and really creating a community of people that want to enhance their lives in all ways and make it accessible to you.

Other things that might interest you:
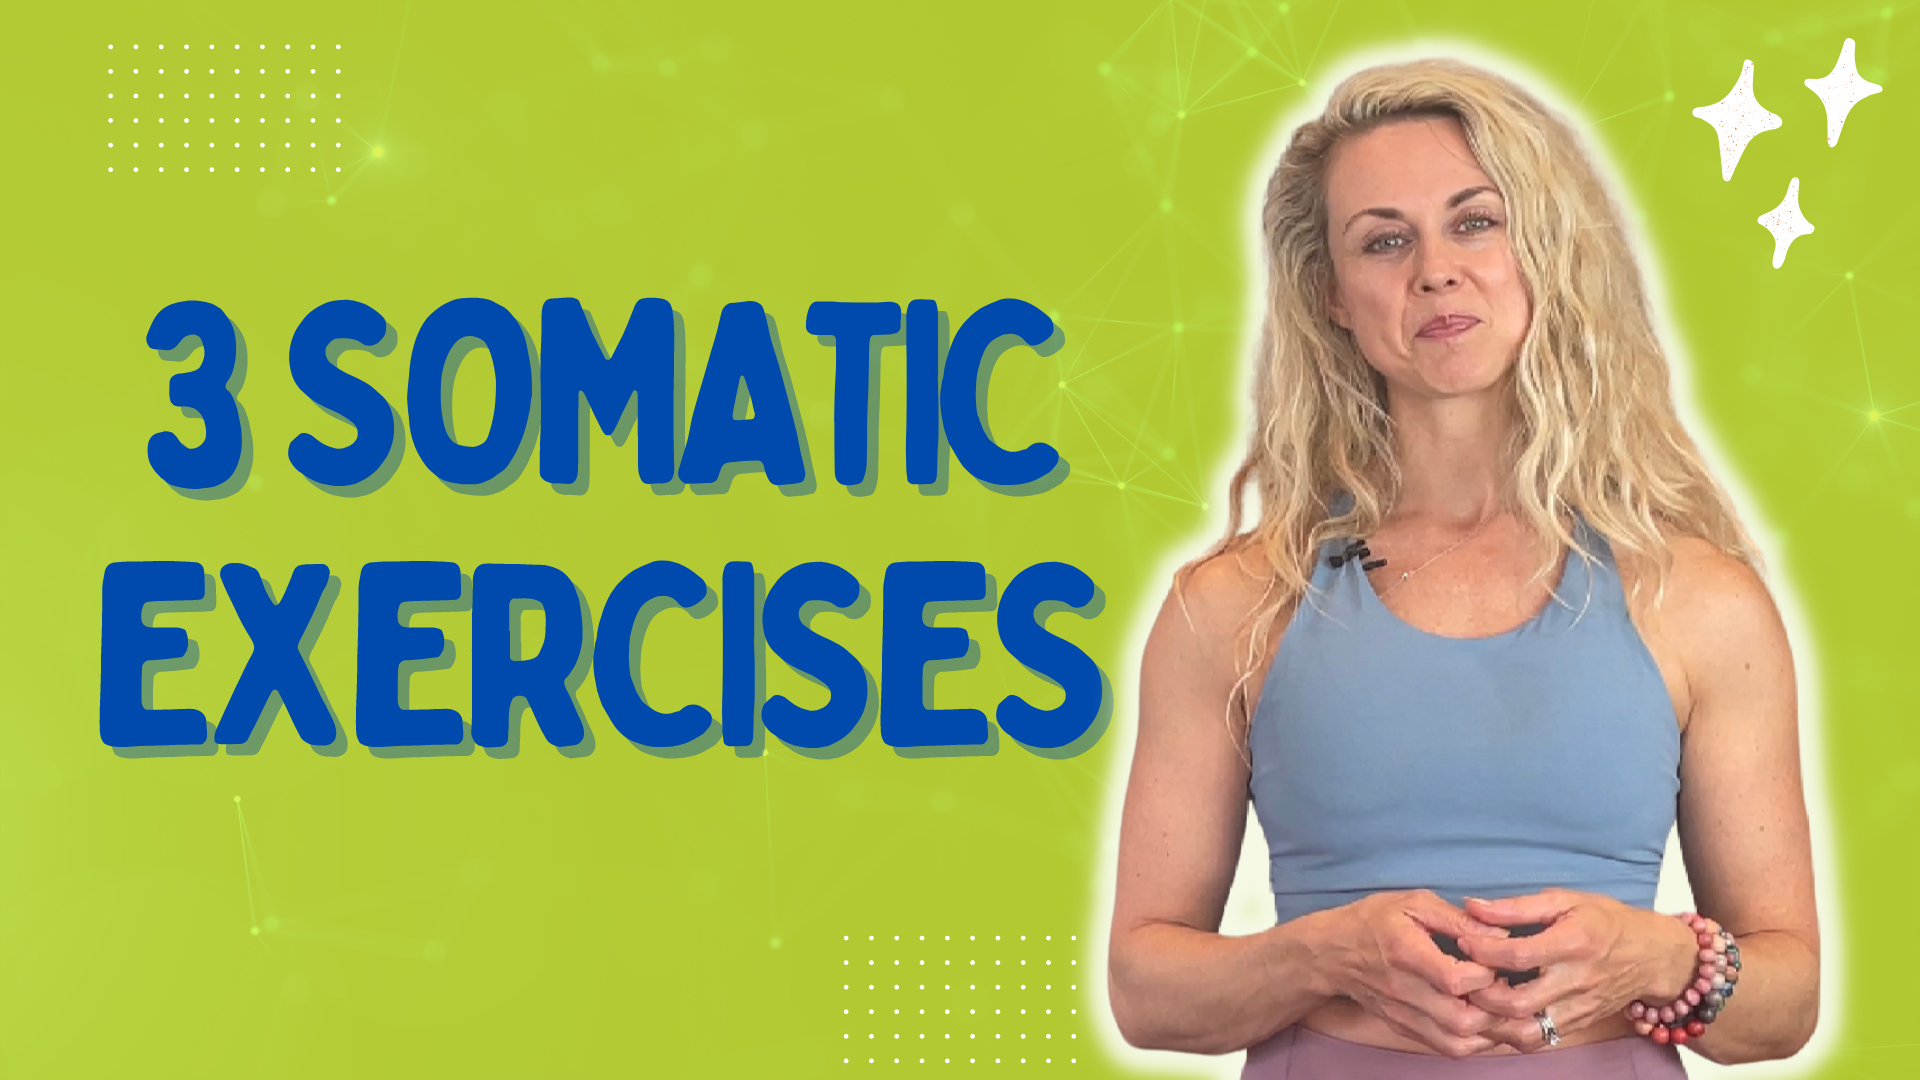
How to improve your ankle mobility

Have you ever felt like your ankles are holding you back from reaching your full potential? Whether you’re an avid athlete, a fitness enthusiast, or just someone struggling with foot and knee issues, we’ve all been there. Ankle mobility might not be the most glamorous topic, but trust us, it’s the unsung hero of your body’s movement mechanics.

Today, we’re diving deep into the world of ankle mobility, unlocking its secrets, and discovering how it can be a game-changer in your physical performance.

Rather watch or listen? 

Ankle Mobility Restrictions and Factors 

Ankle mobility restrictions can happen for various reasons, such as surgery, scars, or foot type. So, if you have a pes cavus foot type (i.e., a higher arch foot type), it means that you have a higher declination angle. This is going to contribute to a structurally-limited ankle mobility, which is very important to understand.

You could also have a flat foot, meaning you might have a structural or a functional flat foot. This, too, will contribute to limited ankle mobility, just as limited ankle mobility will contribute to a flatter foot type.

You want to factor in all of these different things because there are different reasons why someone might have an issue, and it might present differently in one person than in another. 

Additionally, ankle sprains and unstable feet are some of the most common causes of limited ankle mobility.

We want to respect and appreciate all of these different factors that go into it because you never want to force the ankle into a position where it simply isn’t going. You want to be very intentional with how you’re assessing and looking at the ankle.

General Ankle Mobility Assessment

For a general ankle mobility assessment, follow these steps: Start by positioning your foot on the floor in a half kneeling position or a stool from a standing position. Ensure your foot is in a neutral position by finding where the tripod (underneath the first toe, little toe, and heel) is located. 

Once you have even pressure on these contact points, shift your knee directly over your toe. For most individuals, the midline of the foot will align with the second toe. Measure approximately how many inches over the toe you reached with your knee. Four inches over the toe is considered adequate ankle mobility, but consider the foot type as this may vary, especially for those with higher-arched feet. Make sure there is no pain associated with the movement. 

It’s crucial to maintain a neutral foot position throughout the assessment, as limited ankle mobility may cause the foot and knee to collapse inward. By optimizing the stable foot foundation and addressing ankle mobility, you can improve overall mobility and prevent potential issues.

Six Ways to Improve Ankle Mobility 

1. Myofascial release

Using a ball for this exercise can be very beneficial. You can use various tools such as rad balls, neuro balls from Naboso, or other soft tissue release tools. Being intentional about your soft tissue release is important.

For individuals with a flatter foot type, you can start by working on the outside of the calf and the back part of the calf, specifically targeting the peroneal muscles and the lateral gastrocnemius. Hold each spot for 20 to 30 seconds and then move to the next spot. This pin-and-hold technique can help decrease about 70 to 75 percent of the pain in each spot. By doing this, you create inhibition, quieting down the area and setting yourself up for better foot strength and improved mobility from the ground up.

2. Ankle mobilization

During the ankle mobilization exercise with the band, place the band right on the talus bone, in front of the ankle, avoiding it being too high. The band’s tension should pull back and down, which can be achieved by hooking it to a machine or having someone hold it. 

While performing the movement, gently bring the knee forward over the toes while keeping the foot neutral, being mindful to prevent it from collapsing inward. Ensure the heel remains down throughout the exercise and returns to the neutral position after each repetition. Repeat this ankle mobilization for several repetitions to improve ankle mobility.

3. Inversion and eversion

Think about finding the tripod of your foot, which is underneath the first, the fifth, and the heel. Rotate all the way in (eversion) and all the way out (inversion) without bending your knees. These movements target the spiraling pattern of both the ankle and the foot, promoting a healthy foot-to-core movement.

4. Isometric dorsiflexion

After mobilizing, move into the position of adequate dorsiflexion. From there, challenge yourself to bring your toes towards your shin, even if the range of motion is limited. Hold that position for five seconds, and then lower your foot back down. Load the joint in that range by lifting your foot three to five times. 

Alternatively, you can add some resistance by placing a little weight on the knee and guiding it into dorsiflexion. Remember to be mindful of your foot type and its specific needs. This loading technique can be a powerful way to work on that particular pattern and enhance dorsiflexion mobility.

5. Short foot

Find a neutral position with a staggered stance. Root the tip of your toes into the ground. Notice the natural arch of your foot lifting, creating stability and a strong base. Practice this while integrating your breath, inhaling when your foot is relaxed, and exhaling while rooting the digits into the ground. This exercise aims to improve foot stability, which is imperative for optimal ankle mobility.

6. Elasticity

An effective method for achieving this is through mini jumps. You don’t necessarily have to leave the ground, but you can load, and then come up to your toes. By doing these mini jumps, you’re effectively loading the tendons and the elasticity of the movement, making it a powerful way to integrate and improve your mobility.

The Bottom Line

I hope you found this information beneficial. Ankle mobility comes in various forms, and it’s crucial to consider factors like your foot type, past injuries, and medical history. Ankle sprains are a major cause of limited ankle mobility, a common issue that can have far-reaching effects on the entire kinetic chain. It may contribute to discomfort in the hips, back, feet, and more. The exercises provided offer a glimpse of how to start re-patterning ankle mobility and seamlessly integrate it into dynamic movements such as lunging and jumping.

If this was helpful, give it a like, give it a share, and make sure to subscribe to our YouTube channel, The Movement Paradigm, for weekly tips on mindset, nutrition, movement, and make sure to check out our app, the Movement Paradigm app, for lots of programs and really creating a community of people that want to enhance their lives in all ways and make it accessible to you.

Other things that might interest you:
5 Tips to Improve Your Balance

Have you ever wondered how to achieve a better balance in your daily life? Whether you’re an aspiring athlete aiming for peak performance or someone seeking to navigate life’s challenges with grace, balance is the key to unlocking your full potential.

In this article, we’re going to explore five invaluable tips that can revolutionize your sense of stability. So, join us on this enlightening journey as we uncover the secrets to improving your balance and empowering your every move.

Rather watch or listen? 

What You Need to Know About Balance

As we break down balance a little bit further, we want to think about three essential aspects of balance. We have our visual system, vestibular system, and our somatosensory system.

All of these are essential in being able to train this as an integrated system to improve performance in life or in sport, or prevent falls and improve movement longevity.

Let’s talk about five ways that you can improve your balance.

Ways You Can Improve Your Balance

1. Create a Safe Environment

Optimal stability requires us to feel safe within our nervous system. For instance, imagine standing on one leg and feeling shaky and unable to maintain that position. In such a case, your nervous system might not feel secure in that particular stance.

To create a safe environment, consider modifying the exercise by using a kickstand. This involves kicking the leg down at the back while primarily focusing on balancing on the front leg. By doing so, you’ll feel safe and optimize your stability and balance in that specific position.

It’s crucial to breathe diaphragmatically while maintaining a comfortable posture throughout the movement. If you feel unsafe, your ability to breathe diaphragmatically will be hindered due to a fight-or-flight response triggered by a survival mechanism.

2. Incorporate the “Short Foot” Exercise

The “short foot” exercise is more than just a foot exercise; it’s a foot-to-core sequencing exercise that enables us to connect our foot to our pelvis and the rest of our body in a highly integrated manner.

To perform the short foot exercise, start by rooting the tips of your toes into the ground. This action will gently lift the arch of your foot. Remember, the exercise extends beyond the foot itself; it’s about connecting the foot to the entire body.

Begin by taking a breath in, exhaling gently, and rooting the tips of your toes into the ground. This activates deep stabilization in the foot and activates the deep front fascial line. This fascial line connects the foot to the pelvic floor, diaphragm, and even extends up to the tongue and neck. The short foot exercise is one of the best ways to improve balance over time.

Start with basic progressions of the kickstand position, and as we’ll discuss later, gradually move into more dynamic positions involving lunging and other everyday movements.

3. Utilize Multi-Sensory Integration

For this purpose, you can incorporate tools such as a Naboso mat, a textured surface that stimulates specific mechanoreceptors in the bottom of your feet. Increasing sensory input from the environment enhances your movement quality, balance, and stability.

Additionally, consider holding a Naboso ball or sensory stick, another textured surface that can stack sensory information. Begin by standing on a Naboso mat or a textured surface or a wood floor, as it provides excellent balance training compared to a yoga mat or carpet, which decreases balance.

Optimal sensory integration is achieved on hard surfaces like wood or textured flooring. To further enhance integration, you can introduce visual cues by focusing on a specific object while standing on one leg on the sensory surface. You can even incorporate your hands to add an additional layer of sensory integration.

Remember, our human body relies on sensory information to move efficiently. Gradually adding these elements at a comfortable pace during your balance training can significantly improve your balance.

4. Progression for Effective Training

It’s essential to follow a progression plan that suits your current abilities. Training on a hard surface, preferably a sensory surface that provides additional information to your nervous system, is crucial. Avoid the common mistake of training on unstable surfaces where you don’t feel safe and rely more on your large nerves rather than the small ones that contribute to balance.

Also, focus on progressing from static positions to dynamic positions. Begin with slow movements before gradually increasing speed. By following the principles of progression and progressive overload, you can steadily advance your balance training. Start with the basics, creating a safe environment, and then progress to higher-level exercises.

5. Integration of Movements

We’ve already discussed the importance of the short foot exercise, suitable surfaces, and progressions in balance training. Now, let’s focus on integrated movement patterns.

The short foot exercise works on fascial tensioning throughout the body, emphasizing tension and elasticity, which are crucial in our movement patterns. When performing balance-challenging exercises such as reaching or changing positions, we promote fascial integration, maintain control, stay in a safe environment, and breathe diaphragmatically.

By combining all these steps, we can significantly enhance our balance. However, relying solely on unstable surfaces like Bosu balls or foam pads might not be the most efficient way to train.

Key Takeaway

Today, we have discussed some basic principles of balance. Please note that there are many other layers and exercises related to balance, but I wanted to provide you with a good understanding of how to gradually and safely improve your balance.

Remember that as we age, our feet require more stimulation to achieve the same response, and stimulating the skin on the bottom of our feet through barefoot training can positively impact balance.

If you found this helpful, please like, share, and subscribe to our YouTube channel, The Movement Paradigm, for weekly tips on mindset, nutrition, and movement.

If you need assistance with your movement, barefoot training, or overall health, please reach out to us. We would love to help you.

Other things that might interest you:
3 Neck Exercises for Quick Relief

Are you tired of that constant nagging neck pain that hinders your productivity and dampens your mood? We’ve all experienced those moments when the stress and strain of daily life seem to settle right in our necks, causing discomfort and tension. But fear not!

In this article, we’re here to share three incredibly simple yet effective neck exercises that can provide you with quick relief whenever you need it. Whether you spend long hours in front of a computer screen or carry the weight of the world on your shoulders, these exercises are designed to ease tension, improve flexibility, and promote relaxation. So, let’s dive in and discover the key to a pain-free and revitalized neck!

Rather watch or listen? 

The Importance of Breathing Mechanics

Now, it wouldn’t be me if I didn’t talk a little bit about why we might get neck pain, and one of the biggest reasons is not so much that we’re sitting with the forward head posture or texting all day but rather poor breathing mechanics.

We breathe 25,000 times a day and ideally, we are using our diaphragm to do that. When we are breathing from our neck and shoulders, however, contributes to increased tone in the neck.

3 Neck Exercises for Quick Relief

Exercise 1: Optimizing Your Breath

One of the most crucial aspects of combating neck pain lies in optimizing our breath. If you want to take it a step further, you may explore airway dysfunction in detail. However, at the bare minimum, you can work on the basic mechanics of proper tongue posture—resting your tongue against the roof of your mouth.

As you breathe in through your nose, focus on directing your breath upwards instead of straight back, as this can make a significant difference. Additionally, allow your abdomen to expand 360 degrees like a big balloon as you inhale. This simple foundation will pave the way for the subsequent exercises.

Exercise 2: The Salamander

The second exercise is called the salamander. This is an exercise adapted from Stanley Rosenberg, who wrote “The Healing Power of the Vagus Nerve.”

To begin, interlace your fingers and place them behind the back of your head, ensuring they touch the occipital area. Gently bend your upper body to the side while simultaneously looking in the opposite direction with your eyes. Hold this position for 30 seconds.

Once you return to the center, switch sides, face forward, and look the other way while maintaining the hold for another 30 seconds. You can assess your range of motion both before and after the exercise to witness the improvement.

If one side causes slight discomfort, feel free to use one hand. By engaging our hands, eyes, and the neurological connection between them, we stimulate the vagus nerve and spinal accessory nerve, which leads to neck relaxation and overall nervous system calmness.

Exercise 3: Myofascial Release Technique

The last one that I really love is a myofascial technique that’s very simple, and you can do it anywhere, anytime.

Start by placing your hand flat on the outside of your neck, gently moving it towards your ear.

As you provide traction, you’ll naturally bring your head back into an optimal alignment, resulting in a pleasant sensation. Moreover, this technique targets the lymph nodes and stimulates the vagus nerve, promoting relaxation and an ideal head posture.

You can hold this position for 30 seconds up to two minutes, depending on your comfort level. It’s a highly valuable exercise that offers both release and stimulation.

Incorporating these Exercises into Your Daily Routine

I would suggest exploring all of these throughout the course of your day. These are three of many exercises that you could do to help relieve it. Although, if you sit at your desk all day, the most important thing is to get moving.

Always think movement variability is the key to preventing pain and injury.

If it was helpful, give it a like, give it a share, and make sure to subscribe to our YouTube channel, The Movement Paradigm, for weekly tips on mindset, nutrition, and movement.

Other things that might interest you:
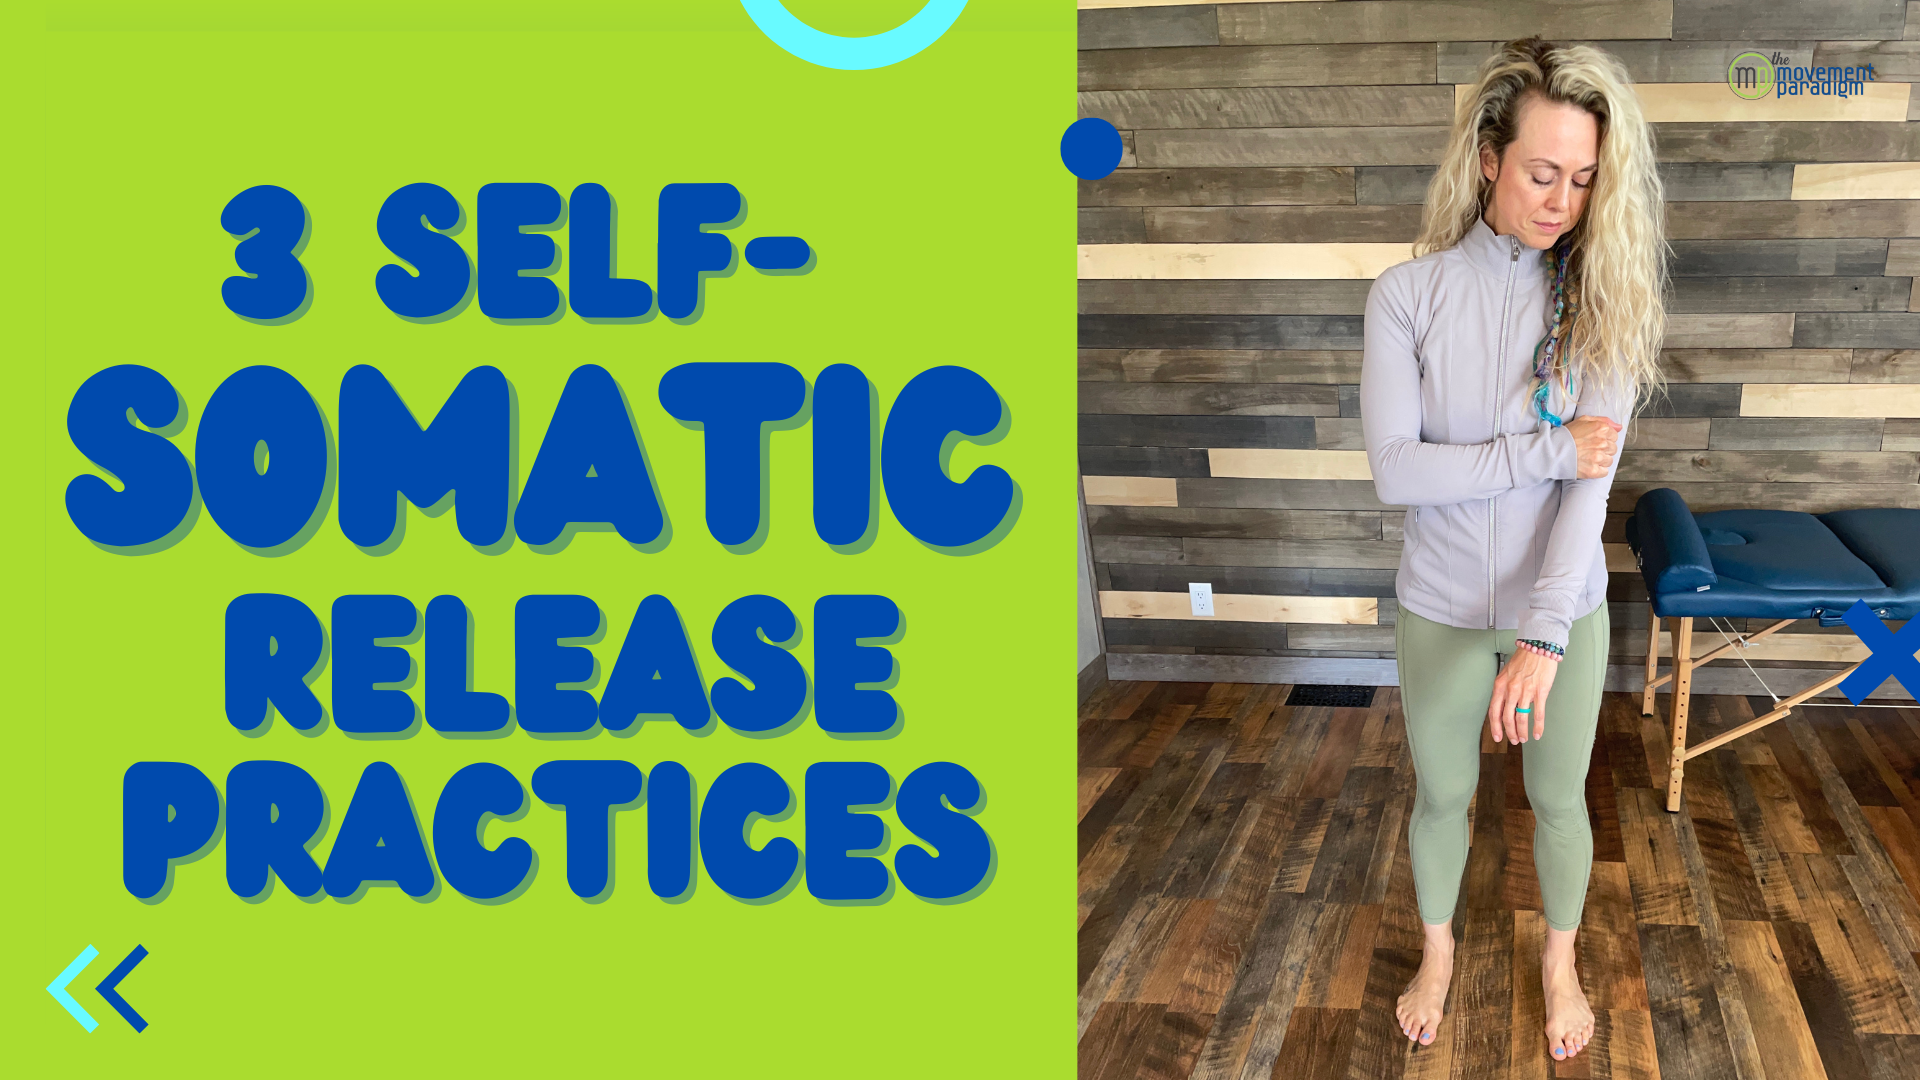
3 self-somatic release practices

How often do you check in with yourself, truly connecting your mind and body? If you’re looking for ways to enhance this vital connection, you’re in the right place.

In this blog, we’ll dive into three powerful self-somatic release practices that can bring a new level of awareness and harmony to your life. Get ready to explore the transformative potential of somatic therapy and unlock a deeper understanding of yourself. Let’s jump right in!

Rather watch or listen? 

Understanding somatic therapy

Somatic therapy is rooted in neuroscience and is specifically geared toward your physical movements, bodily sensations, past experiences and potential traumas that you may have undergone.

How it differs from traditional talk therapy

Unlike traditional talk therapy, which focuses primarily on verbal communication, somatic therapy addresses our neurological and physiological responses.

It is a unique form of therapy, and there are practitioners you can seek out, as well as self-somatic practices you can do on your own to help connect with potential past emotions, suppressed or repressed emotions, or even traumas.

What to consider

When engaging in these exercises, always make sure you are in a safe place and feel secure while performing them.

At its core, somatic therapy helps us appreciate that emotional distress and past traumatic experiences are stored within the body. This can manifest in various ways, such as chronic pain, chronic fatigue, autoimmune disease, chronic illness, anxiety, and depression. With somatic therapy, our goal is to tap into these emotions and past experiences, integrating and processing them.

Considering how humans relate more with non-verbal communication than verbal communication, it becomes essential to address the healing of the body, especially regarding emotions, through our physical body.

A helpful framework to understand our experience and resilience is the “resilience zone.” Within this zone, there is a middle section representing the present moment. However, we can easily be pushed out of this zone into a hyperarousal state, characterized by hyper-vigilance and anxiety, or into a hypoarousal state, marked by shutdown and depression. These states are normal and part of life, but past traumas can keep us stuck in them.

To regulate and return to the resilience zone, somatic practices are valuable. Body awareness practices, breath practices, and movement can be utilized for this purpose.

Although I will share specific techniques, it’s important to acknowledge that any form of body movement can be powerful. Walking, dancing, and fluid-like motions that ignite a sense of flow can all be incredibly impactful.

3 self-somatic release exercises

Today, we’re going to go over three different exercises that you can begin to explore in your body, mind, and life and see how they are for you.

Exercise 1: Progressive relaxation

The first exercise is called progressive relaxation. We will move through the body and create tension in each part, and then relax it. We’ll start at the feet.

I’d like you to think of curling your feet tightly and then relaxing them. For the calves, point your toes, tighten them, and then relax. When you reach the quads, squeeze them and then relax.

As you do this, bring awareness to the creation of tension and then the release of it. Notice that some areas might already be tight as you progress. Squeeze your glutes together and then relax, letting go of that tension. Continue to bring more awareness to your body.

Next, think about curling up your abs slightly, as if you’re doing a mini crunch, and then relax. Now, let’s move to the hands. Make a fist and then relax. We can also curl the arms and then let them go. Bring your shoulders up towards your ears, tighten them, and then let them go. Progress through the body systematically, creating tension and then relaxing, allowing everything to let go.

Exercise 2: The flower

The next exercise is called the flower. While lying on your back, start with your palms down, shoulders rolled in, and feet together, with your knees bent.

From here, open the hands so you’re facing your palm towards the ceiling at the same time as opening your hips. Think you’re opening up like a flower, moving nice and slowly, and then coming back, rolling the hands down towards the floor. Shoulders are going to roll off the ground, and you’re going to feel a little tension in the neck for just a moment.

When you feel comfortable, pair that with your breath, so you can inhale as you’re coming down, opening, and then exhaling, moving at a very slow pace. Pay very close attention to your physical sensations and what’s happening in your body throughout the exercise.

Exercise 3: Tapping exercise

The next exercise is called tapping. You can do this all over your body anytime during the day. It’s a great way to start your morning if you’re feeling slightly stressed or anxious and want to bring your awareness back to your body. Tapping involves making a closed fist and gently tapping your body, moving all around, down the arms and legs, and reconnecting with your physical self.

These are just three examples of the many somatic practices you can explore. The key is understanding that we may store emotional distress or traumas in our bodies, which can manifest in various ways. By becoming embodied, we can have a significant impact on our emotional, mental, and physical well-being.

If you found this helpful, please like and share. Don’t forget to subscribe to our YouTube channel, The Movement Paradigm, for weekly tips on mindset, nutrition, and movement. Make sure to check out all the vagus nerve exercises available here as well, as they can also be incorporated into this somatic practice.

Other things that might interest you:
How to optimize your core

Have you ever wondered why your core is so important for your overall physical performance?

While many people focus on building a strong core, there’s more to it than just a toned midsection. Your core is responsible for much more than you may think as it plays a critical role in sequencing, timing, and coordination—all of which are vital for optimal motor control.

By improving your core function, you can move more efficiently, generate more force, and prevent injuries, all of which can help take your physical performance to the next level.

In this blog post, we will discuss how to optimize your core for better function and performance, so you can achieve your fitness goals and enhance your overall health. So, let’s get started!

Rather watch or listen? 

Anatomy

The first thing we need to consider when optimizing our core function—our foundation—is stacking or positioning the rib cage over the top of the pelvis.

As we age, we may develop a forward head posture, a tilted pelvis, or a flaring rib cage, all of which can impact our core function. It’s important to remember that posture affects respiration and vice versa—they are interdependent on each other.

Mechanics of Core Function

When we’re optimizing the pressurization system of our core, we need to think about the rib cage being positioned over the top of the pelvis. If the rib cage flares out, we have an open scissors posture, which unfortunately prevents the diaphragm from communicating effectively with the pelvic floor.

Bringing the rib cage back to its neutral position allows for better communication between the two. This creates an opportunity for them to work together more effectively.

Breathing and What’s Happening

When we inhale, we breathe oxygen into the base of our lungs. The diaphragm, a large dome-shaped muscle that separates the thoracic cavity from the abdominal cavity, flattens and compresses all the organs below it, increasing intra-abdominal pressure. This pressure isn’t just a belly breath; we need lateral rib cage expansion and posterolateral expansion to the back of the rib cage.

As the pressure travels downward, it reaches the pelvic floor, causing it to lengthen and relax. If the pressure doesn’t reach the pelvic floor, it won’t lengthen or relax as much as it should. As the pressure goes down, the transverse abdominis muscle, otherwise known as our natural weight belt, eccentrically lengthens.

When we exhale, the pelvic floor and the transverse abdominis muscle contract, creating a weight belt compression, while the outer abdominal muscles, including the six-pack muscles, contract. The rib cage comes down, and the belly button goes in, resulting in a nice core contraction.

Now that you understand the mechanics, envision that when we inhale, the pressure goes down all the way to the base of the pelvis, creating even pressure around the abdomen. This intra-abdominal pressure is fundamental for core function and associated with pelvic floor function, bladder and bowel control, and efficient stabilization.

Think of the diaphragm and the pelvic floor as doing a rhythmic dance with all the surrounding muscles.

Ways to Optimize Core Function

There are many ways to optimize core function and get some feedback for this.

1. Use a TheraBand

One way to exercise is by using a TheraBand. To do this, you should place the band behind your rib cage, focusing on the area around T8, which is just below your sternum.

Next, pull the band slightly to create tension. You can cross the band at this point to make an angle of about 12 degrees, which matches the angle of your ribs. As you pull down on the band, try to breathe deeply into the back of your rib cage.

Breathe into the, while feeling this feedback to optimize your rib cage breathing.

2. Bring Your Legs up to a 90-degree Angle

The next progression is bringing your legs up to a 90-degree angle and feeling the rib cage expansion.  Brind the xyphoid process (underneath the sternum) towards the floor as well as below the belly button.

As we breathe in and out, we want to feel the back of the rib cage. When we breathe in, we should feel that expansion. When we breathe out, we should bring the belly button in towards the spine.

To progress it

From this position, you can add a block or weight and add a punch. The serratus muscle deeply integrates with the diaphragm. Hold that for three seconds and then relax.

The Bottom Line

Hopefully, those two exercises were really helpful. These are just two of many, but they can really begin to give you some awareness of your core function. How your rib cage and your pelvis work together in unison, and how all of these muscles are based on sequencing and timing, and coordination.

Our core isn’t strong or weak; holding a plank for five minutes does not mean your core is strong. That’s not the way we test the core. Understanding this beautiful representation of how these have to work together is the way we optimize our core function.

Ultimately, this means decreasing the risk of injury, moving more efficiently, and optimizing your performance in life and sport.

So, if this was helpful, of course, make sure to give it a like, give it a share, and subscribe to our YouTube channel, The Movement Paradigm, for weekly tips on mindset, nutrition, and movement.

If you’re looking for support on your health journey, we’re here to help! Feel free to reach out to us for a discovery session.

Other things that might interest you: