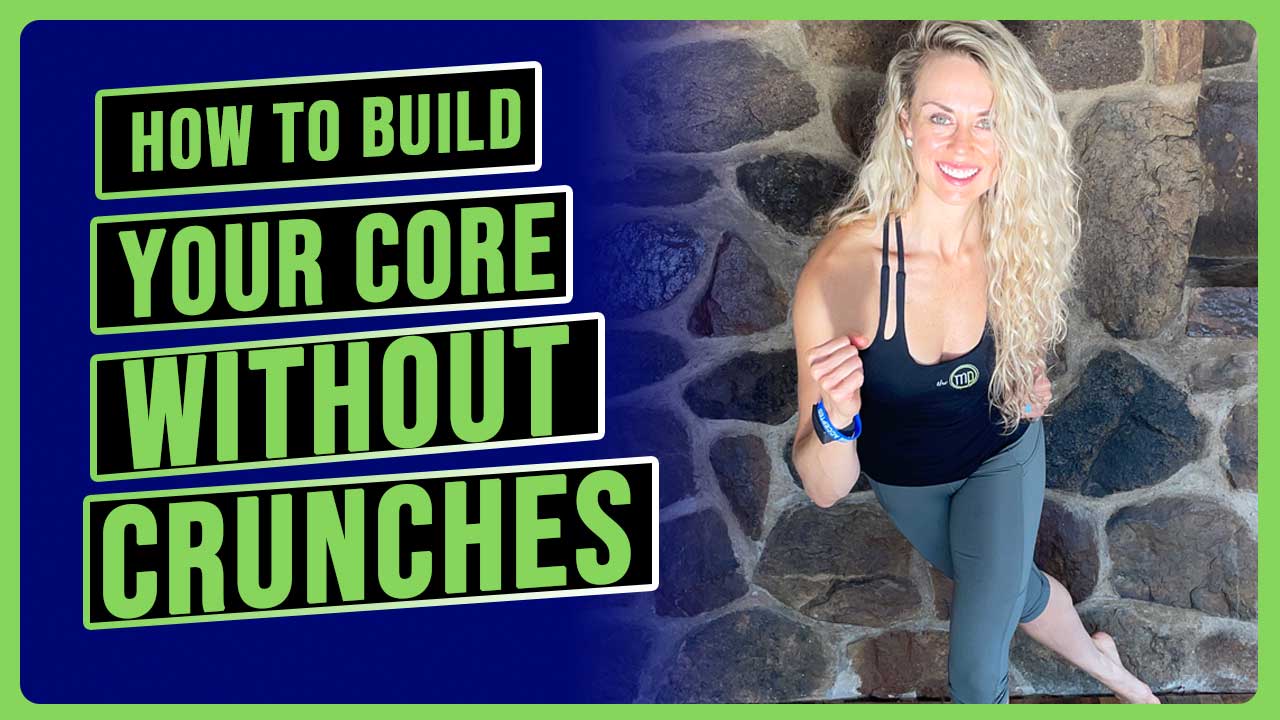
Did you know that you do not have to do crunches and sit-ups to train your core? In fact, crunches, sit-ups, and many other similar core exercises can negatively impact your core, especially if they’re not done properly. How can you train your core without doing crunches?
Rather watch or listen?
What comprises our core?
Let’s break the core down. We have our local stabilizers, global stabilizers, and global mobilizers.
Our local stabilizers include our pelvic floor (base of our core), diaphragm (breathing muscle), multifidus (along the spine), transverse abdominals (like a corset), deep posterior psoas (hip flexor), and the deep hip stabilizers (deep five). These muscles are close to the joint and isometrically contract to create stability and control the joint positioning. This improves what we refer to as joint centration, maintaining our joint on its center axis.
Next, we have our global stabilizers. This includes our glute medius, obliques, spinalis muscles in the back, and quadratus lumborum. These muscles are also geared toward stabilizing, but they create more of an eccentric range of motion. They decelerate motion.
Lastly, is our global mobilizers. This includes rectus abdominis, latissimus dorsi, and quadriceps, and so on. These muscles produce force. They initiate force and movement. All of these are equally important. However, one has to come first, and that is the local stabilization. We have to be able to stabilize our joints to be able to produce force and power from a stable foundation. If you don’t have a stable foundation to operate from, an injury will occur.
Why is it important?
When we refer to the deep core and how it is intimately connected with your feet, and the rest of your body, I like to use the reference of the deep front fascial line. This connects from the bottom of the foot fascially all the way up through the inner thigh, pelvic floor, deep stabilizers, diaphragm, and even the neck. The beautiful representation of this fascial tensegrity is a great visual of how our body is connected, and how our feet are actually part of our core.
Another great way to appreciate this deep local stabilization and the importance of the local stabilization before the global stabilization is a hernia.
Whether you or someone you know has had an umbilical hernia, inguinal hernia, abdominal hernia, or sports hernia, this is a perfect example of where the deep core was not stabilizing efficiently. There was so much stress on the outer core musculature and poor pressurization in the abdomen that it caused a tear in the abdominal wall, or in the case of a sports hernia in the fascial tissue.
In the case of a sports hernia, which is very common but often much overlooked and misdiagnosed, the fascial tissue most often affected connects the rectus abdominus and the adductor. The adductor muscle will have a mechanical advantage so when there is a loss of deep stability, it will create a tear in the fascia in the rectus sheath. You cannot rehab this since you’ve lost the integrity in this force transmission system. It can only be surgically repaired.
Now, back to the deep stabilizers. It is important to train the deep inner local system before the deep outer global system to prevent things like hernias, back pain, hip pain, and neck pain You can have an optimal foundation to work from to generate force with power and be able to do the things that you want to do. If you are doing crunches, sit-ups, or leg lowers without a proper foundation, read on.
What exercises can you incorporate in your routine?
Here are five different exercises that you can incorporate into your routine or refine if you’re already doing them so that you do not need to do crunches and sit-ups, but you can do these exercises to maximize the potential of your core.
1) Diaphragmatic breathing with pelvic floor contraction
As you inhale lengthen the public floor, relax, and then as you exhale gently lift the pelvic floor about 20 percent contraction in the direction of your head. Repeat this for eight to ten breaths working on the coordination and rhythm of the breath with the pelvic floor contraction.
2) Step by step hollow
Take a breath in and flatten your back as you exhale. Next, take a breath in, exhale, and lift your head and shoulders, reaching through your fingertips. Take another breath in, exhale, and pull your hamstring in towards your body, and then repeat with the other side. If that feels appropriate there stay in that position for a couple of breaths. If you’d like to progress, take a breath in, exhale, and raise your arms overhead keeping the hollow position and the tension. Then reach with the other arm. If you’d like to go to the full progression if that feels appropriate to you, then you would extend one leg, and then extend the other leg.
3) Beast
The beast position is in a stable position with your index finger parallel and spreading your fingers wide. Then corkscrew your shoulders, tuck your toes under, and lift your knees approximately two inches or so above the ground. Use your breath as your repetition. You can do this for as many breaths as you can hold. You can also progress into a crawling motion.
4) Side plank
This helps with lateral stability. The first progression is with your elbows underneath the shoulder, the bottom knee bent, and the top leg straight. If you’d like to progress this you can go into a staggered stance or even a stacked posture.
5) Foot to core sequence
Standing on one leg in an athletic position, take a breath in, as you relax your foot relax your pelvic floor, exhaling rooting the toes into the ground. Repeat that for five to eight breath cycles. As you do that you’re rooting the tips of the digits into the ground. You can then move into a bowler or any other type of dynamic motion, inhaling back and exhaling short footing, and coming back to the standing position.
There you have it—five different ways you can begin to shift your core training to focus on local stabilization before moving to global stabilization and movement. You can use these as ideas. There are endless exercises that can fit into this category but this is just to get you thinking a little bit differently about how to train your core the best way possible so that you can improve your performance, decrease your injury prevention, and feel your best.
Reach out for a 15-minute FREE discovery session to see how we can help you on your journey.
For more content, make sure to subscribe to our YouTube channel here.
Other things that may interest you:


