Are you a golfer who wants to improve their distance or accuracy this season, or perhaps you have low back, shoulder, or elbow pain every time you golf? Are you looking to not only improve it, but prevent it from getting any worse?
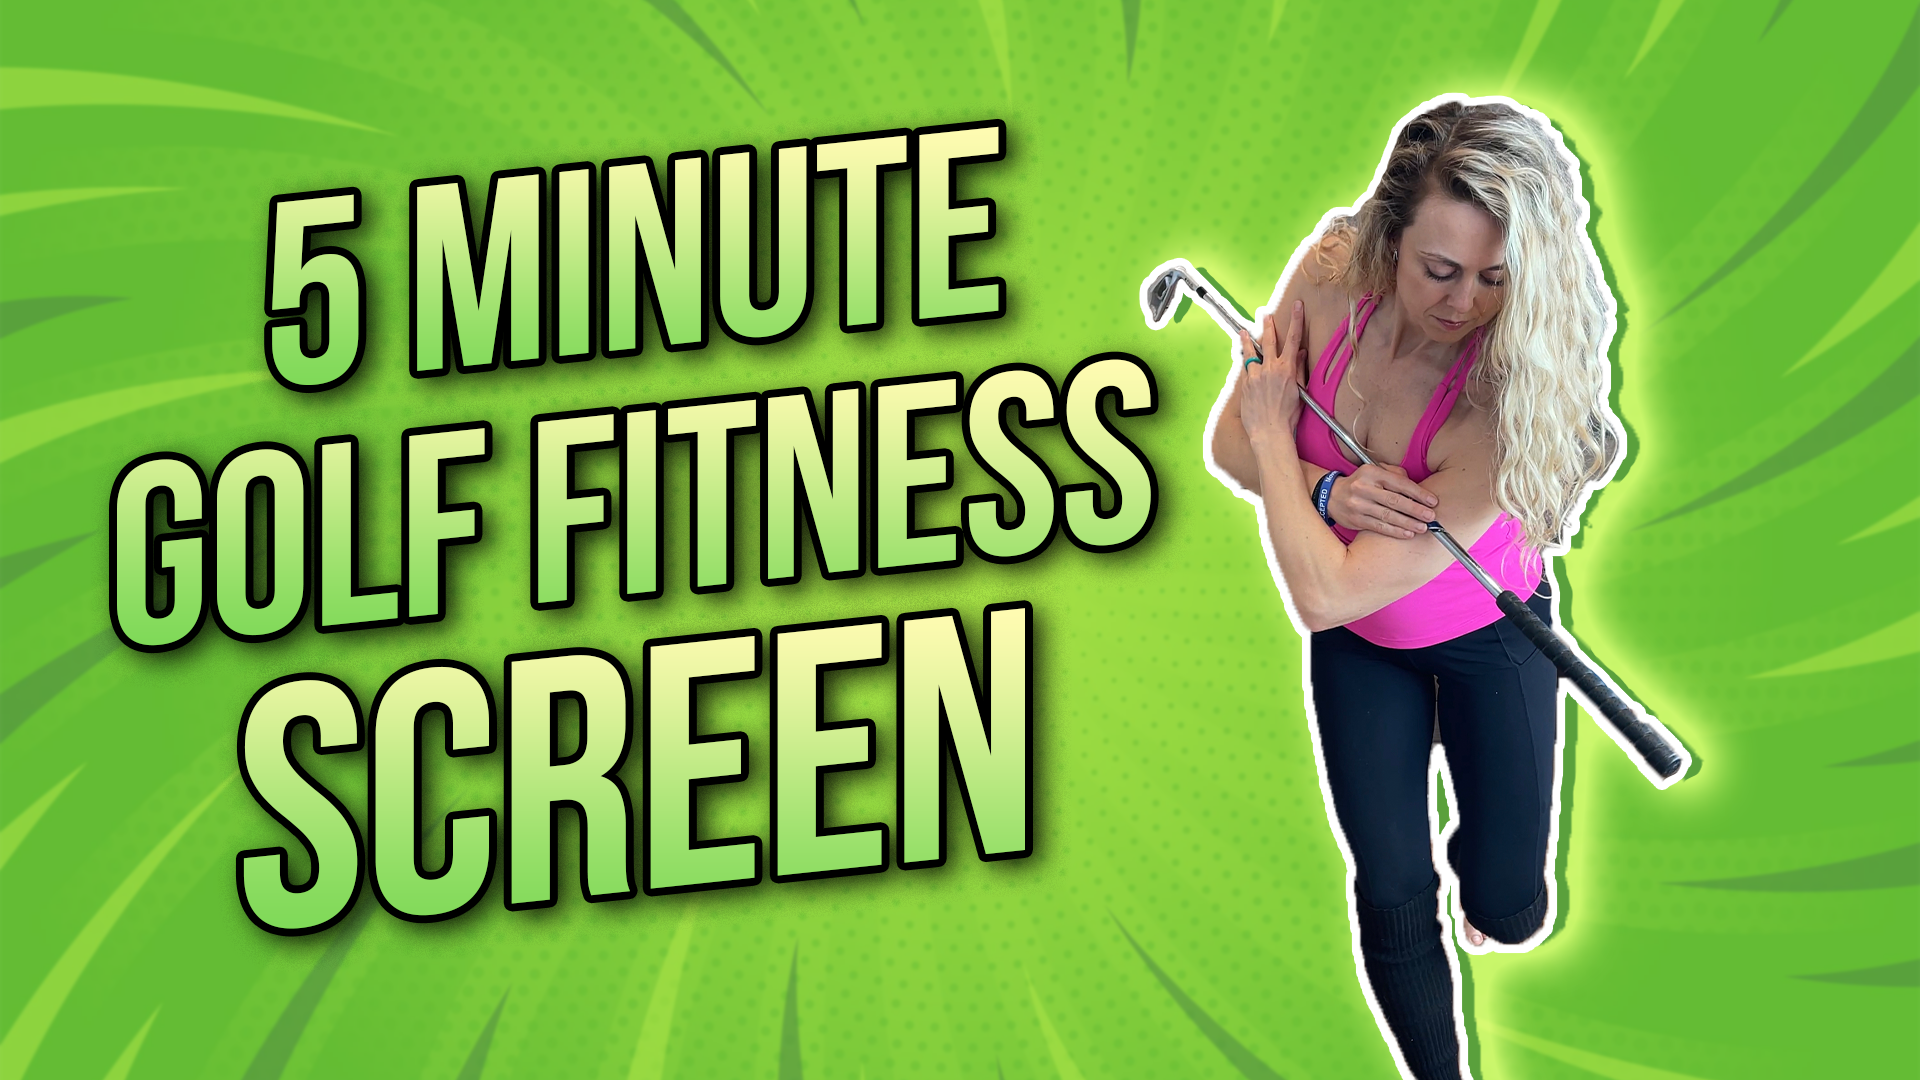
Read on for your golf-specific screen that you could do to assess how your physical body and perhaps, limitations, are impacting your swing efficiency and performance.
Rather watch or listen than read?
1) Pelvic Tilt Test
At address position, we should be in a neutral spine. “S” posture, refers to an extended posture and a ”C” posture refers to a rounded posture. Both limit your ability to rotate in your backswing. And of course, the backswing is what dictates the transition, or downswing.
From your address position, we want to see if you can move through a clean range of motion, extending and rounding the spine without any shaking and or difficulties. Are you able to move through it in its full range of motion? That’s what we want you to be able to do in your golf swing.
2) Torso Mobility Test
This test looks at the concept of disassociation. In the entire golf swing, we have to be able to disassociate our torso from our pelvis. To do the torso mobility test, we are in our address position, crossing the arms over the chest, and from there, rotate just the torso back and forth while keeping the hips stable. If you’re able to keep the hips stable and move your arms, that means you have good disassociation between the torso and the pelvis. Now, we do want to look if it is a more lateral motion or rotational, and if the pelvis moves side to side or rotates as we’re trying to separate the two.
3) Pelvic Mobility Test
Here, we’re going to get into address position, crossing the hands over the chest. From there, move the pelvis back and forth in that rotational plane while keeping the upper body stable. If you attempt to move your pelvis and your torso is moving as well, then that’s indicative that you don’t have good disassociation. Also, you want to make sure that it’s not a lateral motion and it is in fact, rotational.
4) Toe Touch Test
Being able to touch your toes from standing shows that you have a proper weight shift in the pelvis. The pelvis needs to shift backwards for us to be able to get into a proper address position. Our address position is the foundation of our entire swing. So that is, in fact, where we need to be the whole time. As you transition, you’re starting from a hip hinge position and mostly stay in there as you come through impact. So, are you able to touch your toes, have a nice uniform curve in your spine, and be able to get that natural weight shift in the pelvis?
5) Single Leg Stance
Are you able to stand on one leg with the other leg in a 90 degree angle at hip level, holding that position for at least 25 to 30 seconds without any increased effort? Is this a relaxed position for you or does it require a lot of effort? If this is fairly easy, then you can attempt to close your eyes. Why is this so important? In your golf swing, you are shifting your weight from one side to the other. You must have really good stability on your trail leg to load the backswing and as you come through to impact, you have to be able to have a great stability on your lead leg to load into it. It seems very basic, but it’s really imperative for a great golf swing.
6) 90/90 Test
We want to think about our shoulder mobility and our shoulder mobility as it relates to our golf posture. If we start from a position, with our elbows at 90 degree angle, and rotate them back as far as we can, we should be able to get to at least 90 degree angles, preferably a little bit farther here. Now move into your address position and perform the same test. Are you able to get into the same position? Have you lost a lot of motion? In your swing, you have to be able to have that proper external rotation while you’re in your address position. So, it is really important to optimize shoulder mobility, and this is a great way to test it.
7) Seated Thoracic Rotation
First, grab your club and bring it right over your shoulders. Start by rotating to the right, back to center and then to rotate to the left. See if there’s a restriction on either side. Now, you’re going to take the club above your shoulders, keeping the shoulder blades out of the equation, which means you can’t use them or compensate with them. Now rotate to the right and rotate to the left. See if there’s any asymmetry, and if you are able to get to about 45 degrees.
8) Total Rotation
Have your feet together, arms to the side, and rotate to the right. Are you able to get your shoulders in line? Then, rotate to the left and you should be able to see the wall behind you. If someone is standing behind you, they should be able to see both shoulders. That is going to be indicative of proper neck, ankle, thoracic, and hip mobility. In order to have a great backswing and get into a properly loaded position, we have to have enough internal rotation in the hip, for example. Just as when we come down through our downswing, we need to have enough mobility to be able to rotate into it. If not, you’ll start to see a sway and slide.
It is important to understand how your physical limitations can impact your swing efficiency and injury risk. So, take five minutes and see how you move. Need help? Reach out for a golf rehab or performance assessment.
Reach out for a 15-minute FREE discovery session to see how we can help you on your journey.
For more content, make sure to subscribe to my YouTube channel here.
Other things that may interest you:
What Should You Eat For Chronic Pain? | Nutrition for Chronic Pain

